
Ah, Fall. It’s not here quite yet but nothing gets me in the mood like crisp, cool mornings, seeing leaves starting to turn colors, and the smell of apples and cinnamon simmering to make apple butter.
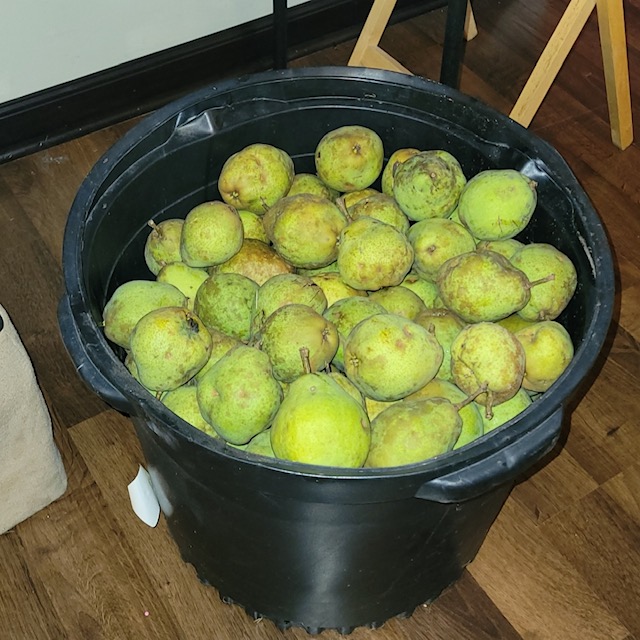
But since it’s not quite Fall yet, apples are not available yet, at least where we live. What is in abundance this time of year is apple’s close cousin, the pear. Sometimes forgotten in the shadow of the apple, pears are often an underrated and yet versatile fruit!
Besides the typical canning of sliced pears, I decided this year I wanted to step up my game and landed on pear butter! Oh my goodness….why haven’t I done this sooner?
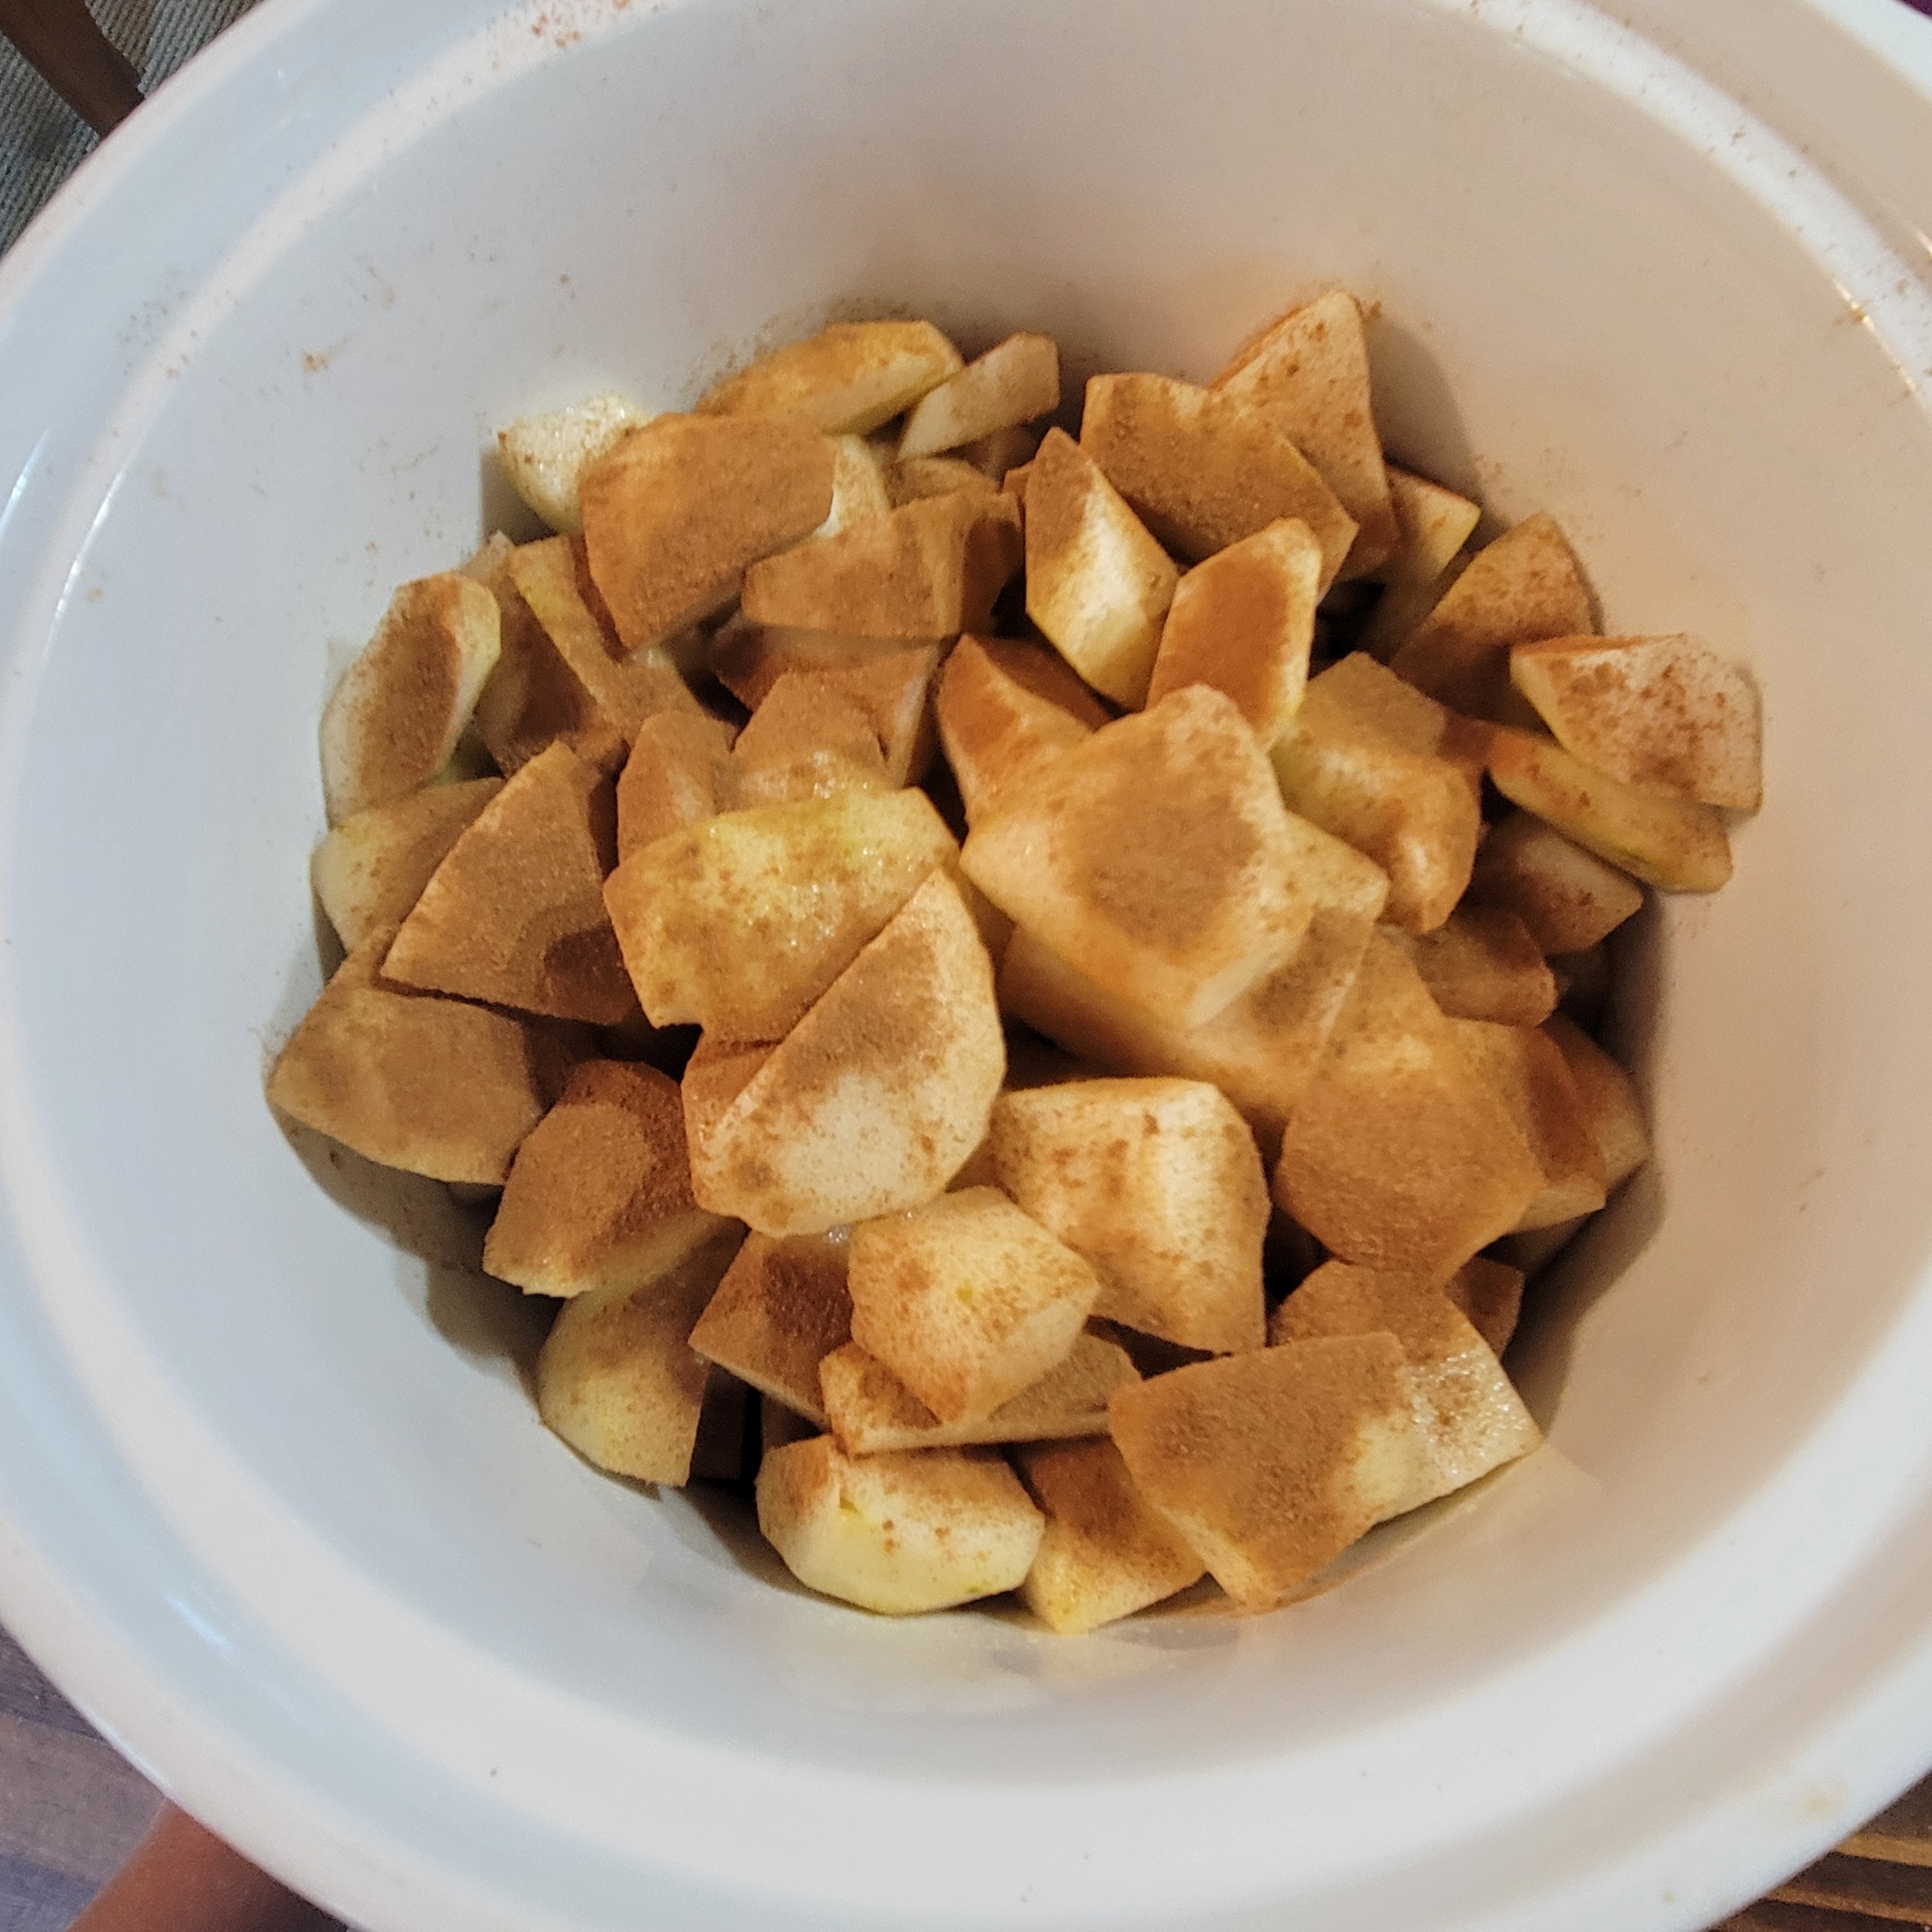
I checked out a couple of different recipes and variations but decided to go very traditional with mine. I used 3 ingredients: pears, cinnamon, and apple juice we had canned last year. The natural sweetness of the pears was amazing and even overpowered the tartness of the apple juice. If I had added any sweetener it would have been way too sweet.
While pear butter can be made on the stove, I prefer the crockpot method. I appreciate the set it and forget it aspect of crockpots. And pear butter is so forgiving you can decide how long you want to cook it! I started mine in the evening, turned it off overnight, then restarted it the next day and canned that afternoon and it was perfect! And bonus, you get 24 hours of heavenly aroma in your home…ahhhh!

You don’t need any special canning equipment as pear butter can be waterbathed for 10 minutes and you’re done. I don’t know about you, but any time I don’t have to use a pressure canner, I’m relieved.
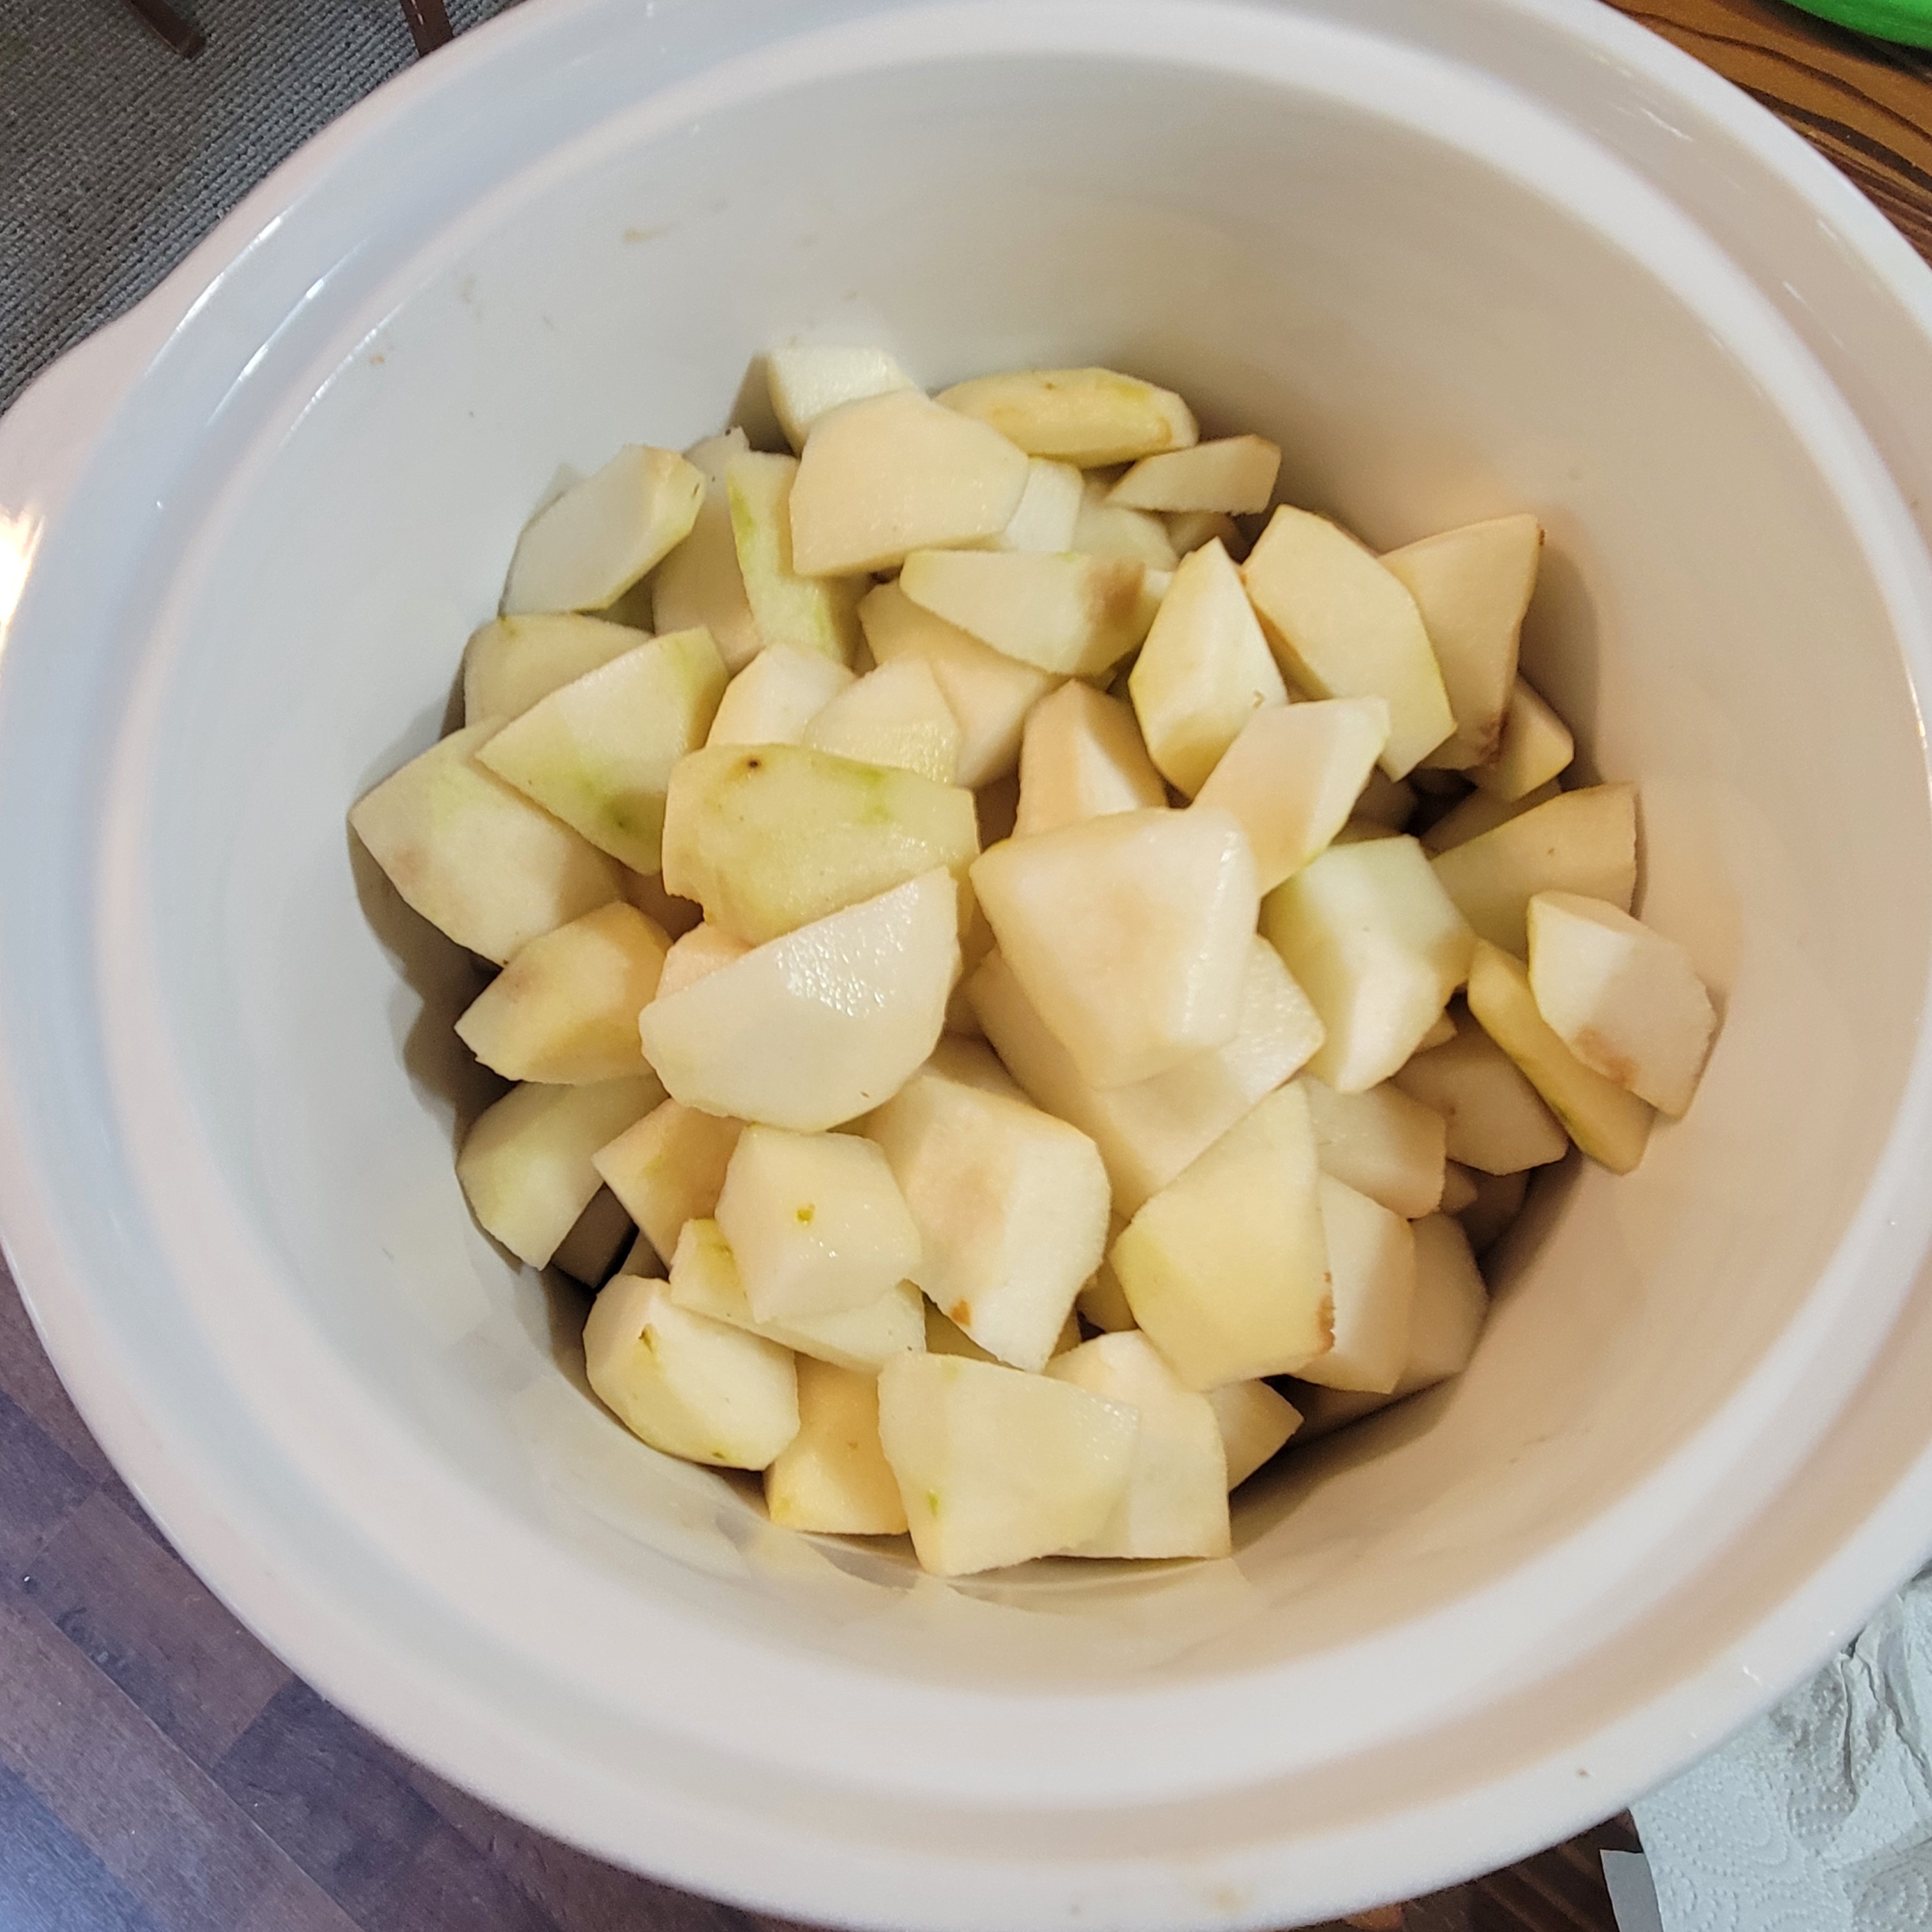
I’m going to be honest in saying I didn’t really follow a recipe, which is unusual for me, but it’s such a simple process one really wasn’t needed. I simply filled my crockpot with peeled, cored, and chunked pears, dumped some cinnamon in (I used a good bit but I love cinnamon) and enough apple juice to fill the crockpot half way. Then I turned it on let and let er go!
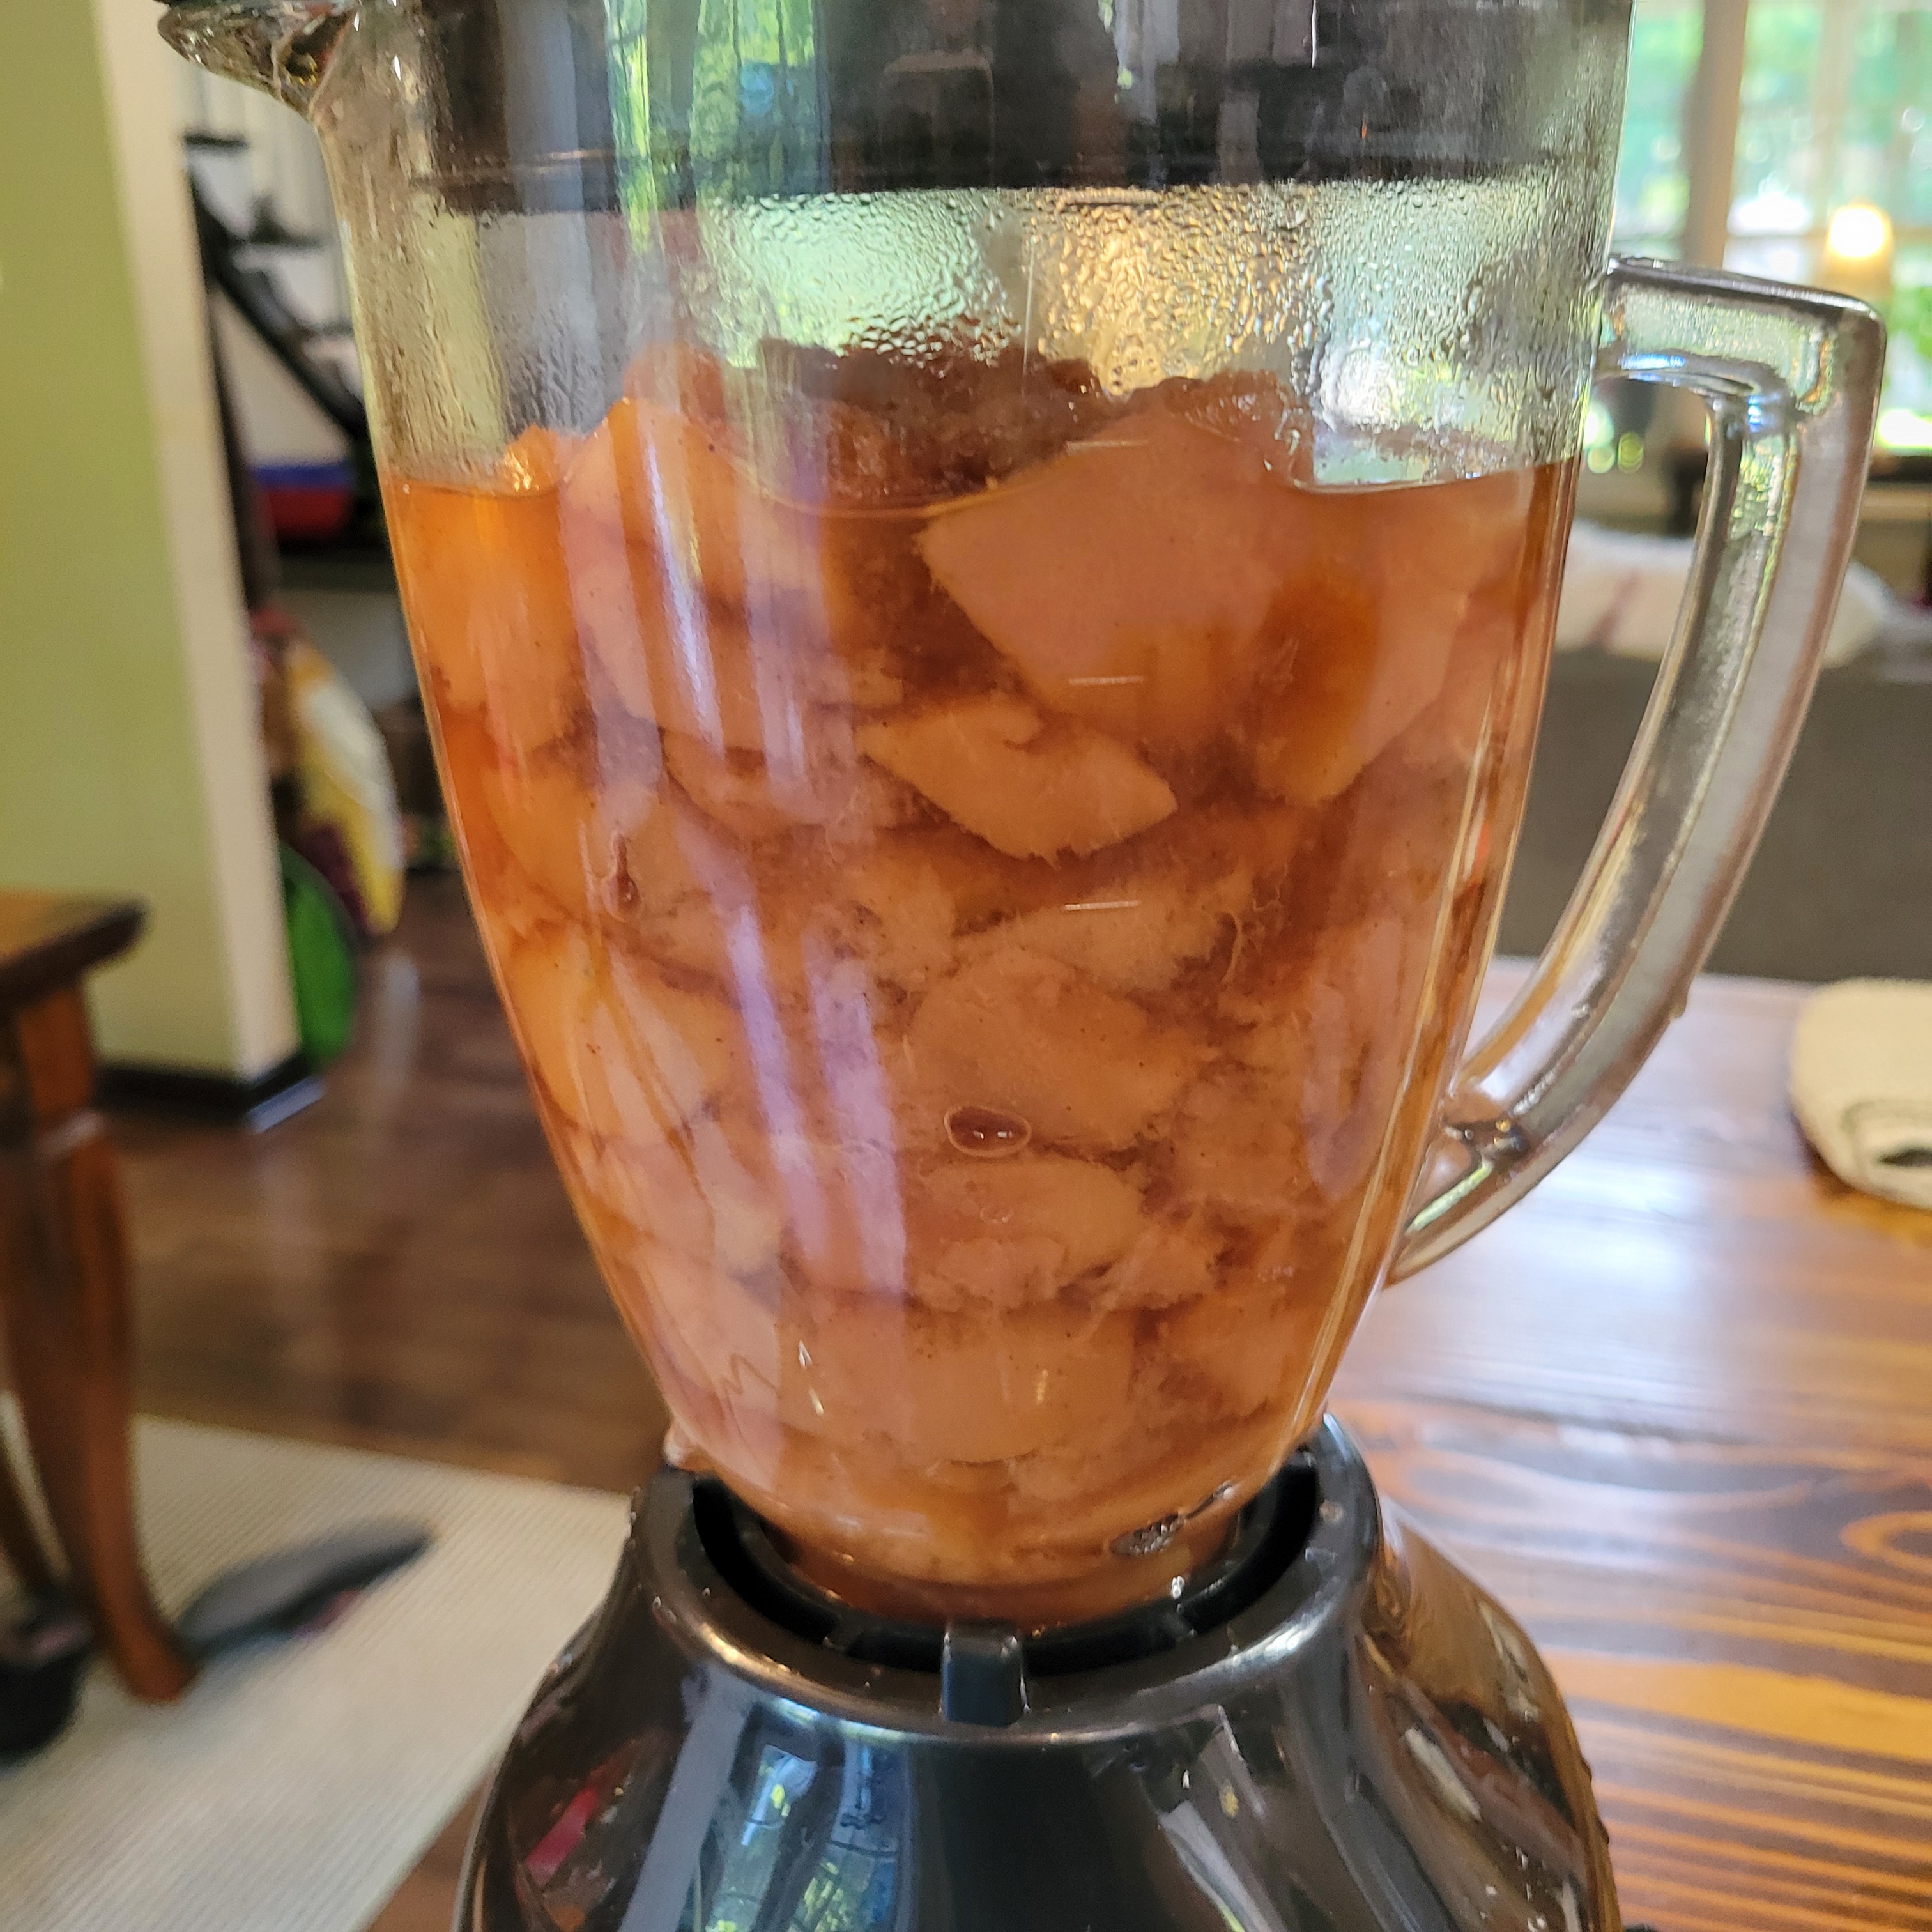
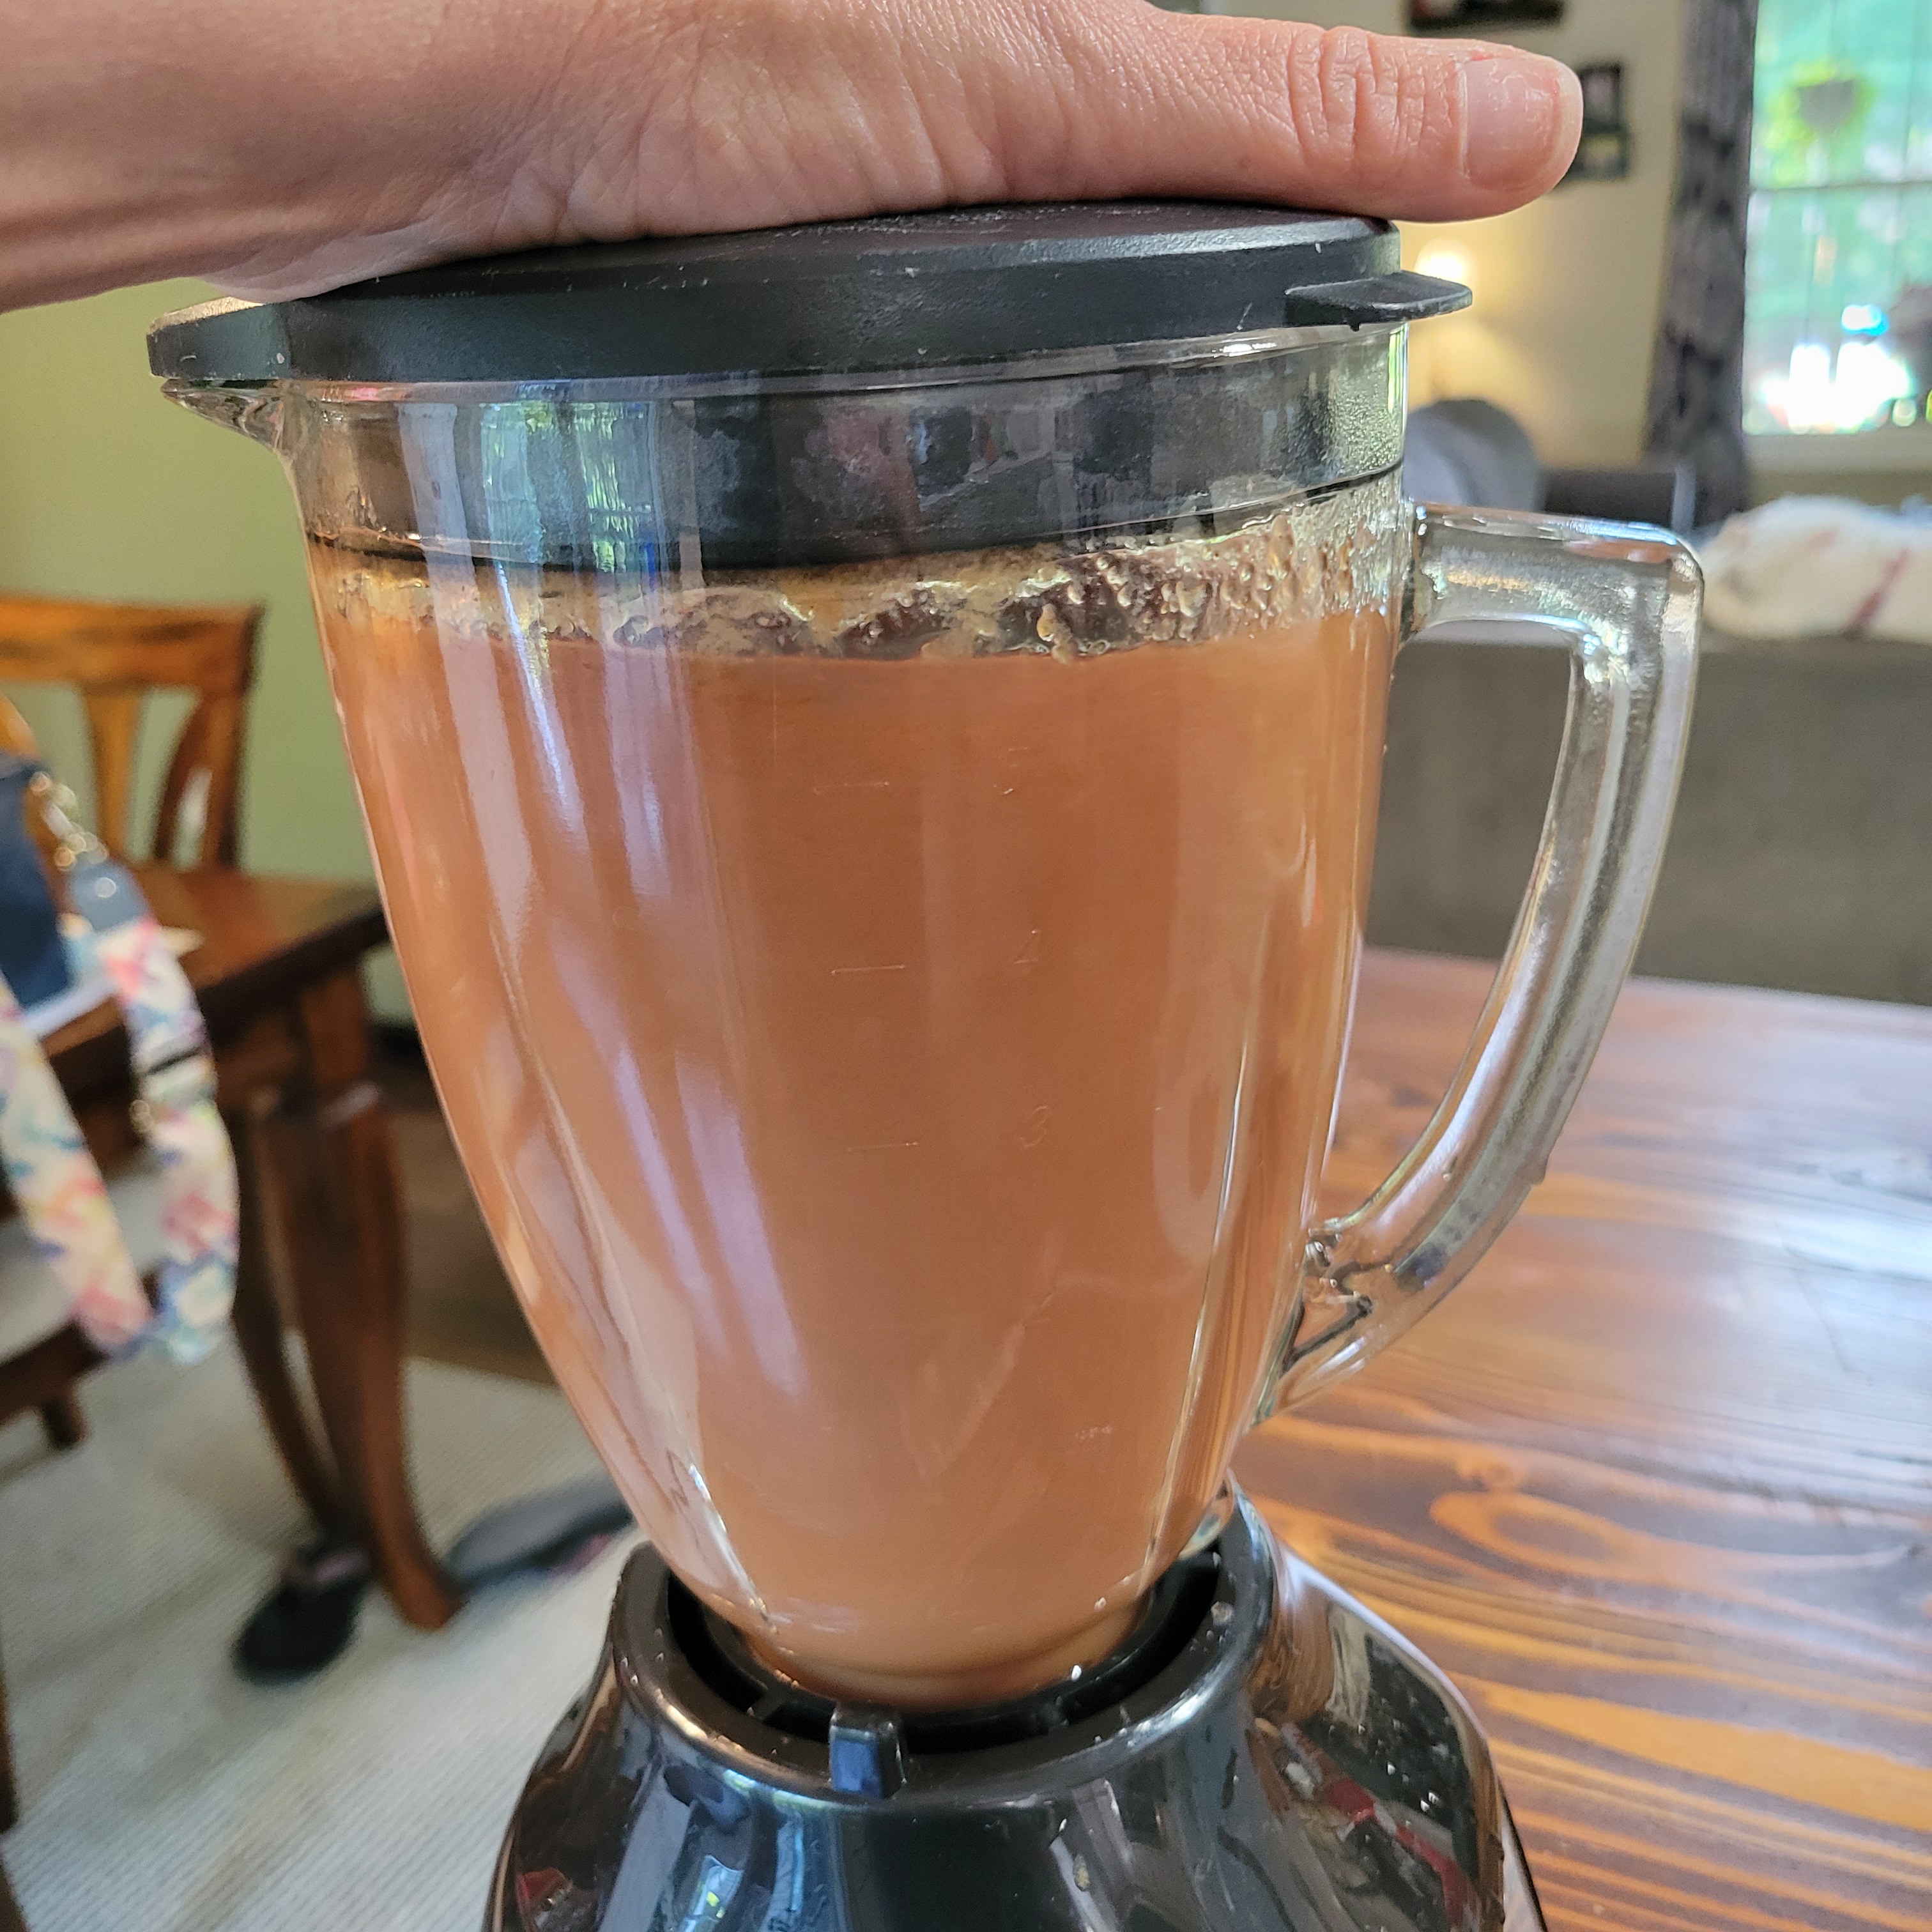
Once I was happy with how much the pears were cooked down I added them in 2 batches to my blender and pureed until it was smooth.
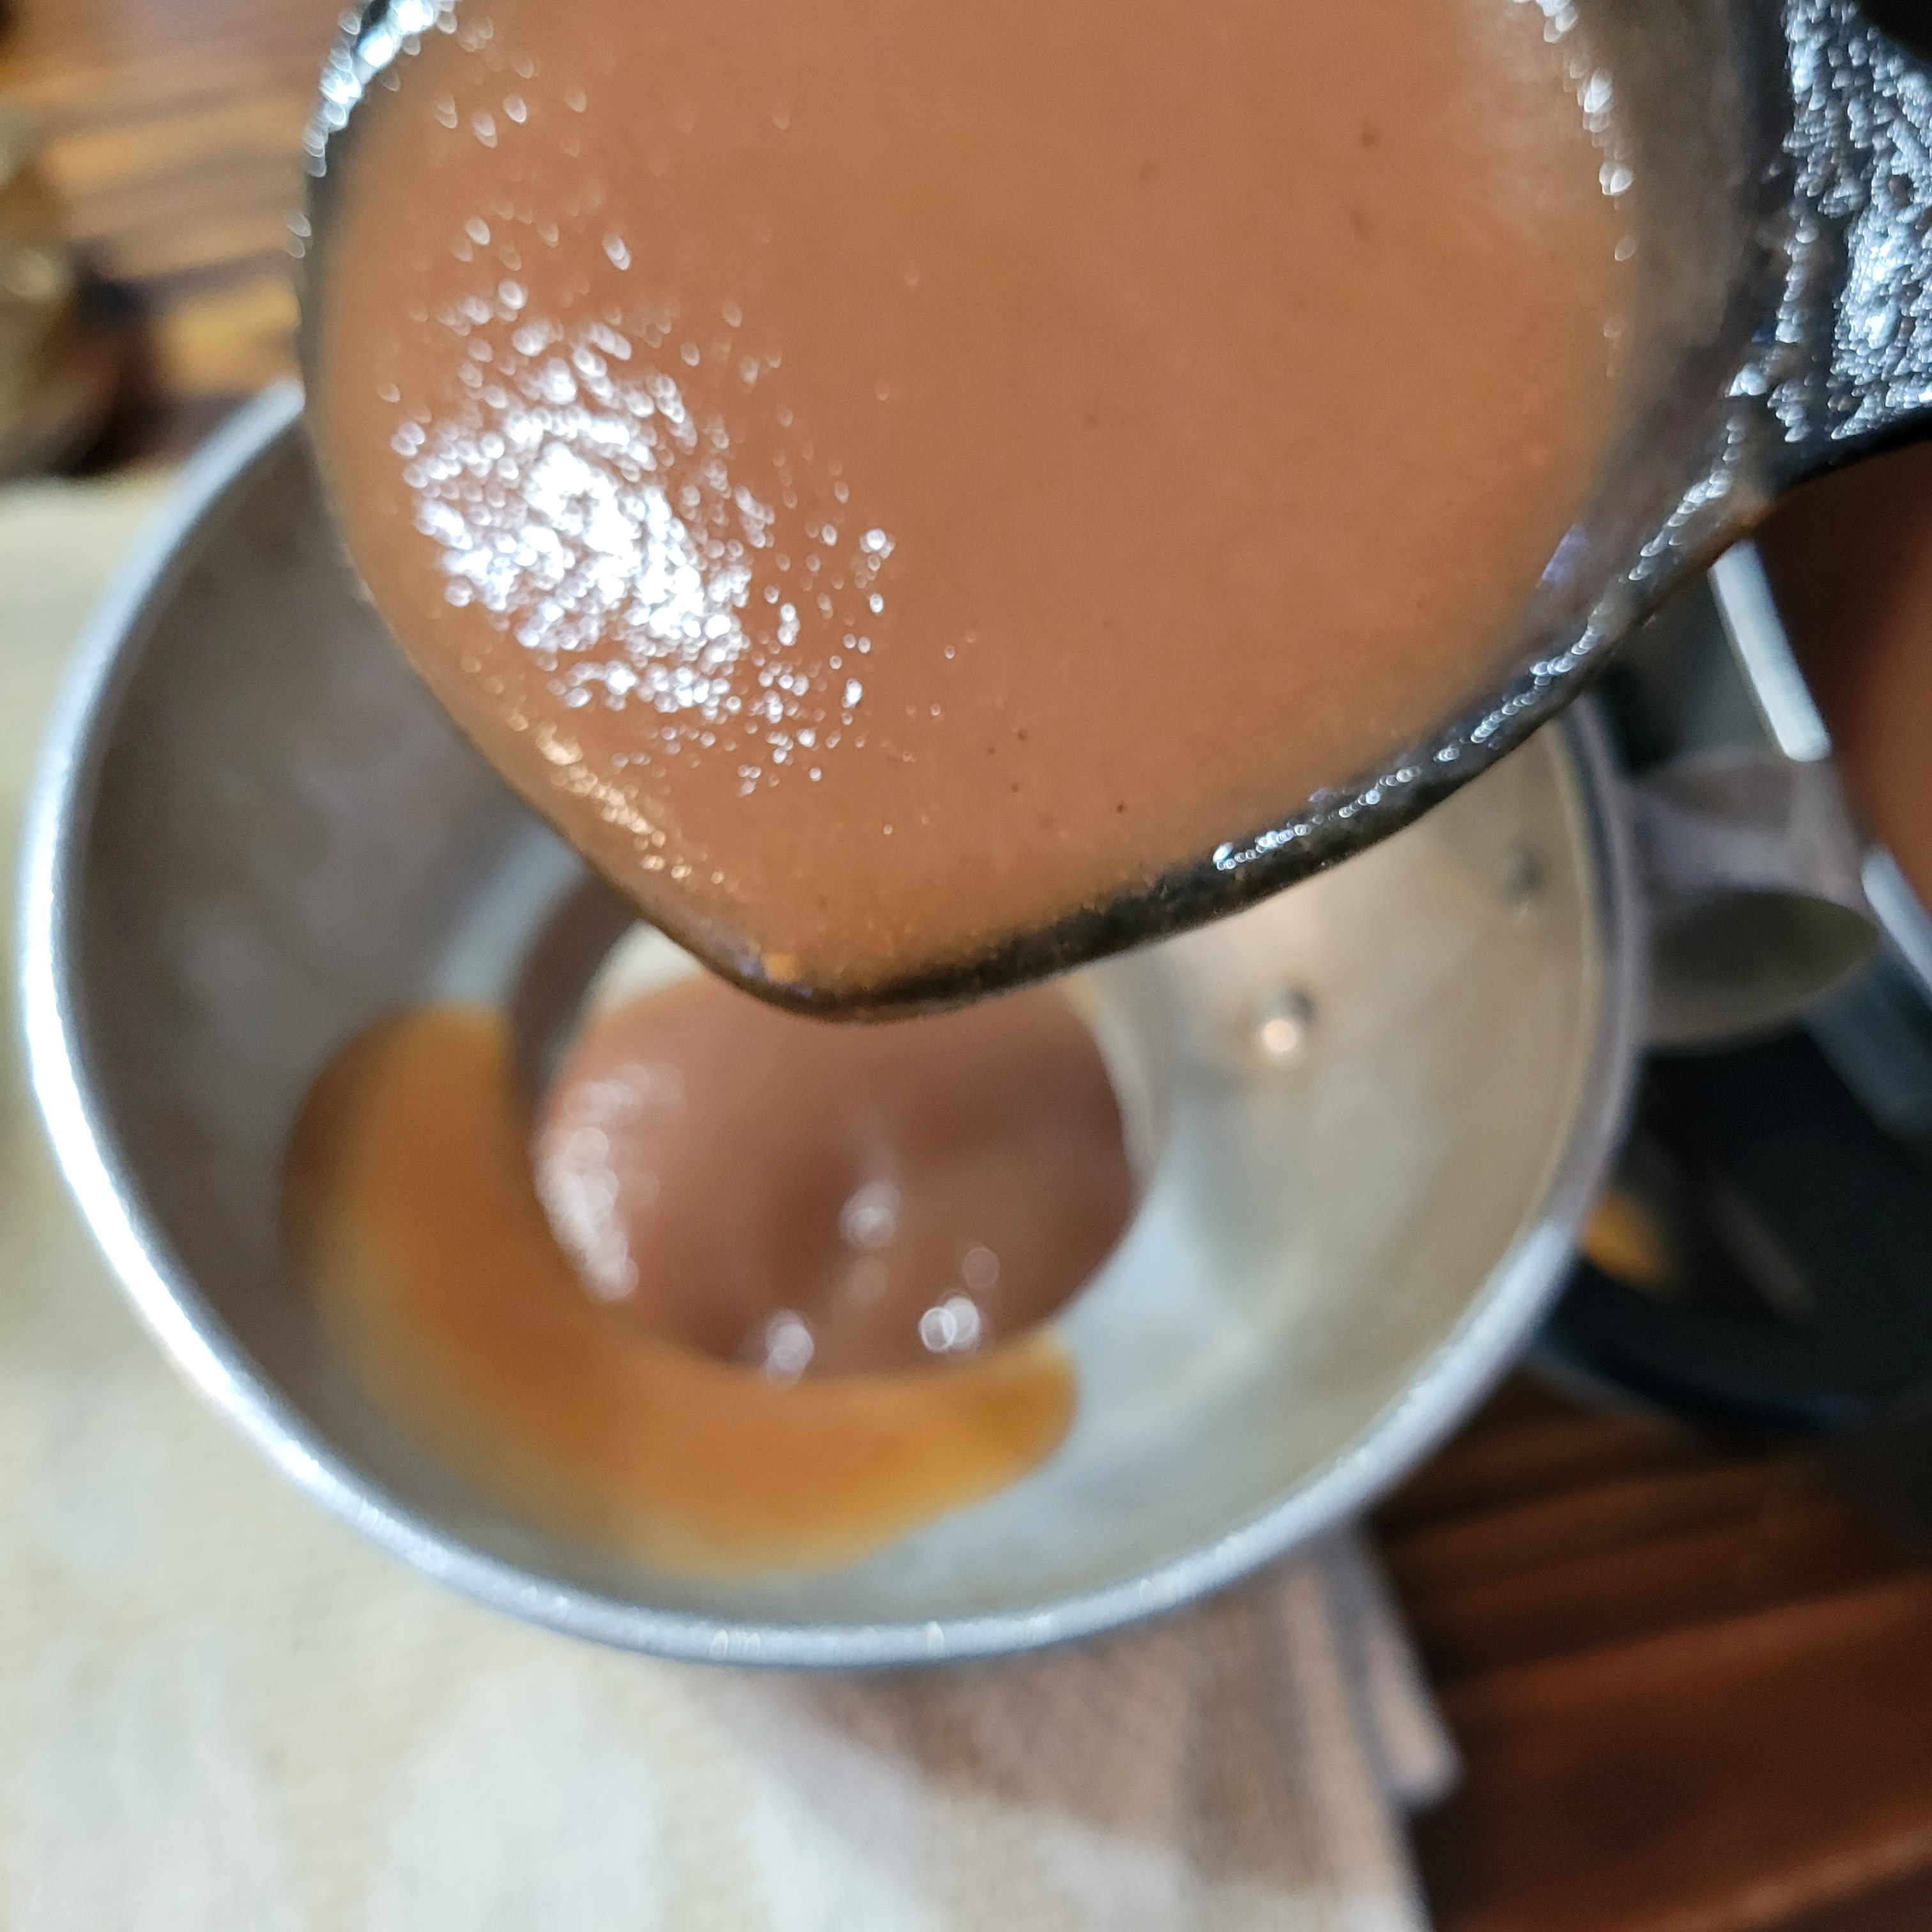
I put them in a stock pot on the stove and let them simmer until I found the consistency I liked. This can be a personal choice. I will use my pear butter in some of my baking so I didn’t want mine too thick.
Next I poured the pear butter into pint jars leaving 1/2 inch head space, wiped the rims, put on the lids and rings and into the water bath they went for 10 minutes. Once the 10 minutes was up, I turned off the heat and took the lid off the pot and let the jars sit for an additional 5 minutes before removing them from the waterbath.
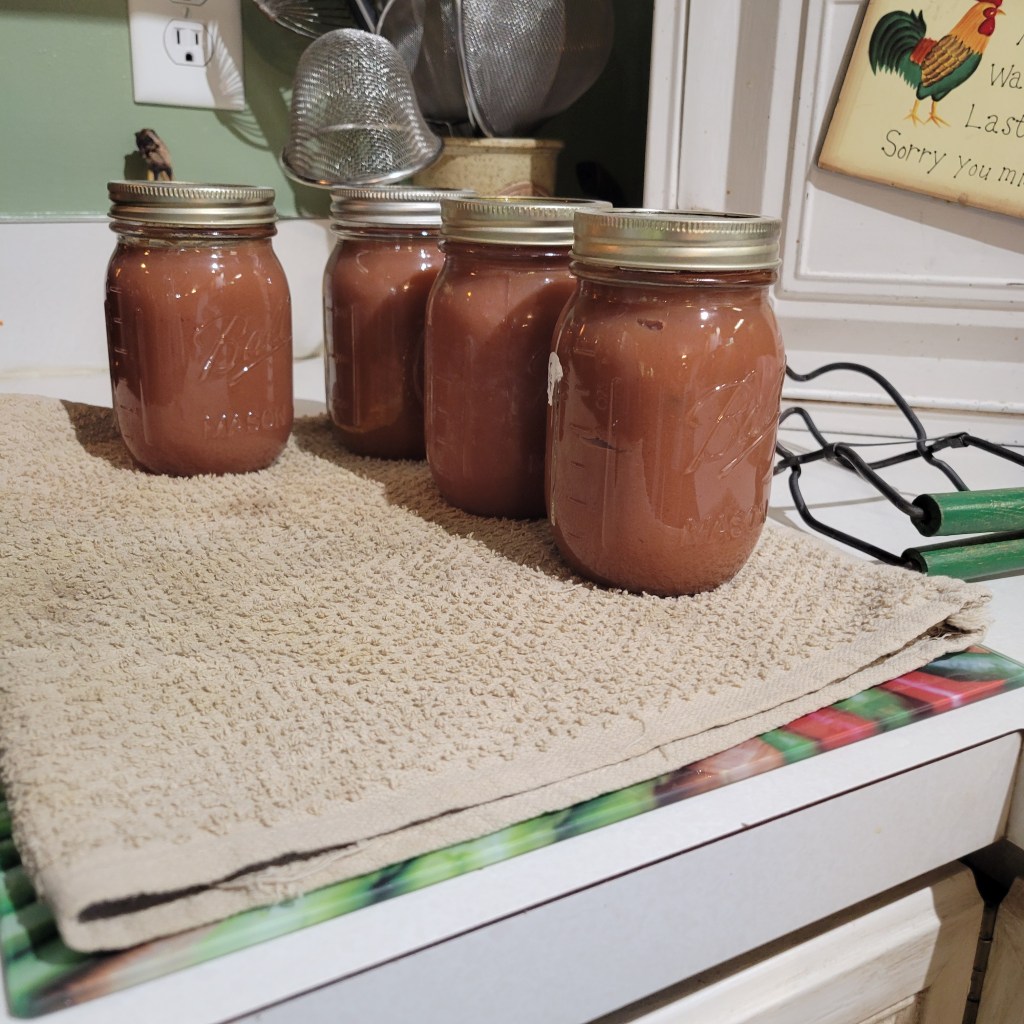
They all sealed beautifully and I was lucky enough to have a pint that wasn’t quite full so into the fridge it went to eat now on homemade sourdough bread. Excuse me while I wipe the drops from my lips.
I am so happy I tried to make pear butter. Besides the initial peeling and coring of the pears, it was not a very time consuming process and we will get to reap the benefits all Winter long! I hope you will try it too and enjoy!
Pear Butter Recipe
Ingredients
• 6 lbs. pears, washed and peeled
• 3/4 cup liquid of your choice
• 1-2 cups sweetener of your choice
• Seasoning to taste
Instructions:
• Prepare the pears by quartering and coring the fruit (if using a food mill or sieve, you can skip the coring step).
• Simmer the pears and liquid in a heavy-bottomed pot or a Dutch oven (covered) over low heat or put in a crockpot on low until the fruit is very soft.
• Working in batches, run the cooked pears through a food mill, sieve, or blender until uniformly smooth.
• Pour the fruit purée back into the pot or Dutch oven. Add the sweetener, and seasonings of your choice to the fruit. If using a crockpot add these while cooking.
• Keep cooking the pears over medium-low to medium heat, stirring more and more frequently, until a spatula can trace along the bottom or the pear butter holds its shape when mounded into a teaspoon or to your desired consistency.
• Remove the pear butter from the heat.
• Ladle the hot pear butter into prepared 1/2-pint or 1-pint canning jars leaving 1/2-inch headspace between the butter and the underside of the lids. Wipe the jar rims with clean tea towel and apply two-piece lids. Load jars into prepared hot water canner.
• Process the jars for 10 minutes for altitudes lower than 6,000 feet or for 15 minutes if you live at an altitude greater than 6,000 feet.
• When the timer goes off, turn off the canner and let the jars sit in the hot water for 5 minutes before removing carefully with a jar lifter.
• Let the contents of the jars come to room temperature before checking the seal of each lid. Remove rings from sealed jars, storing any unsealed jars in the fridge to be consumed in the next 2 weeks.
• Store sealed jars in a cool, dry location away from direct light for up to 18 months.
Notes:
* Any variety of pears can be used for pear butter, however Asian Pears cannot be canned safely without lemon juice to add acidity.
* Lemon juice is not needed in any other type of pear for safe canning but it can add flavor and tartness to your pear butter.
* Sweeteners are also not required but feel free to experiment with white sugar, brown sugar, honey, maple syrup, agave, etc.
* This is just a basic recipe and can be dressed up any way you like adding spices or extracts to change the flavor…vanilla, nutmeg, allspice, cloves, etc.
* You will need some kind of liquid added to the pears as they cook down. This can simply be water, fruit juices, or even a fruity wine!
* Most importantly, have fun and enjoy!


Leave a comment