
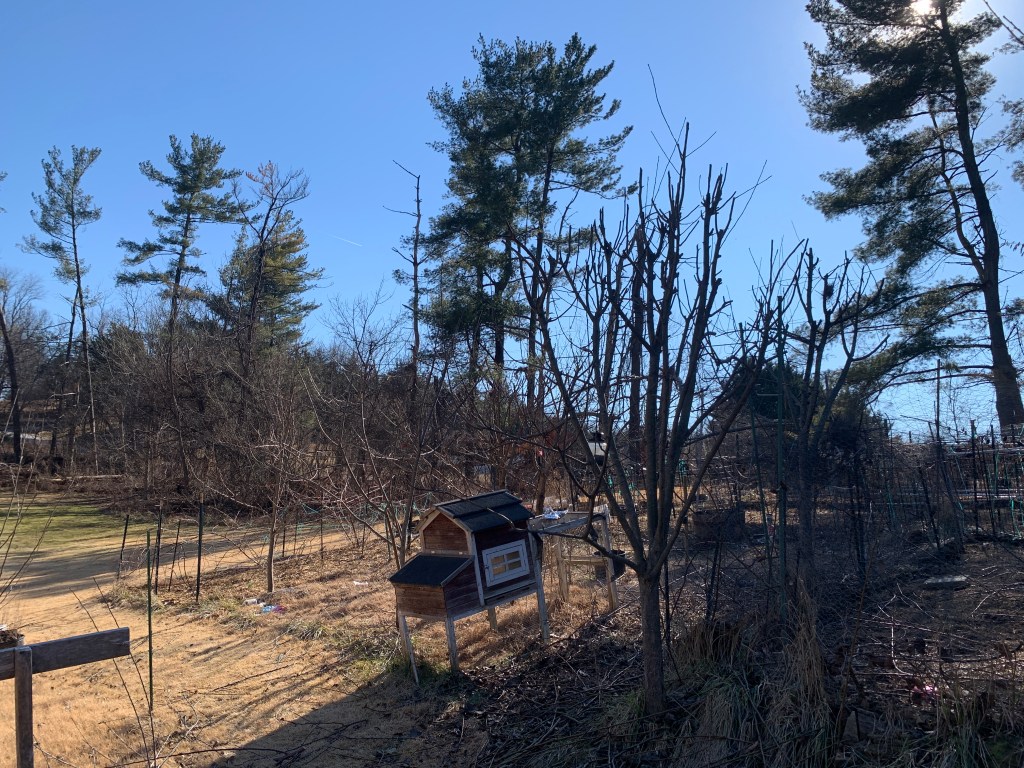
As we expand our homestead’s medicinal garden, elderberries are next on our propagation list. With two 2-year-old plants—one still recovering from deer damage and another thriving at over 6 feet tall—we’re turning an ordinary pruning task into an opportunity to grow 20 new plants. Today, we’re sharing our hands-on process for propagating elderberries from hardwood cuttings, using canes that were “in the way” of our garden gate.
Why Grow Elderberries?
Elderberries (Sambucus nigra or Sambucus canadensis) are a powerhouse of herbal medicine and permaculture benefits:
- Immune-boosting berries for syrups, jams, and wines
- Fragrant flowers for teas and cordials
- Fast-growing, low-maintenance shrubs that attract pollinators
- Natural deer resistance (once established!)
For our family, elderberries are a cornerstone of our cold-and-flu season prep. Propagating our own plants ensures a steady supply while saving money—and sharing extras with our community.
Our Propagation Process: From Gate Obstruction to Future Bushes
Step 1: Pruning with Purpose
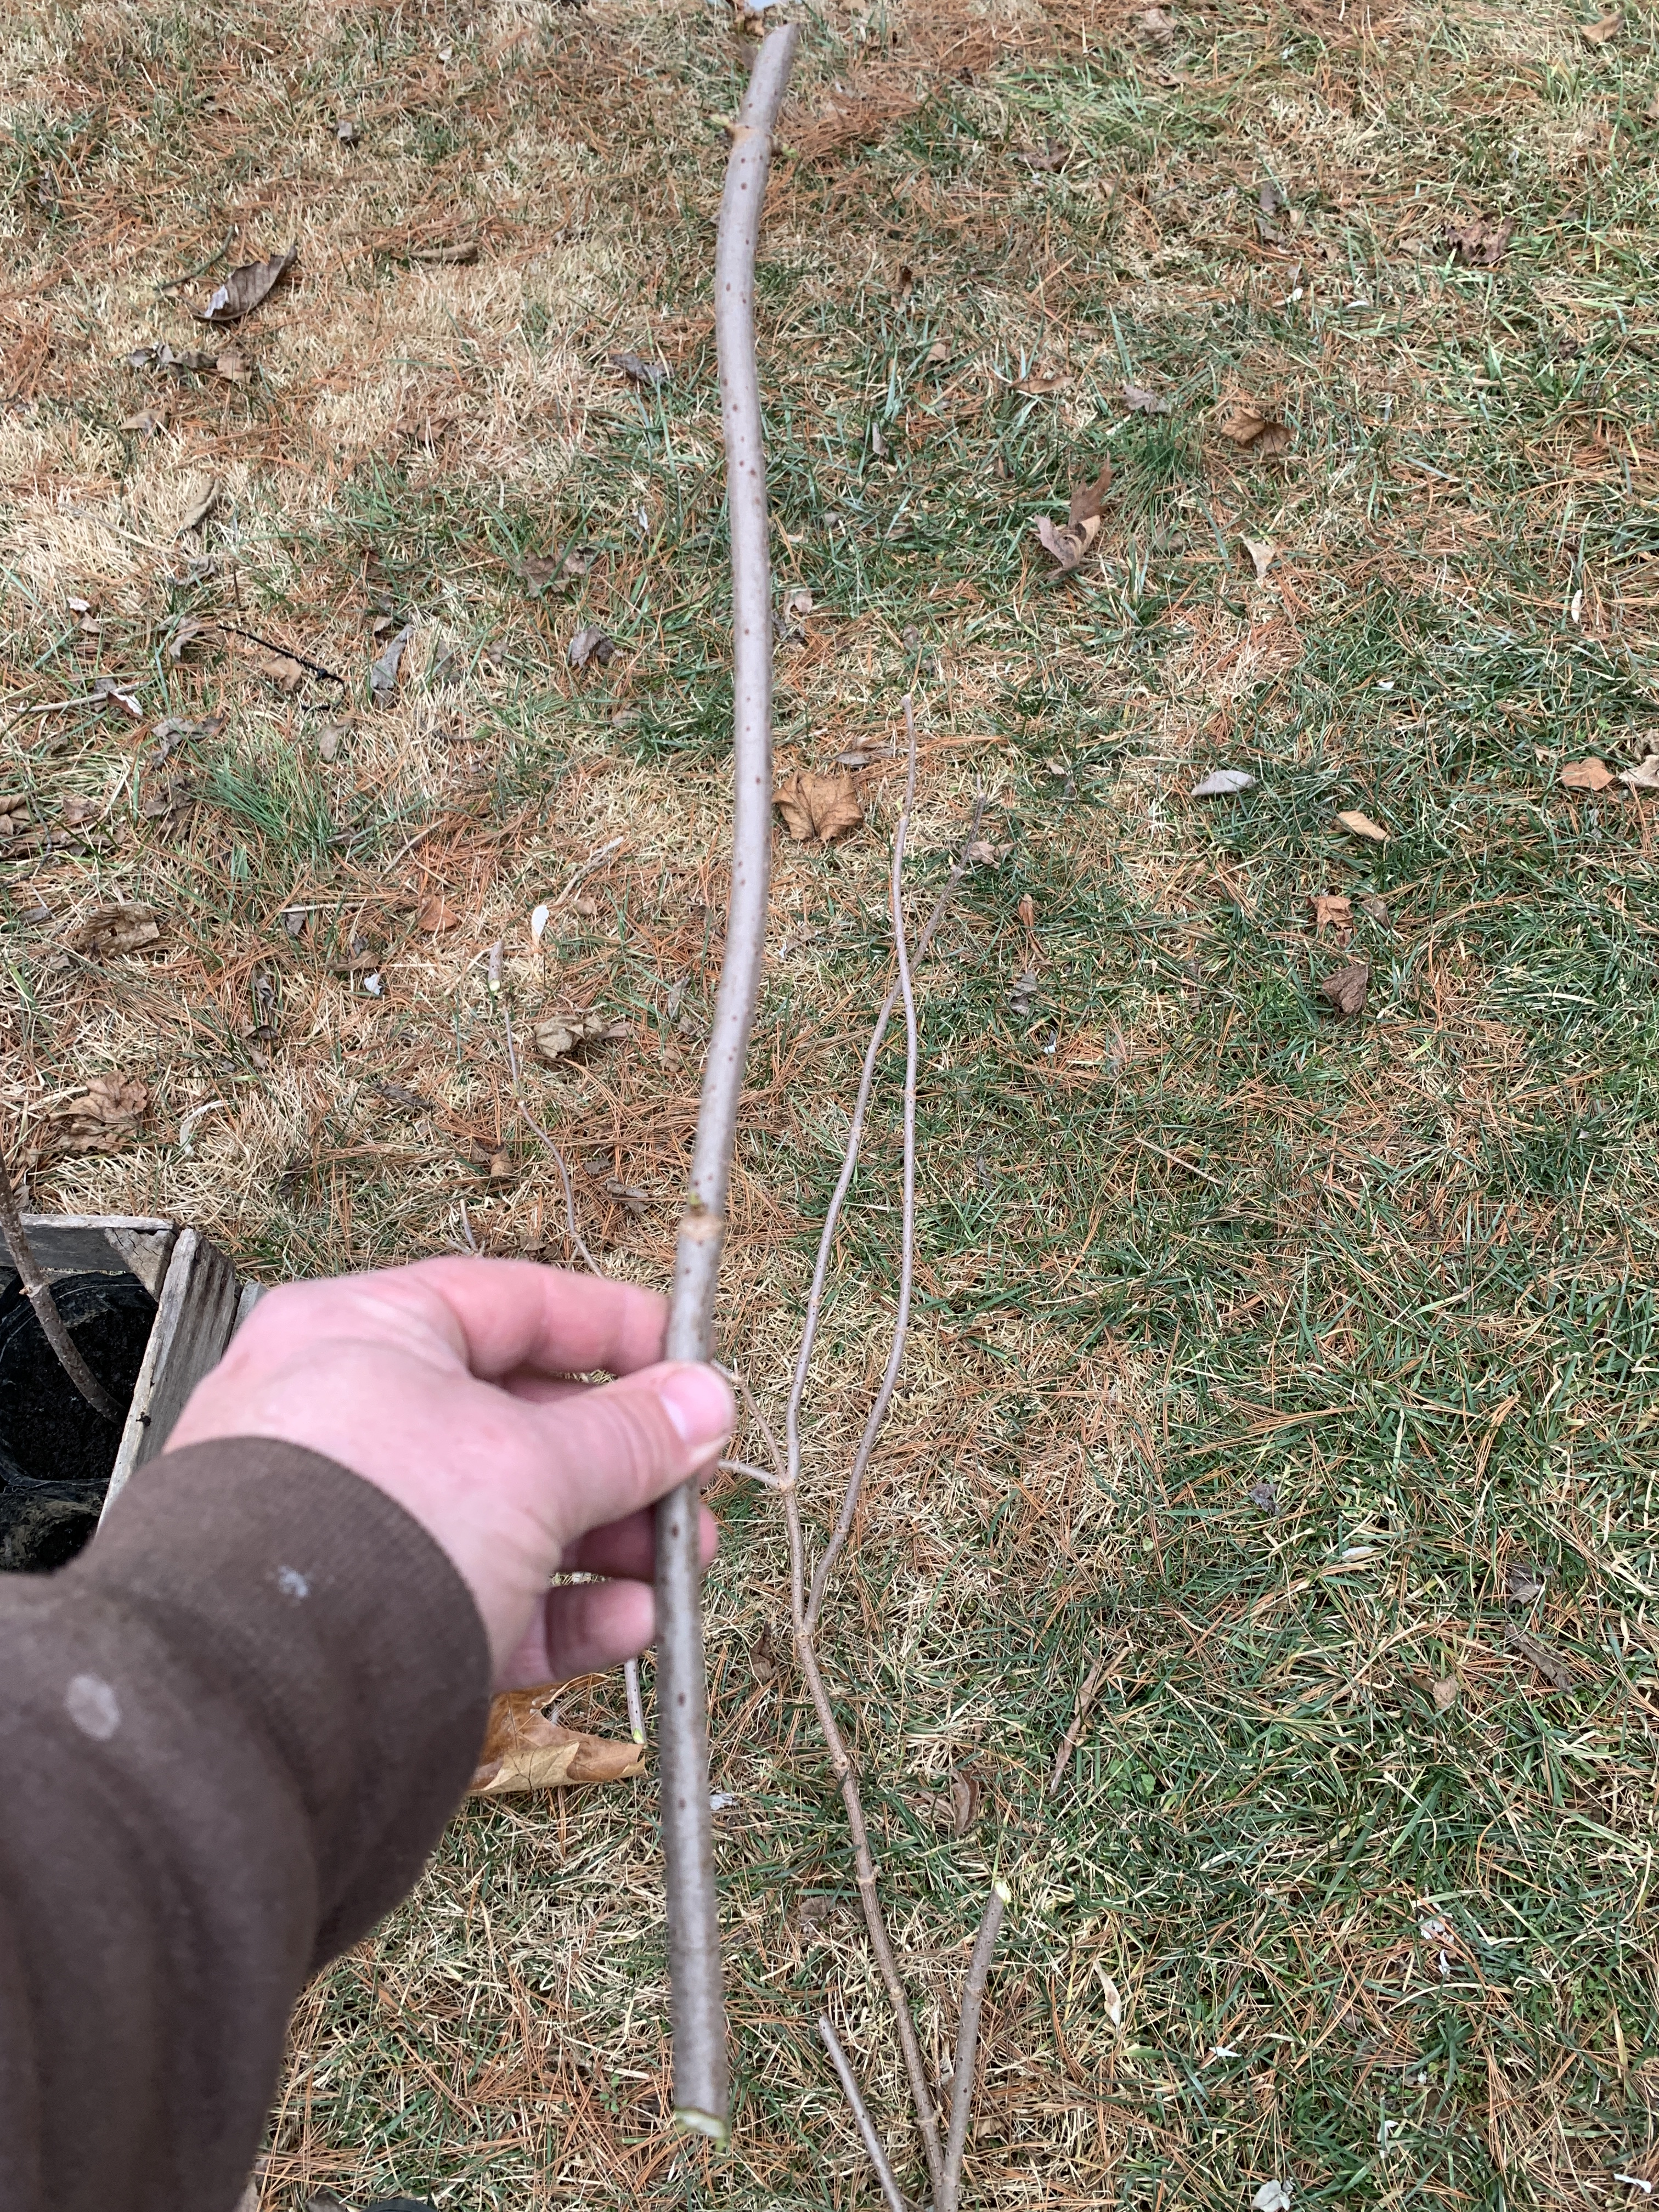
While tidying up our garden entrance, we removed 4–5 long canes (4–5 feet each) from our healthy elderberry plant. Instead of composting these trimmings, we repurposed them into cuttings. Pro tip: Winter pruning doubles as propagation prep!


Step 2: Prepping the Cuttings
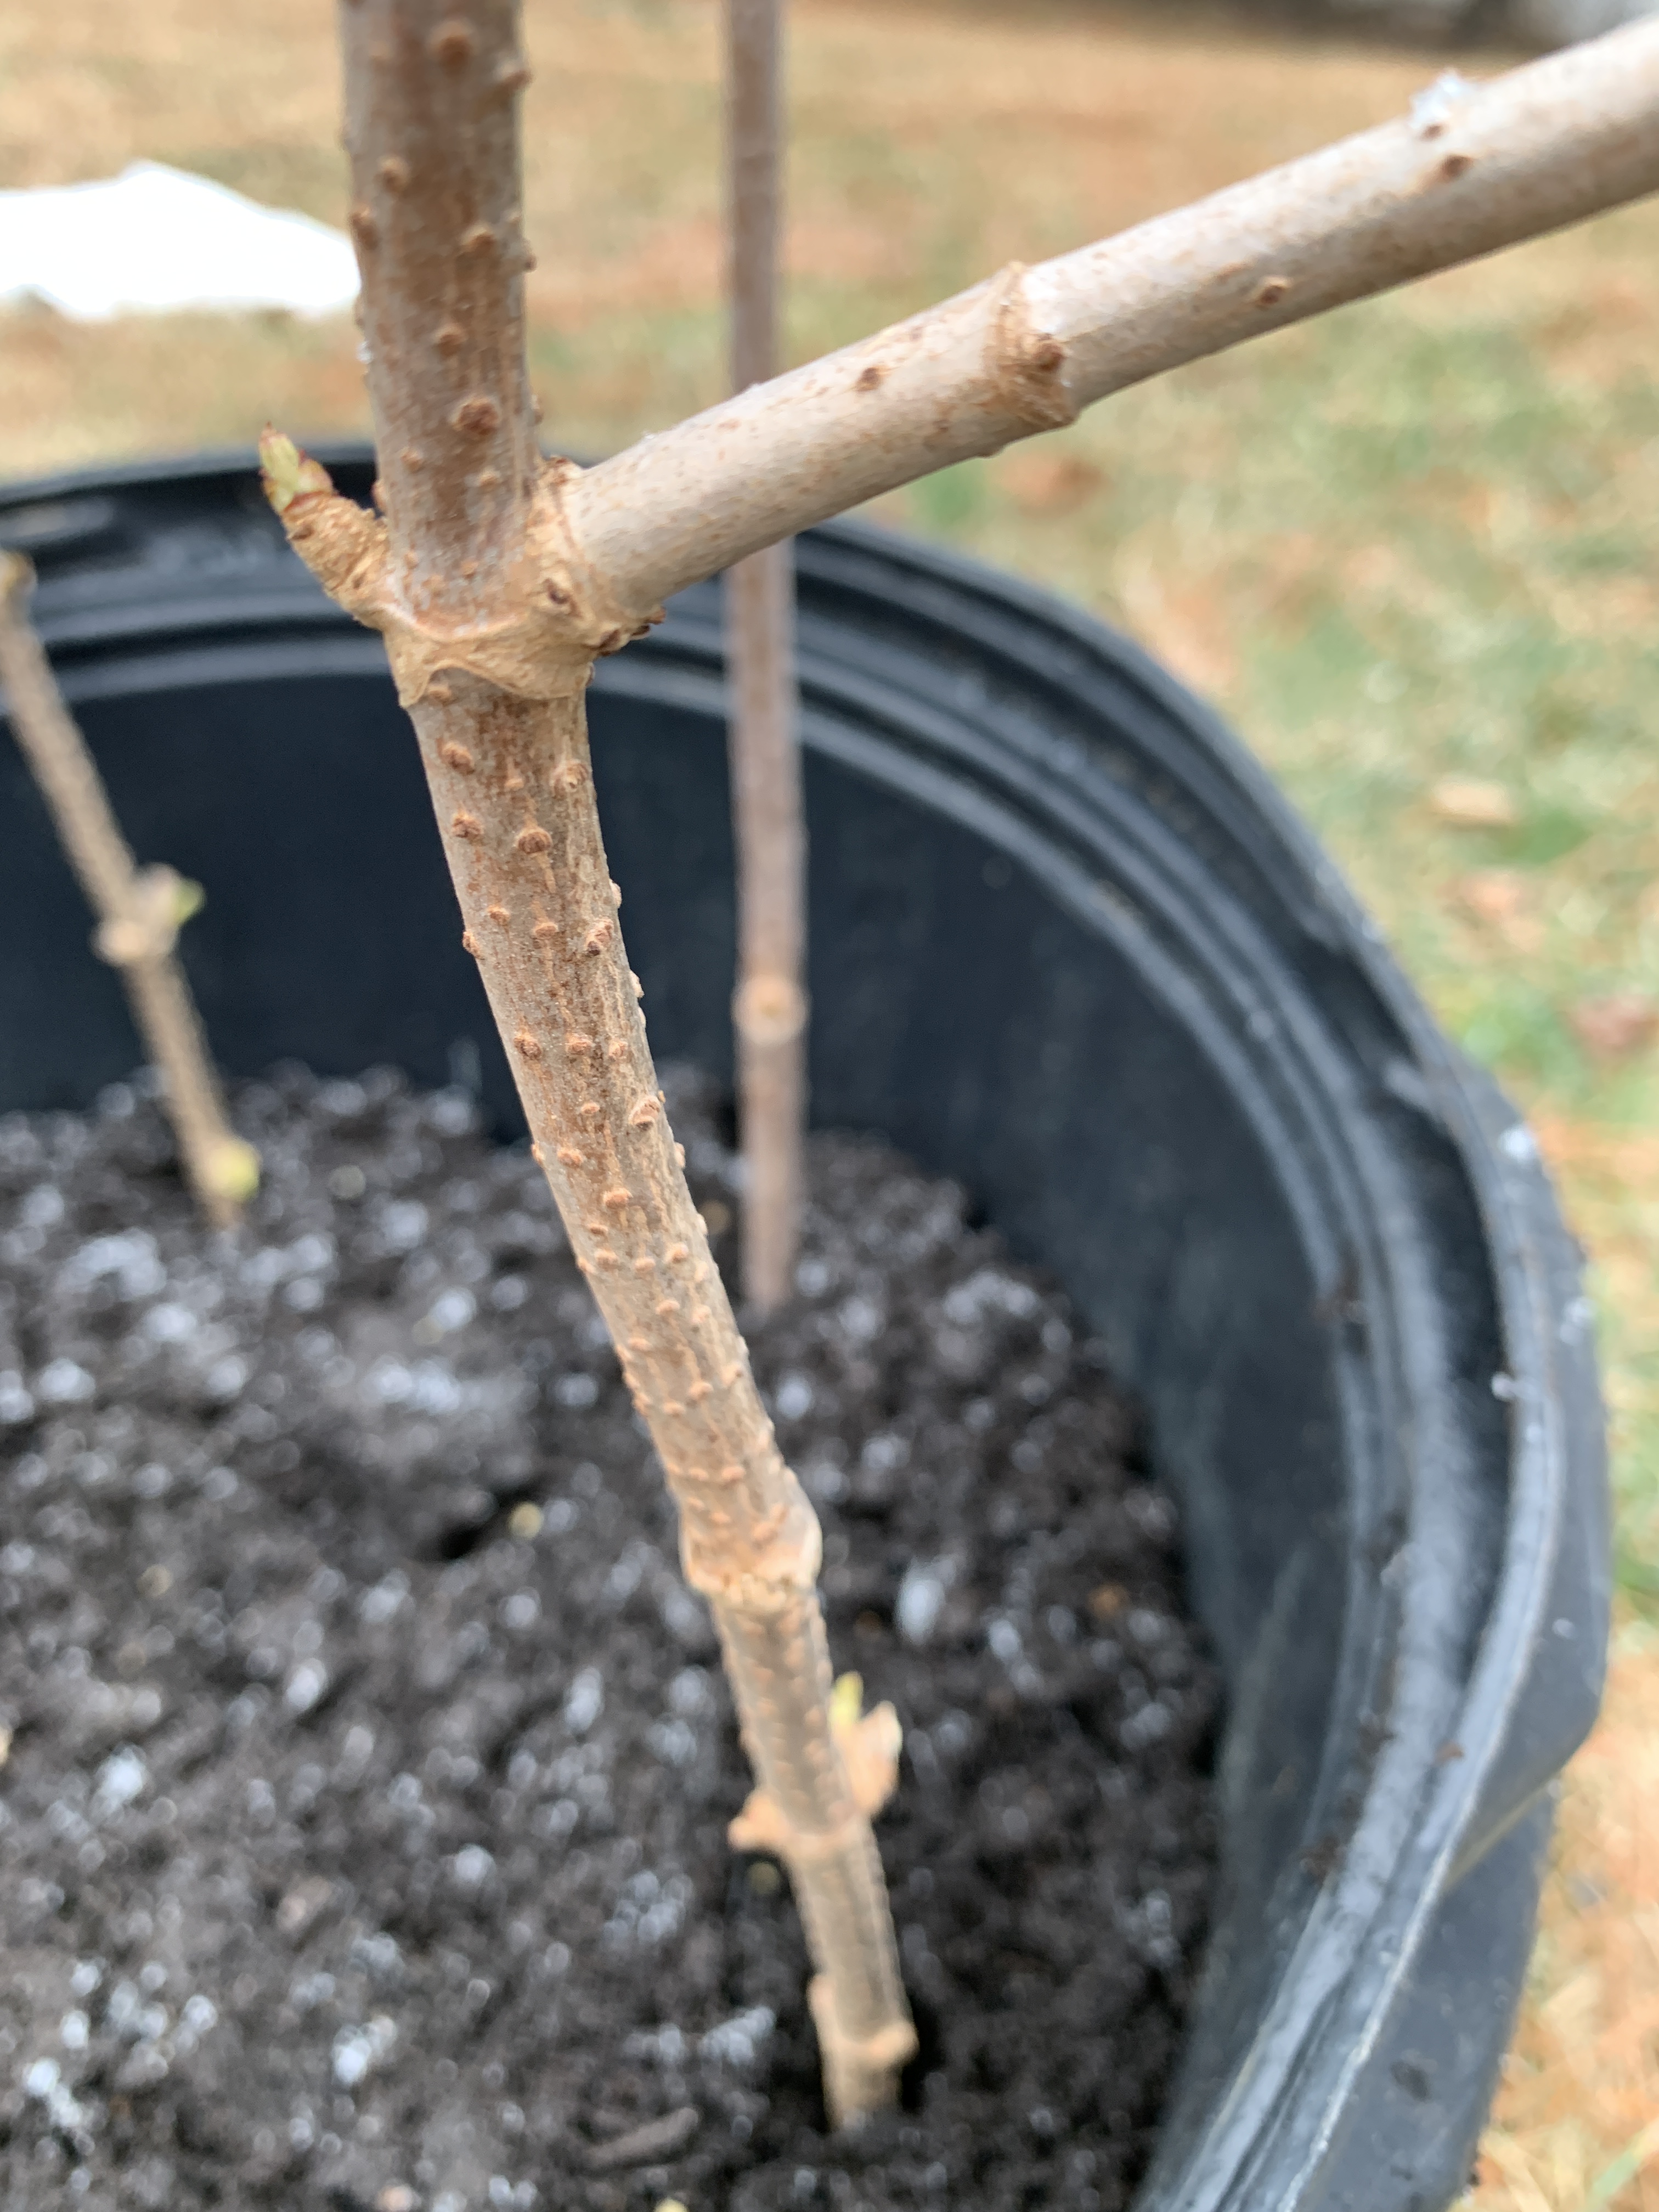
Using sharp bypass pruners, we cut the canes into 2-foot segments. Each cutting should have multiple nodes (those raised “bumps” along the stem), as these are where roots will form. No rooting hormone needed—elderberries root easily on their own!
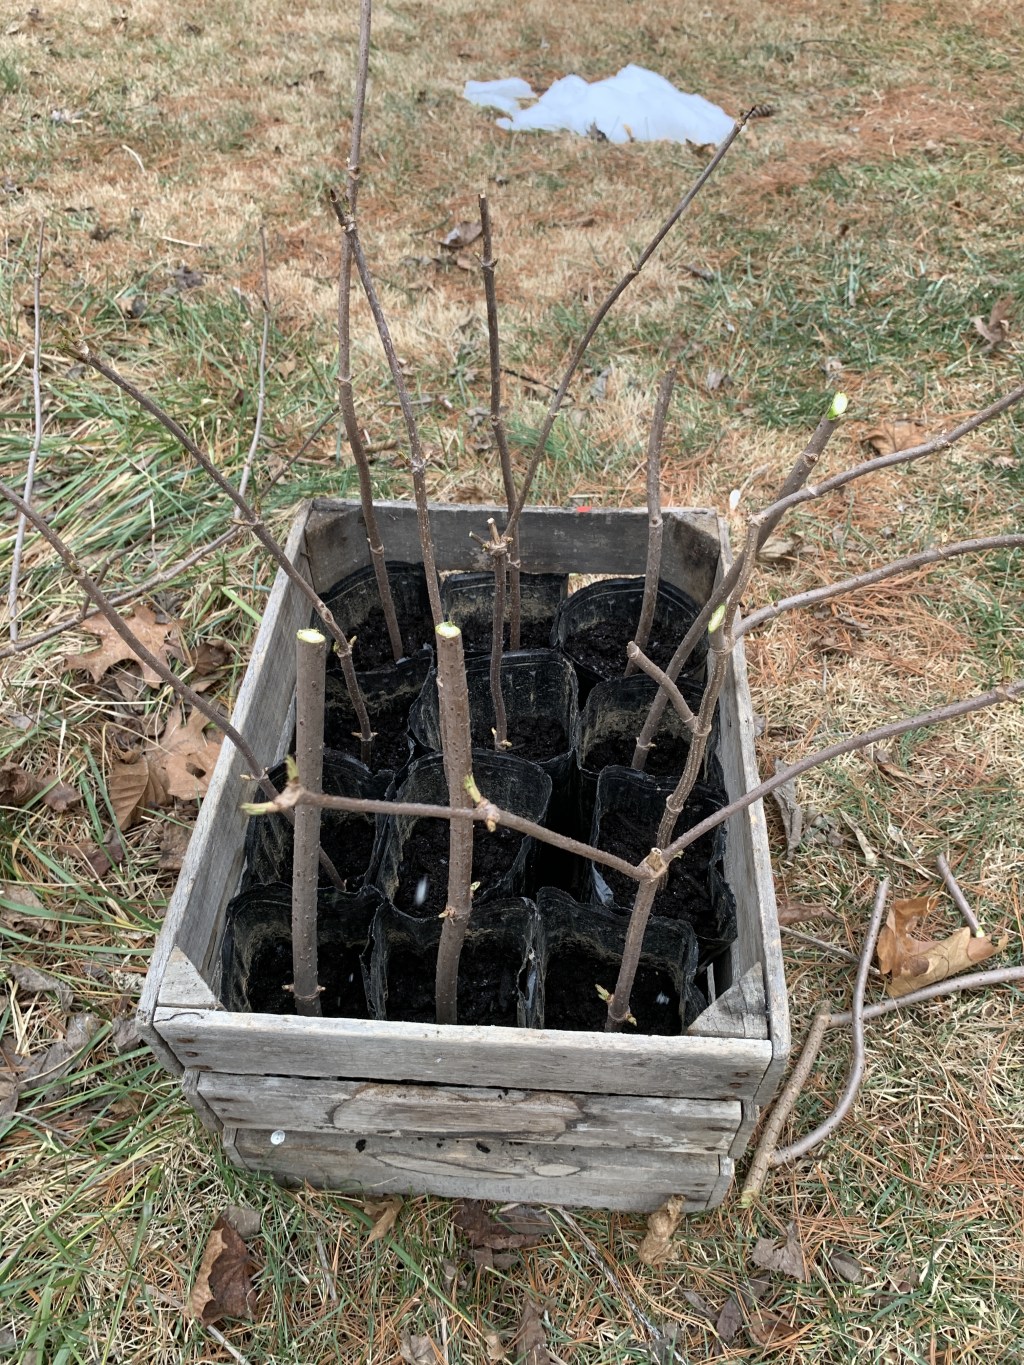
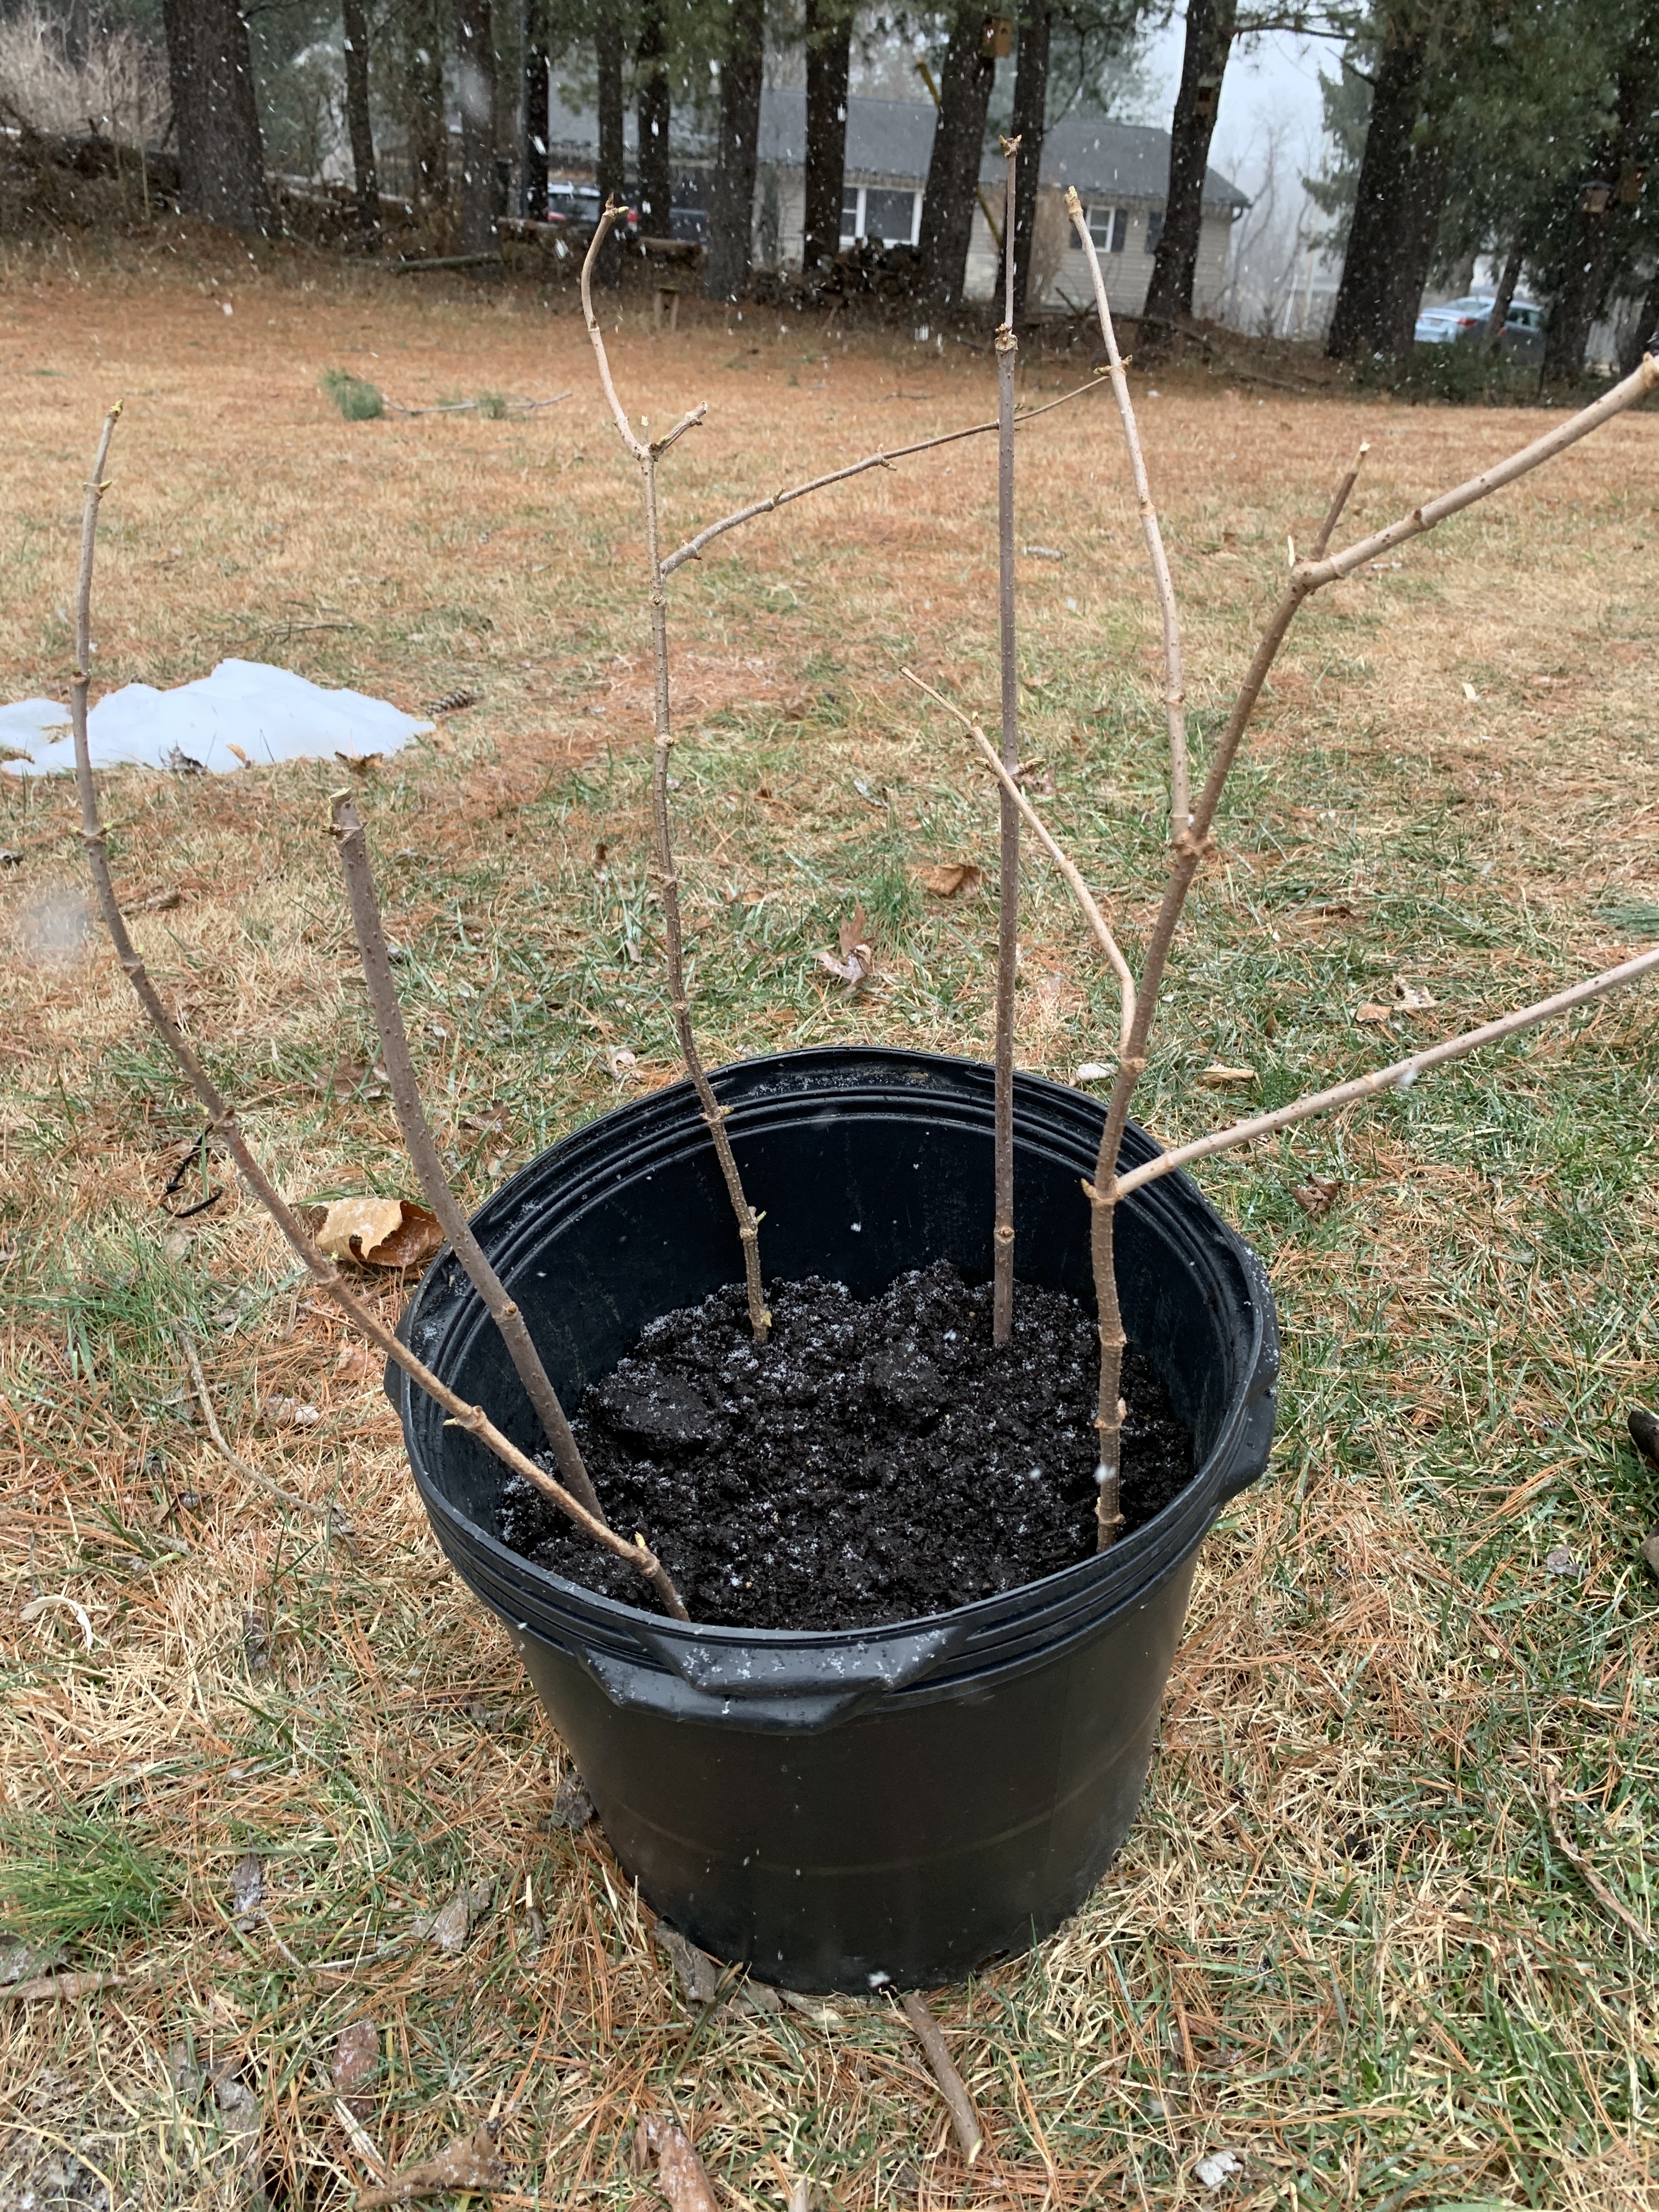
Step 3: Potting for Success
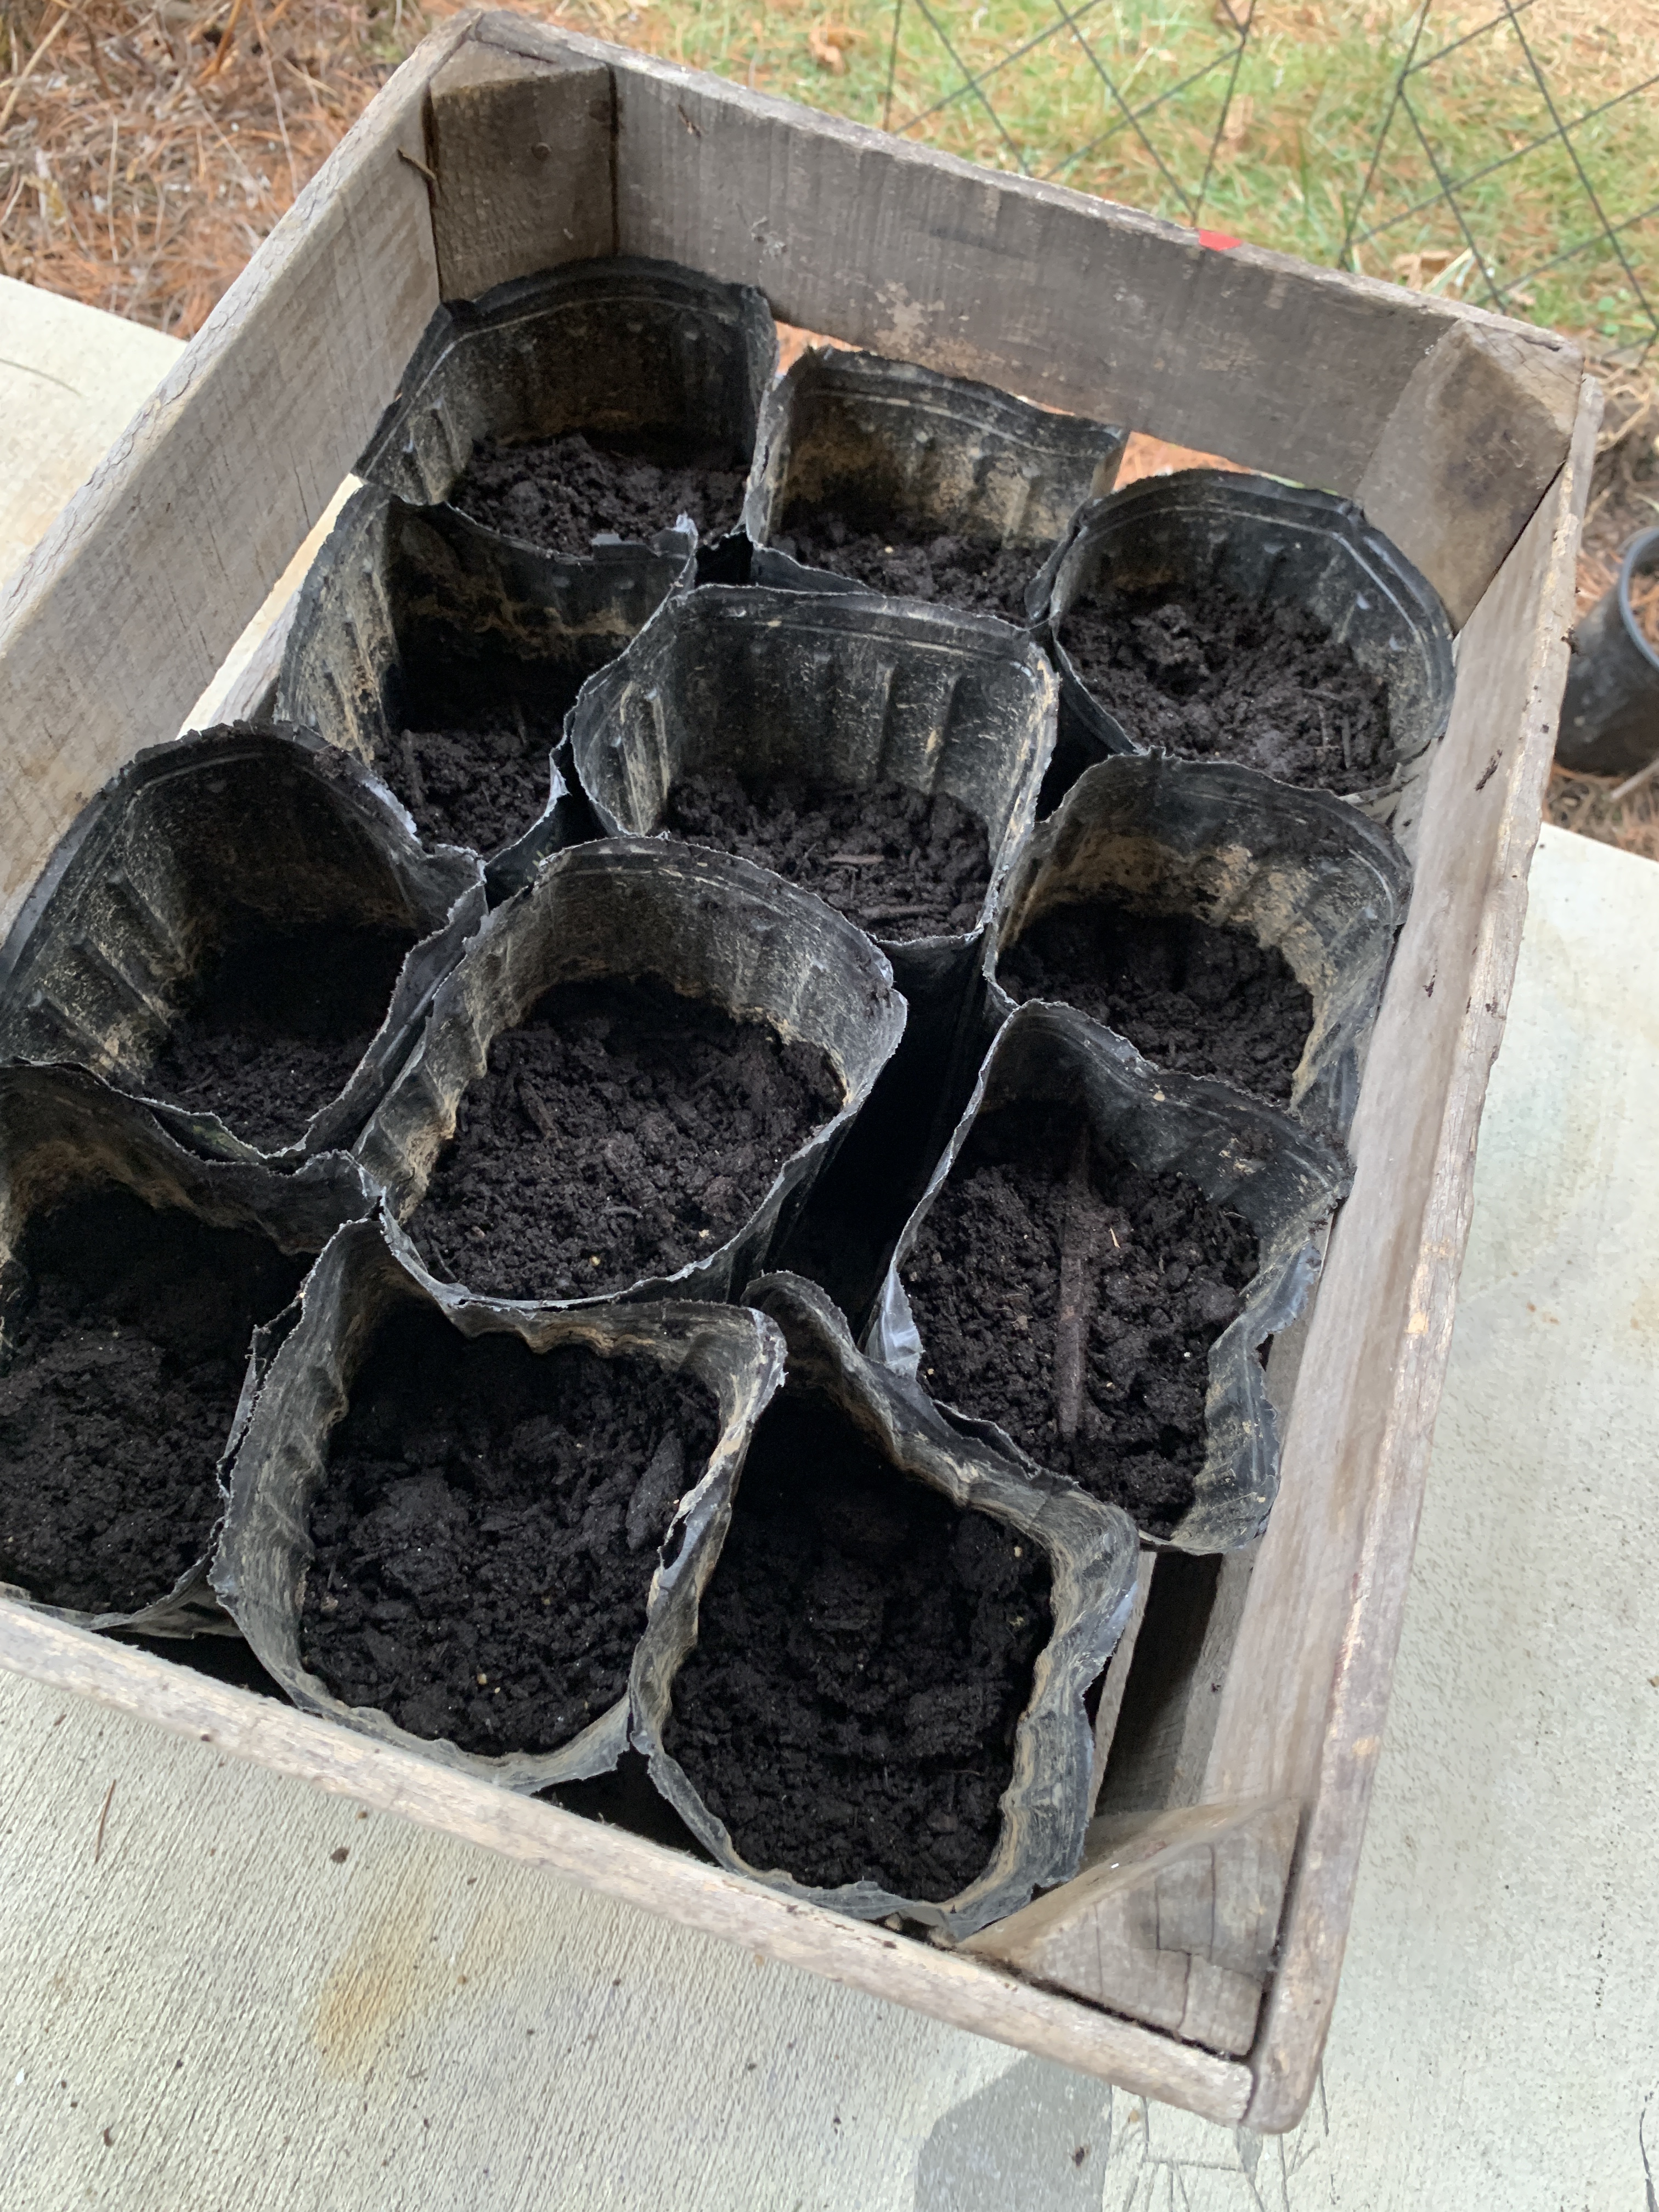
Since we hadn’t prepped a dedicated planting area, we opted for tree pots (large, deep containers ideal for woody plants). If you have a space ready, you can put your cuttings right into the ground. Here’s our setup:
- Planting depth: Buried cuttings about 12 inches deep to cover multiple nodes.
- Spacing: Gave each cutting room to grow in individual pots. Extra cuttings went into a shared pot, spaced 6 inches apart.
- Location: Placed all pots outdoors near the garden to sync with natural dormancy cycles.

Step 4: Letting Nature Take Over
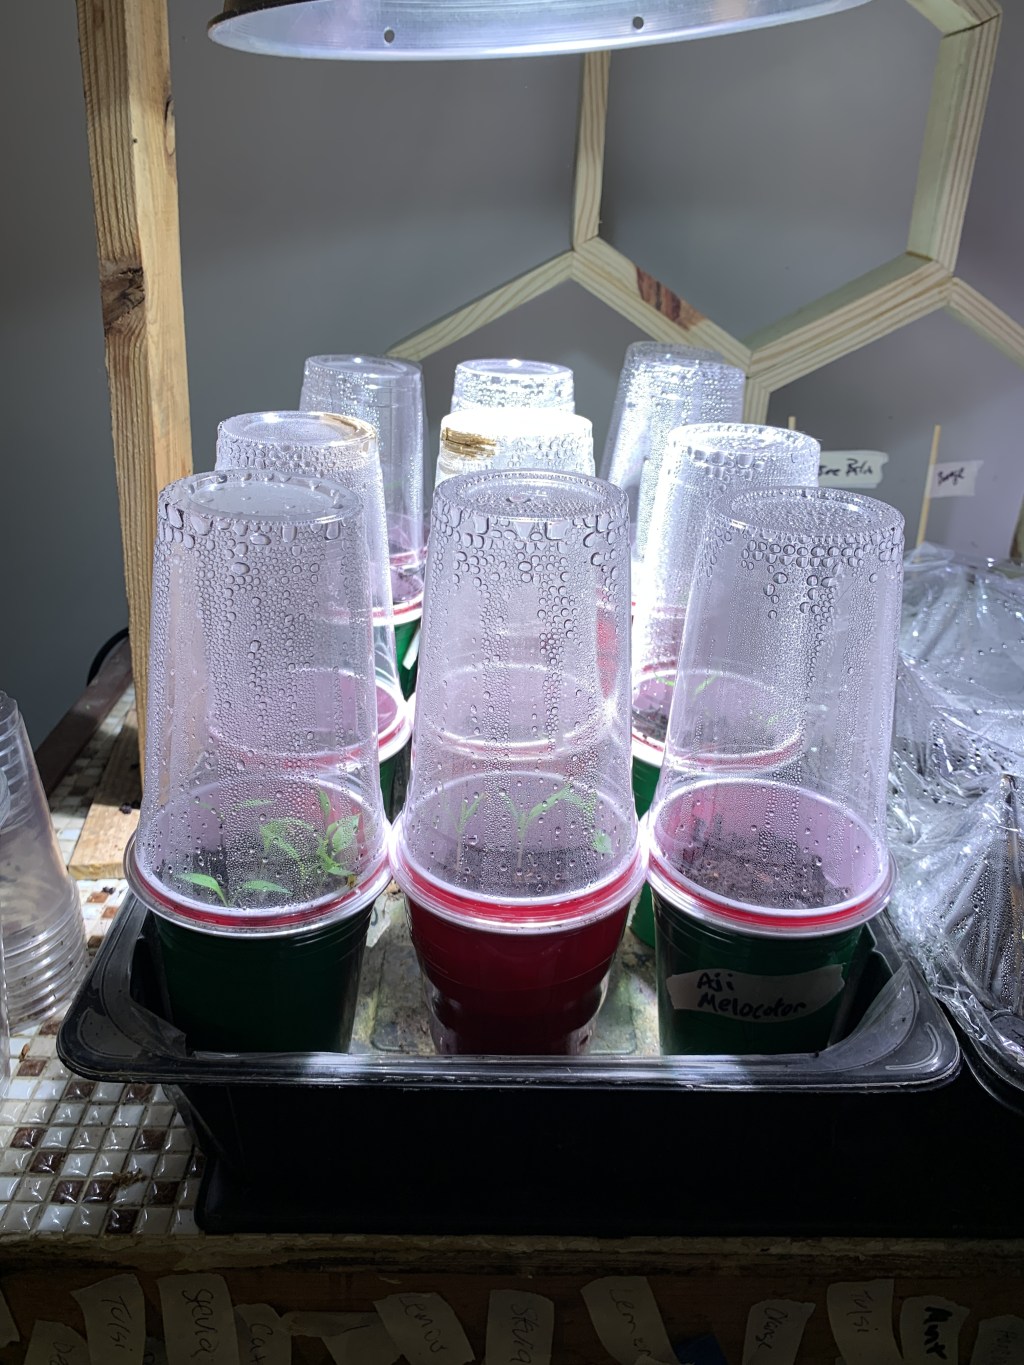
Unlike our blueberry cuttings (which need indoor grow lights), elderberries thrive with a “set it and forget it” approach. Rainwater and warming spring temperatures will coax roots from the nodes. By late spring, we should see leaf buds forming—a sign of successful rooting!
Why This Method Works
Elderberries are propagation champs. Their nodes contain latent root cells that activate when exposed to moist soil. Hardy and forgiving, they’re perfect for beginners. Even if only half our cuttings root, we’ll still gain 10+ new plants with minimal effort.
Plans for Our Elderberry Army
- Homestead expansion: Plant 2–3 bushes around our yard for easier harvests.
- Community sharing: Sell extras at local plant swaps or farmers’ markets to support our gardening budget.
- Gift-giving: Share starts with friends eager to grow their own herbal remedies.
A Sustainable Cycle
This project embodies our homesteading philosophy: Nothing wasted, everything regenerated. What began as a chore (clearing obstructed canes) became a source of abundance. Each cutting represents potential—future syrup for sick days, blooms for pollinators, and maybe even a small side income.
Join the Conversation!
Have you propagated elderberries? We’d love to hear your tips! Did you use hardwood cuttings or try softwood? Any creative ways you’ve used pruned branches? Drop your stories in the comments below. Here’s to turning obstacles into opportunities—one cutting at a time!
Also, please stop by our facebook page and give us a “like” there. We post some additional content there, and we’re always happy to respond and answer any questions you may have! You can also find me on GAB, https://gab.com/jungerer!


Leave a comment