

If I’m being honest, I was never interested in kombucha. I had never tried it or even had the desire to. I knew it was supposed to have some health benefits but didn’t really give it a second thought. Then, a very sweet lady had offered me a SCOBY for free. We all know I don’t turn down free stuff. I was nervous about trying it but did a little (and I mean a little) research and decided, what the heck. Let’s see what this is all about!
For the first three or so brews I only did a first fermentation. For those new to kombucha, that is where you add sweet tea to the SCOBY and let it sit for 2 weeks or so. That’s when the bacteria and yeast take over and turn your sweet tea into kombucha. I tried it plain and actually quite liked the taste. However I knew adding flavors was a popular way to enjoy it so I joined a few Facebook groups about brewing your own kombucha and started getting excited about the possibilities!
One of our Facebook followers had mentioned that she loved dandelion kombucha. This was over the winter so the idea actually slipped my mind until John started gathering dandelions for their roots this spring. I decided now was the perfect time to take the plunge and I am so glad I did! Besides being delicious, dandelions have so many health benefits; so many in fact that John is getting ready to release a 300+ page book all about dandelions as part of his Grow Gather Heal series! It will be available for purchase through Amazon starting May 16th!
I will say, this was a bit of a tedious process but so worth it in the end. Even our 6 year old daughter loves it. She and I both have stomach issues but I have noticed a dramatic reduction in my ailments since drinking kombucha regularly. It is rich in probiotics and antioxidants. It also can aid in improved digestion and can boost the immune system! Why haven’t I tried this sooner?

So without further ado, let me share the recipe! I will walk you through the initial steps of brewing kombucha, in case this is your first time. Feel free to skip over those if you are an experienced brewer.
Instructions for brewing kombucha and first fermentation:
Equipment & Ingredients:
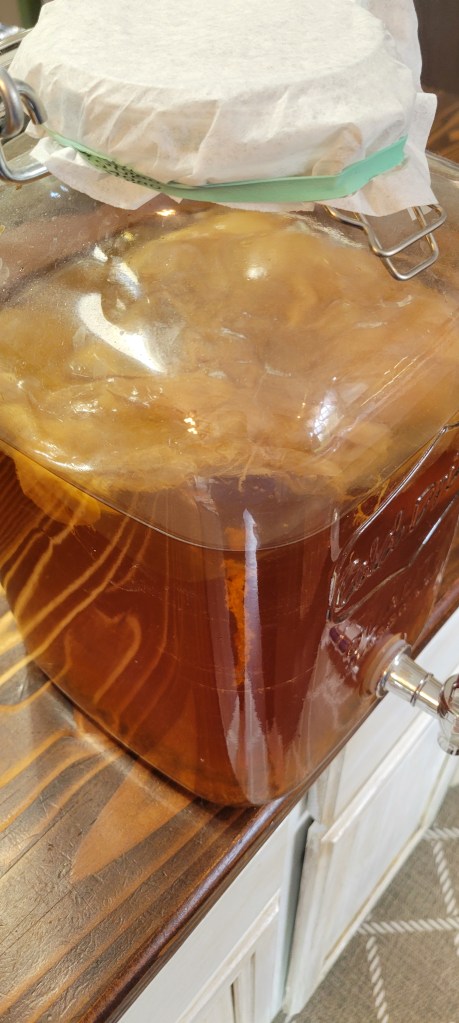
1 large glass jar with a wide opening – avoid plastic as chemicals in the plastic can leach into the kombucha during the fermentation process.
1 piece of cloth, a few coffee filters, or thick paper towels – secure this material around the opening of the jar with a rubber band. Do NOT use cheese cloth, as it allows particles to pass through which can spoil your brew. You can also try using an old (clean) cotton t-shirt or other cotton fabric. The idea is to allow air flow without contamination.
1 SCOBY disk
4 cups filtered water
¼ cup organic cane sugar – most of the sugar is actually “eaten” by the yeast during the fermentation process, so there is very little sugar left in the drink by the time you consume it.
2 organic tea bags – for peak SCOBY health, black tea is recommended but you can try oolong or green tea (or any combo of these) once your SCOBY has grown to at least an inch thick and is hearty.
“starter” kombucha – The liquid your SCOBY came in serves as an appropriate starter for your first batch. In the future, reserve some of your brewed kombucha to start your next batch.
Instructions:
Once you have gathered the materials listed above, follow these steps to brew your very first batch of delicious, homemade kombucha:
- On the stovetop, bring your water to a boil. Remove from heat and add teabags. Steep for 10 minutes then remove and discard.
- Add sugar and stir to dissolve completely.
- Allow the “sweet tea” you just made to cool to room temperature, then add it to your brewing jar.
- Drop in the SCOBY and pre-made “starter” kombucha.
- Cover the jar with cloth or other covering and secure with a rubber band or tie. The cloth should cover the wide opening of the jar and stay in place but be thin enough to allow air to pass through.
- Store the kombucha jar out of direct sunlight and in a cool/dry place and allow it to sit for 2-4 weeks, depending on the flavor you are looking for. Less time produces a weaker kombucha with a less sour taste, while a longer fermentation develops more taste. Beginning at 2 weeks, taste test the batch with a straw every few days to see when it has reached the right taste for you. Once achieved, it is ready to drink or you can move on to flavoring and secondary fermentation.
Notes: While the recipe calls for filtered water and organic everything, I’m going to be honest and tell you, I use tap water and organic nothing and my kombucha turns out just fine. Now, because I have never tried any other kombucha, maybe mine doesn’t live up to normal standards but it’s pretty darn good for me!
Also, you can adjust amounts depending on how much kombucha you want to brew at one time. I quadruple this recipe each time I brew.
Okay, on to the really fun part! Obviously, depending on how much kombucha you are brewing, you will need to adjust amounts but this recipe will give you a great starting off point.
Equipment:
- Bottles (flip top, reused wine bottles, mason jars, etc)
- Medium Pot
- Fine Mesh Sieve
- Small Funnel
Ingredients:
- 40-50 dandelion blossoms
- 4 cups water
- ½ cup raw honey (more or less to taste)
- 4 cups fermented kombucha


Instructions:
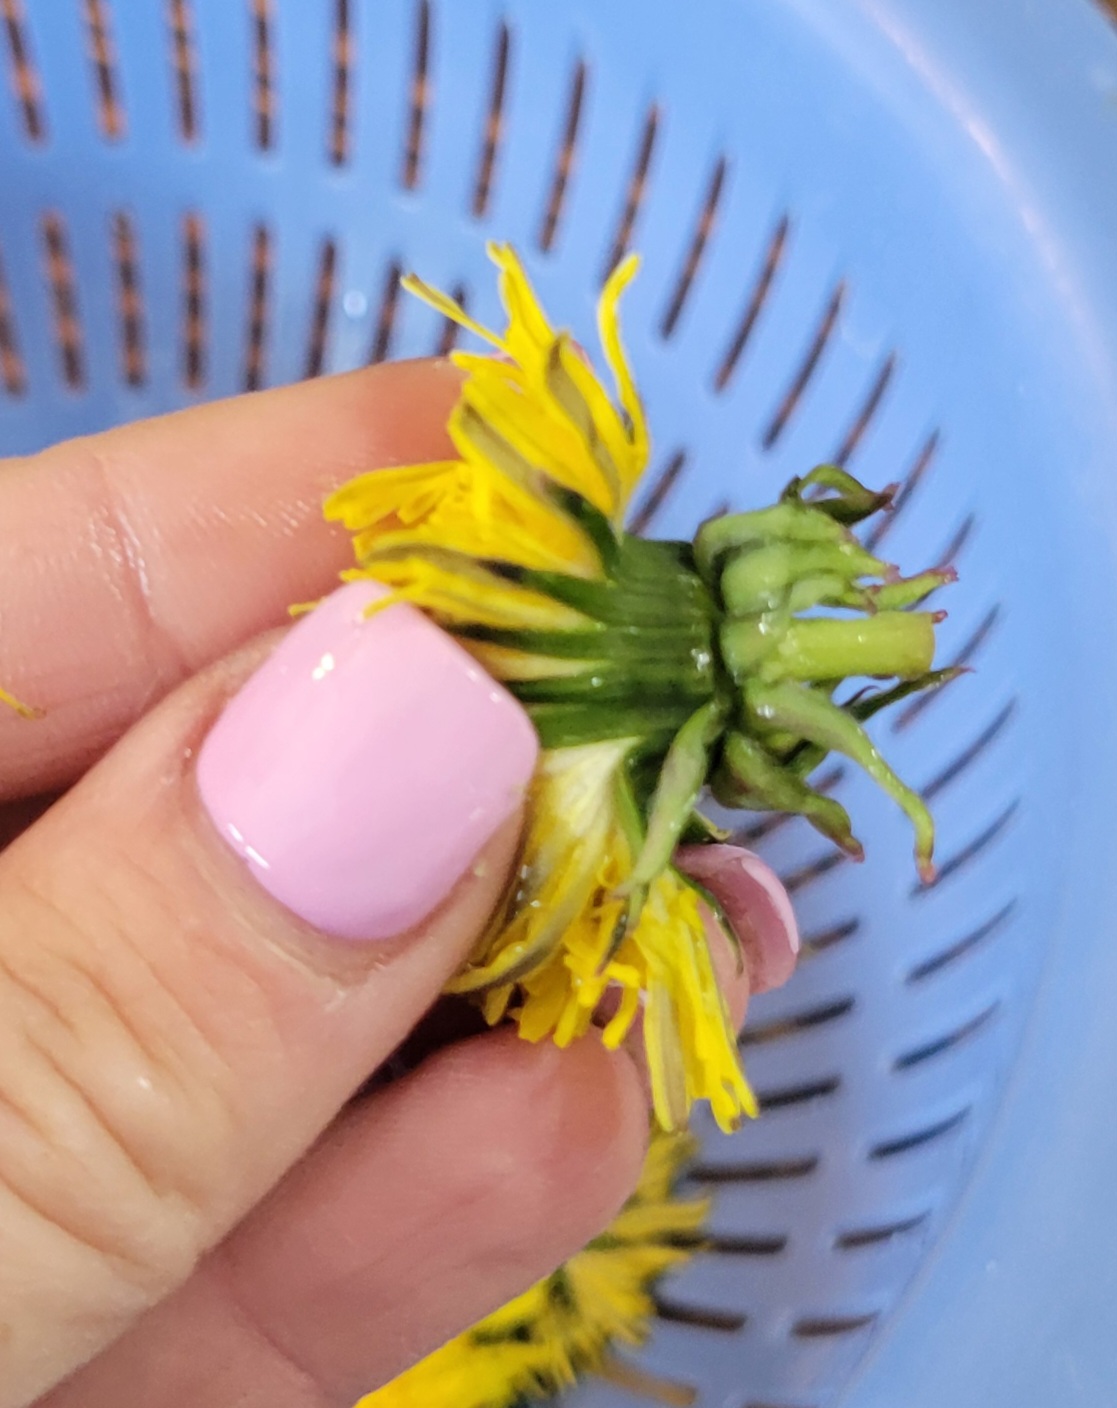
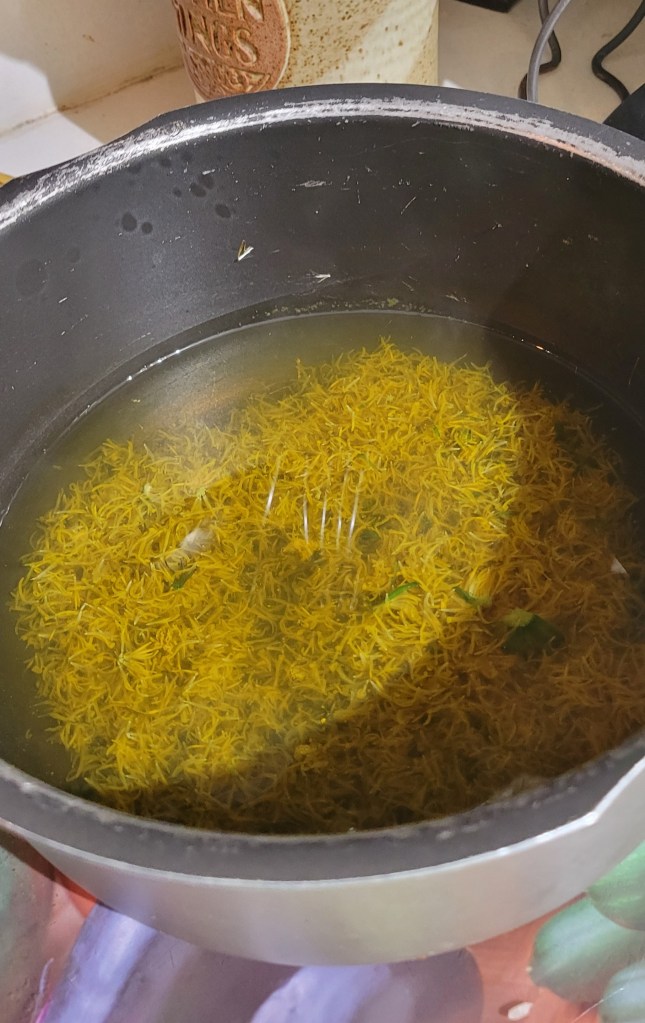
- Put dandelion blossoms (green parts removed) and water into a pot and bring to a boil. Reduce the heat and simmer for 5 minutes then turn the heat off.

2. Let the dandelion tea cool a bit then add the honey and stir.
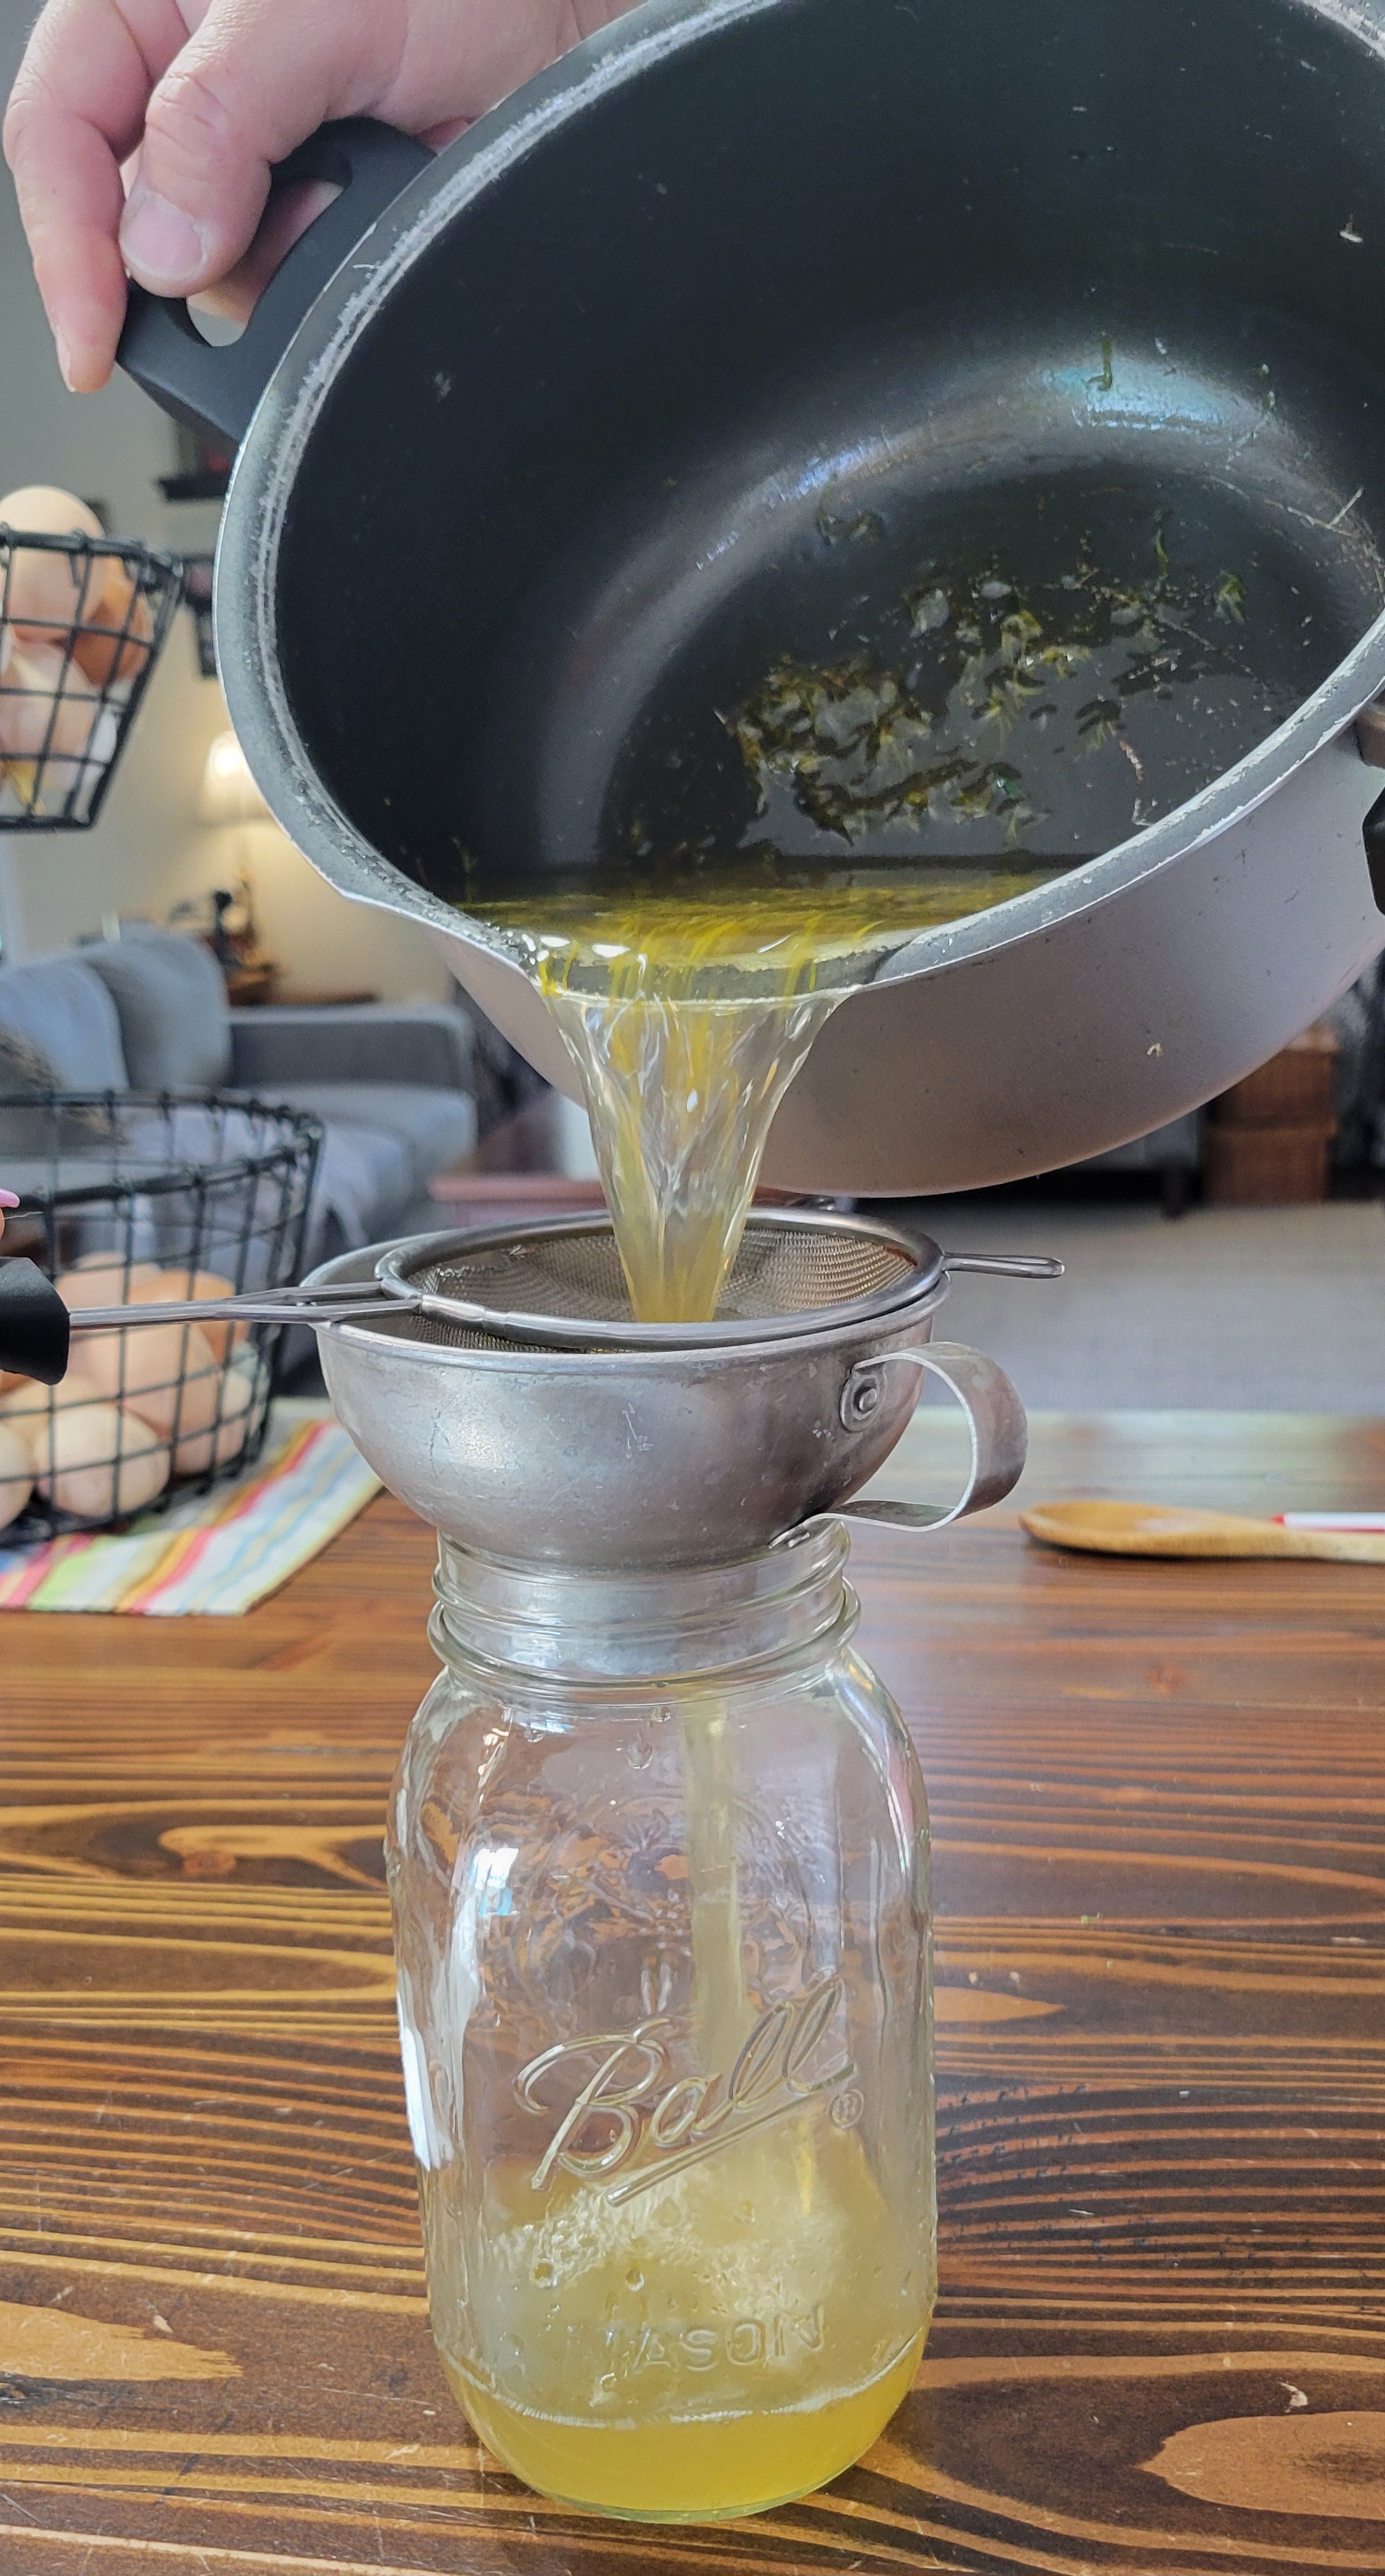
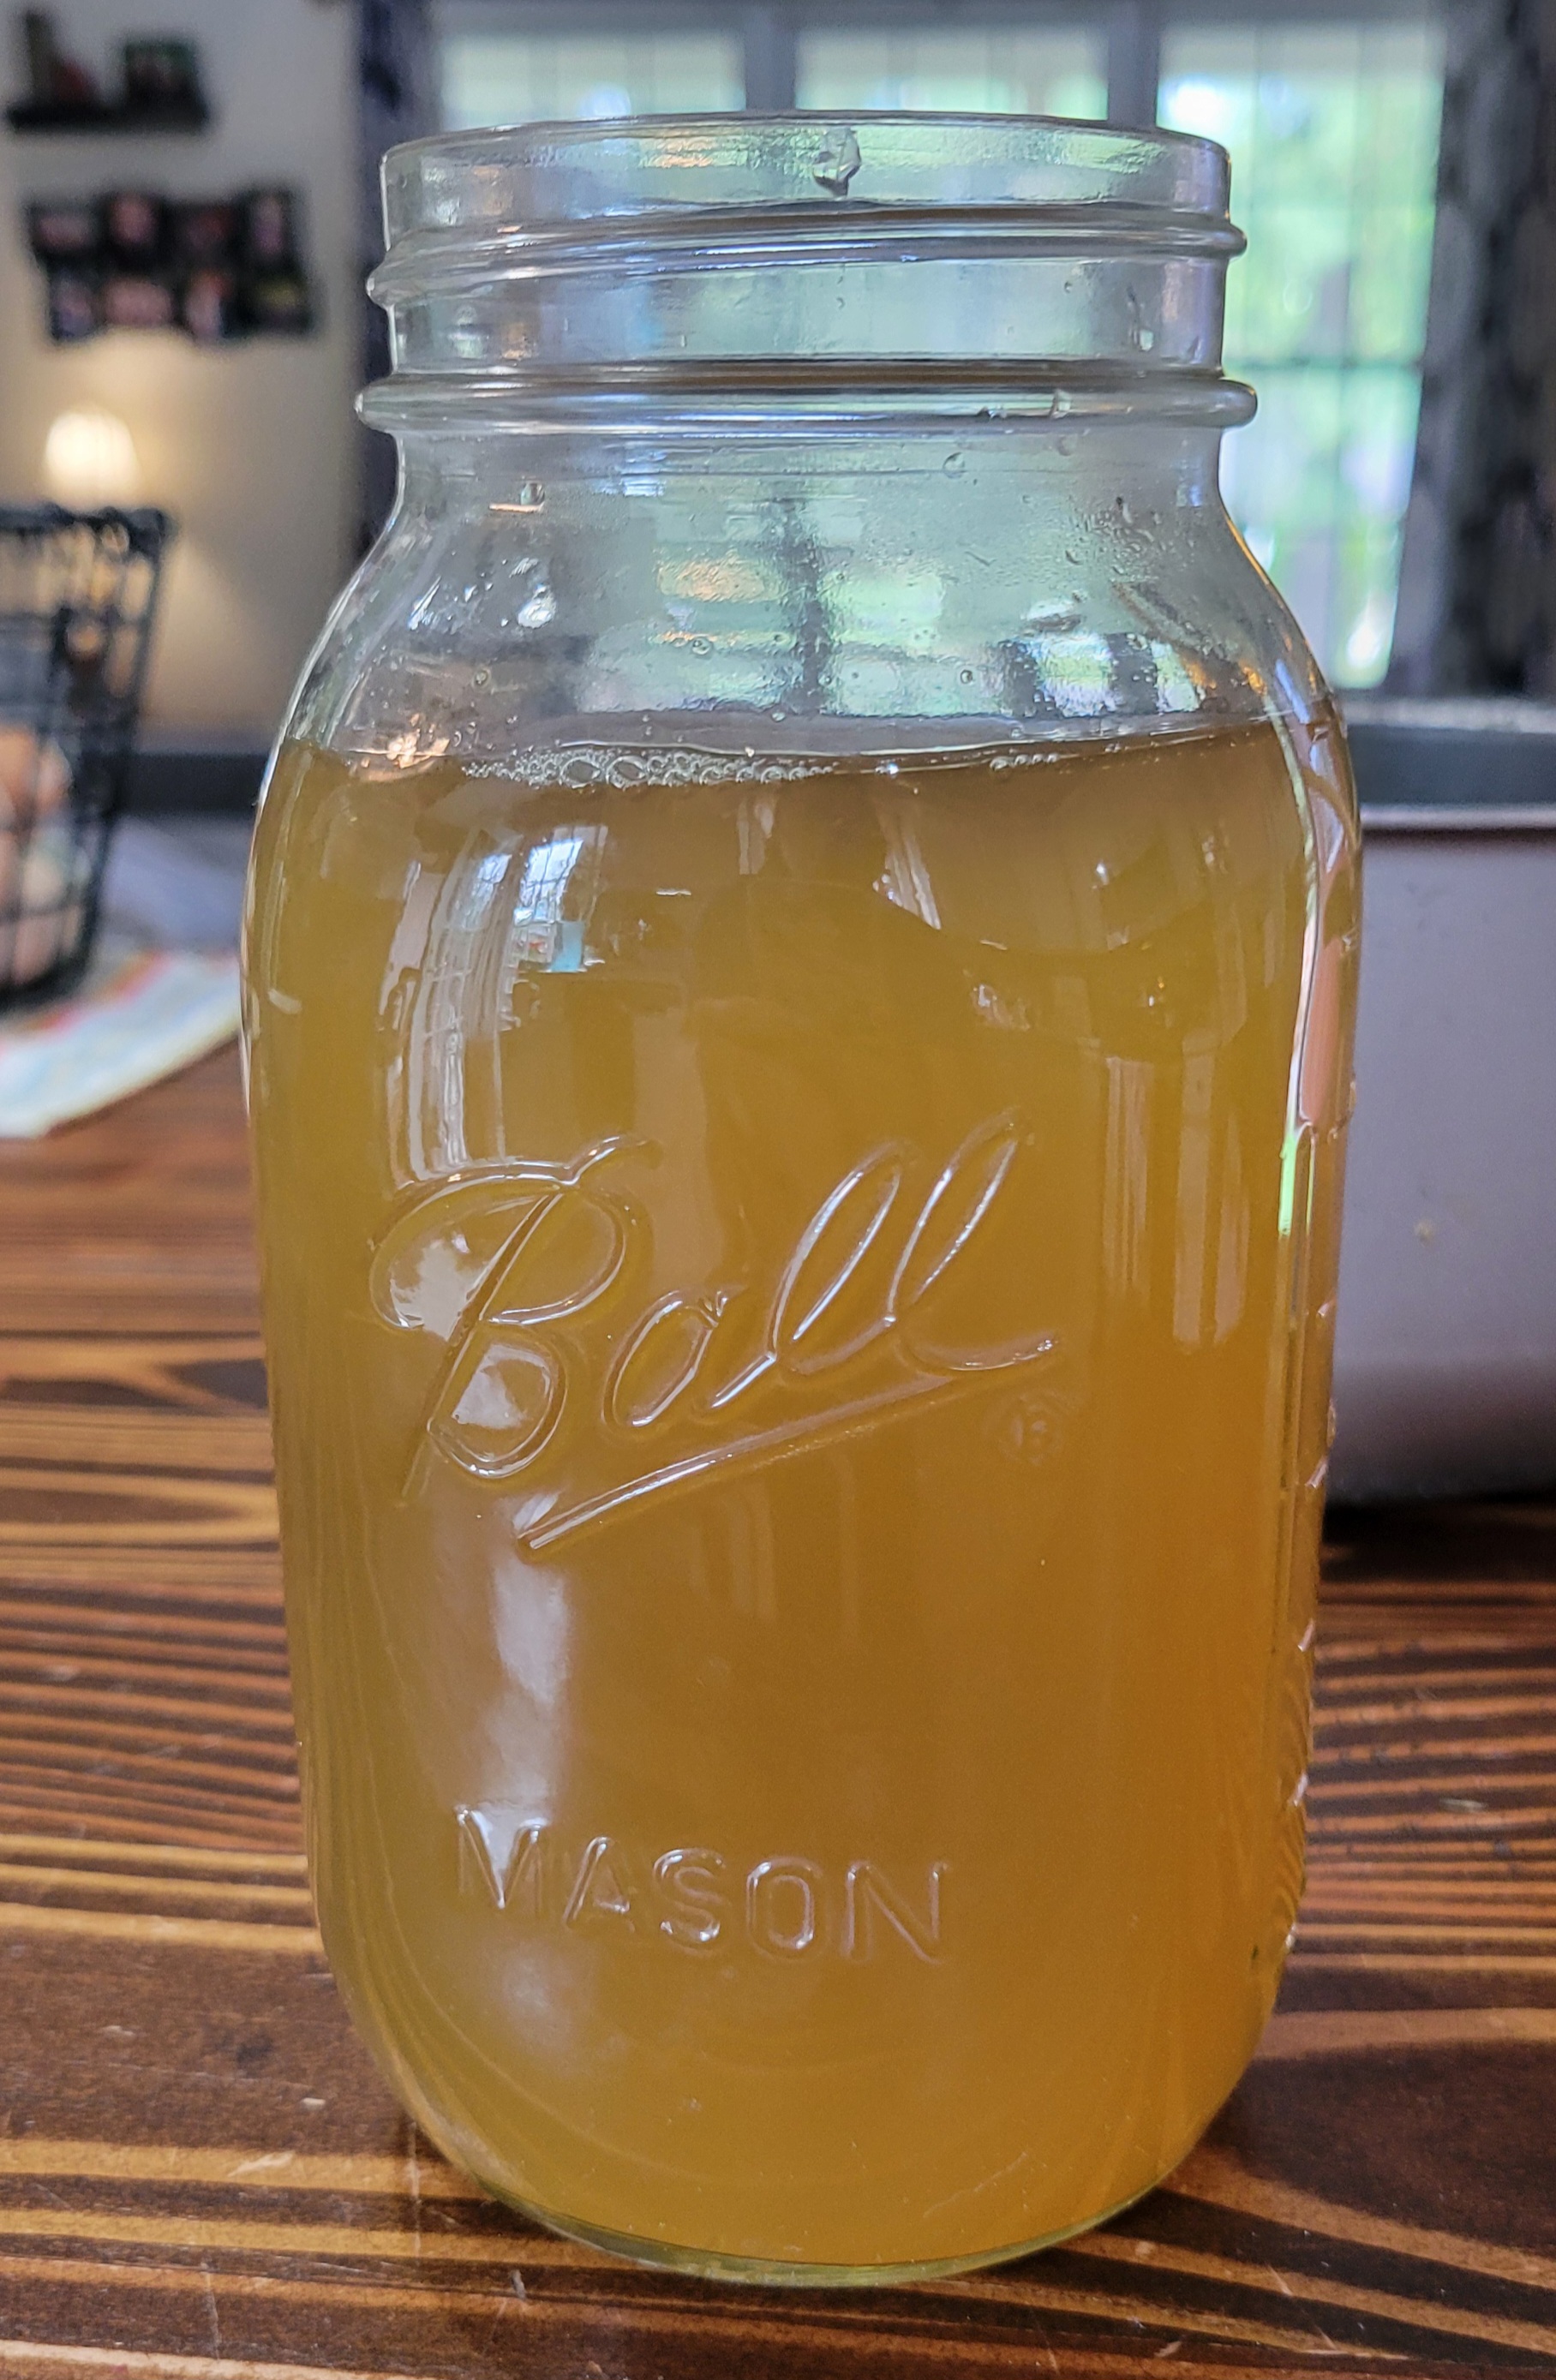
3. Strain out the dandelion flowers and let the tea cool to room temperature.
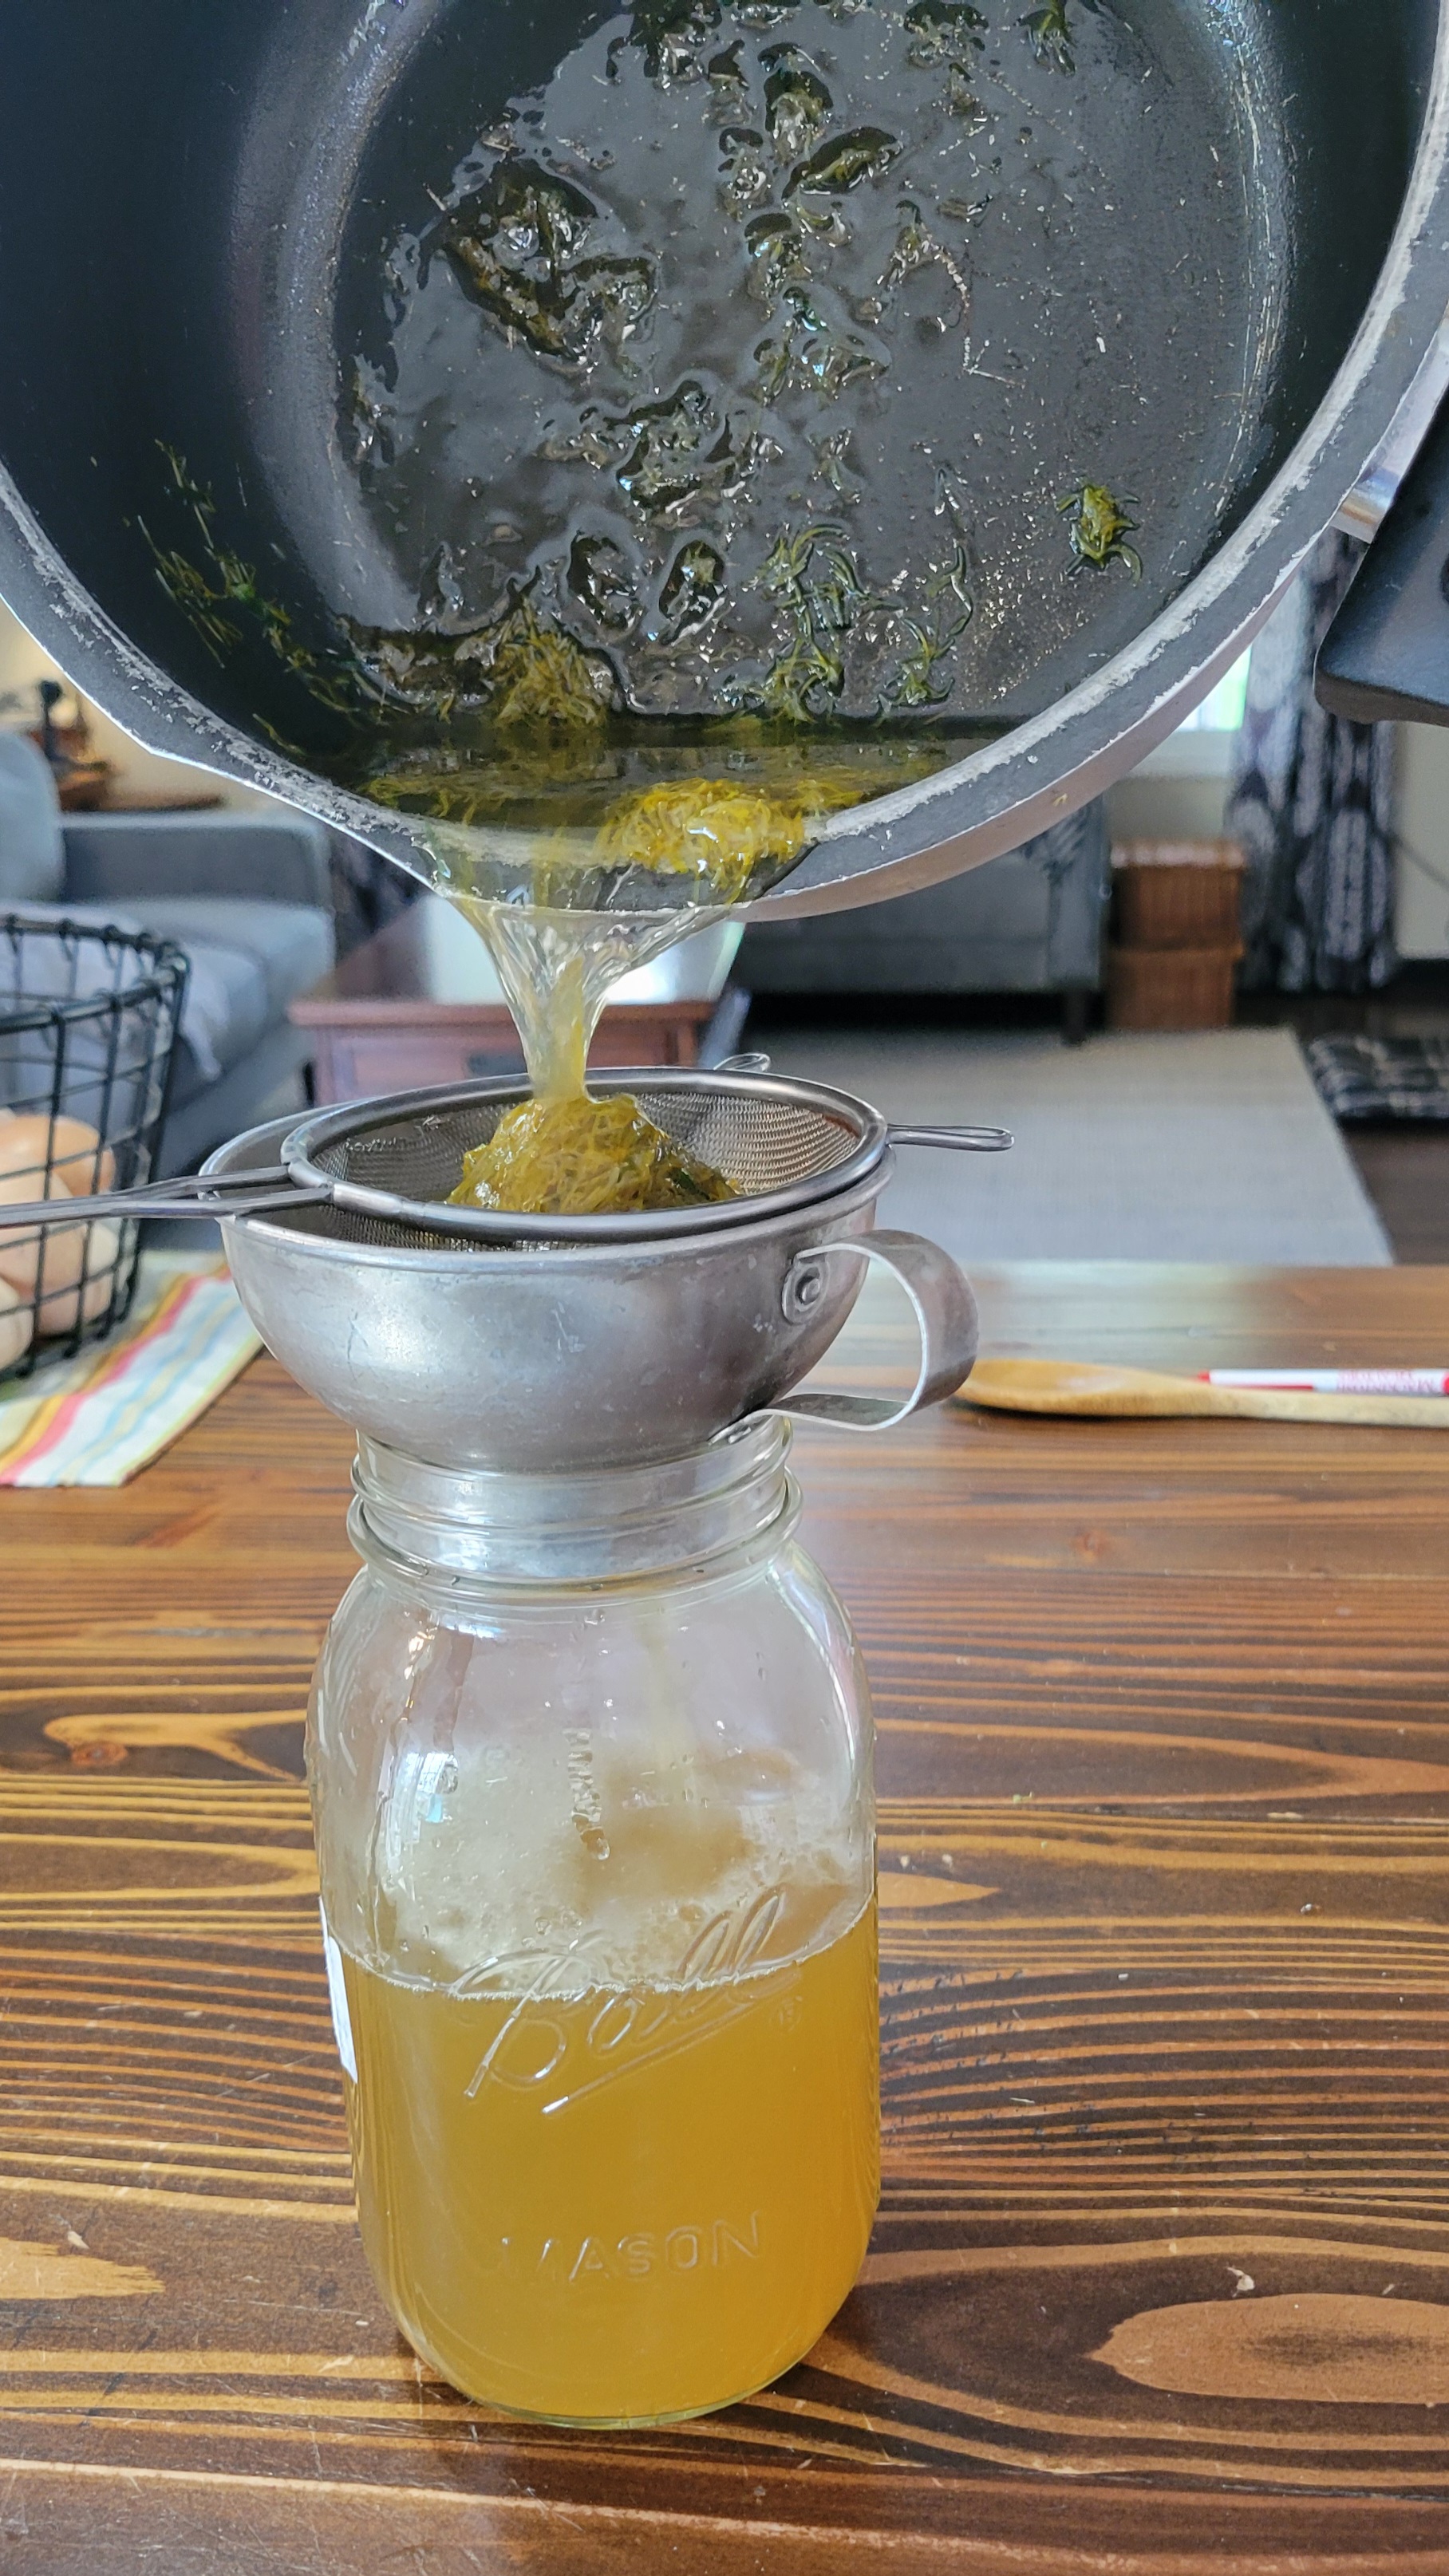

4. Gently swirl the kombucha from the first fermentation to evenly distribute the yeast. Add the kombucha to your bottle and then add the dandelion tea at a 1:1 ratio. Depending on the size of your jar will depend on the amount of each you are adding. Be sure to allow 1-2 inches of head space.

5. Seal the bottles and shake them gently to mix.
6. Place the bottle in a room away from direct sunlight but where you will remember to check on them daily.
7. As the fermentation process occurs, you will notice small bubbles forming at the top and the yeasts will float. Check the bottles daily and “burp” them at least once a day to release pressure build up. If there is built up pressure and the bubble race to the top, then move the bottle to the fridge. Depending on the ambient air temperature, this can take anywhere from 2-14 days or so.
8. Once chilled, pour yourself a tall glass and enjoy!
I sincerely hope you give this recipe a try! It is just delicious and so refreshing! It definitely reminds me of spring in a bottle. And it’s good for you! WHAT!?!?!
Just a few last thoughts:
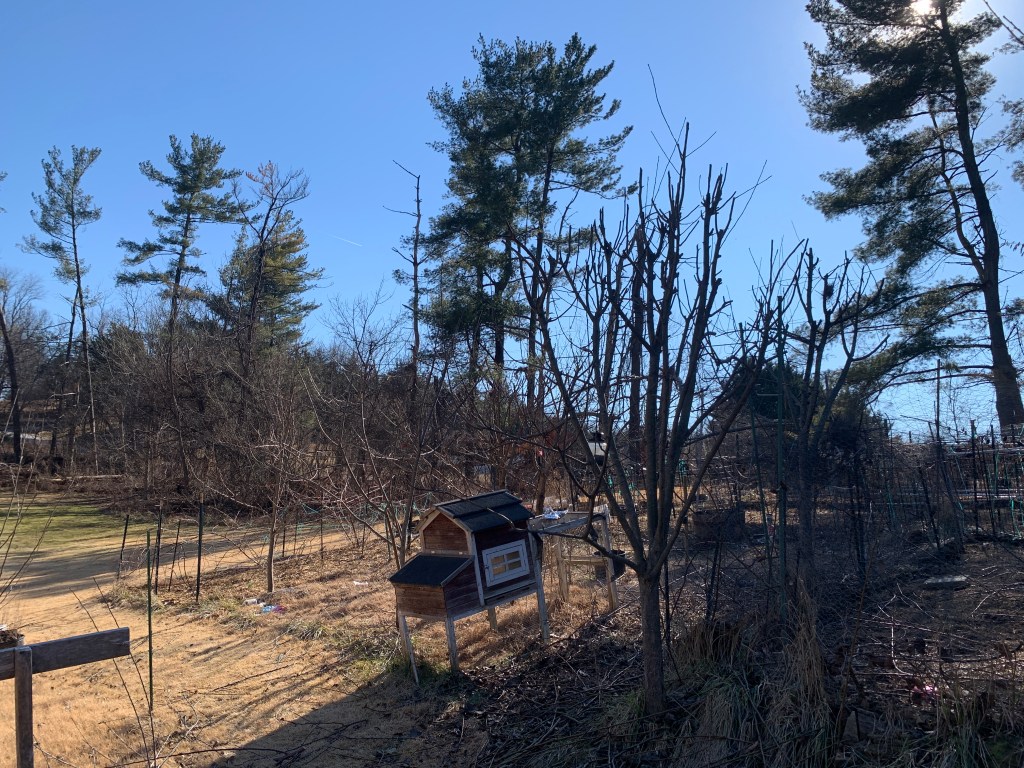
Make sure you are foraging for dandelions in an area that is not sprayed for pesticides, such as along roadways or in parks. We collect from our backyard because we do not use pesticides of any kind.
I prefer to remove the green leaves around the flower, which is more time consuming but I don’t enjoy the flavor of the green leaves. If you like that flavor, feel free to leave them on.
The temperature of your home will affect how quickly your kombucha ferments. Colder=slower. Warmer=faster.
You don’t have to let this kombucha sit and ferment any further once you mix it. You can drink it right away, it just may not be as carbonated. Totally your call!
You can make the dandelion tea, minus the honey, ahead of time and freeze it. Then when you are ready to use it, warm it slightly and add the honey. This is so exciting because you can enjoy the taste of spring and summer in the middle of winter!
Well, time for me to sign off and sit back and enjoy a glass of Dandelion Kombucha! Cheers!

Also, please stop by our facebook page and give us a “like” there. We post some additional content there, and we’re always happy to respond and answer any questions you may have! You can also find me on GAB, https://gab.com/jungerer!


Leave a comment