

Garden Season! Ahhhh…that magical time of year when you get fresh produce right outside your door. Not only do you get the satisfaction of growing it yourself, you get to enjoy the unmistakable flavor that comes with it. Especially from a fresh, red, ripe, juicy tomato. Not the hot house, pink, hard, dry, flavorless variety you get from the grocery store in the middle of winter. The planted yourself, in your garden, with your hands, by the sweat of your brow, nothing tastes better, delicious tomato! Let’s all take a moment and appreciate that. Mmmmm….

Alright, now that we are all hungry for a BLT sandwich or a bowl of pasta with homemade spaghetti sauce, let me ask you a question. Do you know the difference between an heirloom and a hybrid variety of tomato? If I am being honest, for a long time I did not. A tomato is a tomato right? In many respects, yes, however, when it comes to growing your own, it is important to know the difference. This is particularly true if you start your tomato plants from seed. And even MORE important if you would like to never have to buy tomato seeds again. Are you intrigued?
Allow me to explain. Heirloom varieties of tomatoes (or any vegetable for that matter) are vegetables that produce seeds that will grow new plants exactly like the plant they come from. This is actually quite Biblical. In Genesis 1:11 “And God said, Let the earth bring forth grass, the herb yielding seed, and the fruit tree yielding fruit after his kind, whose seed is in itself, upon the earth: and it was so.” Basically God made plants to reproduce naturally.
Now, man in all his wisdom (cough, cough) has since created hybrid varieties of vegetables always striving for bigger, rounder, juicier, different colored, etc fruits. However, because of the variations of the hybrid genes, the seeds from these vegetables do not produce fruit true to the parent plant. So while seeds certainly can be saved, there is no telling what will grow from them. The plants may grow but could be barren of fruit or the fruit may be deformed. So seed saving from hybrid plants is typically an exercise in futility.
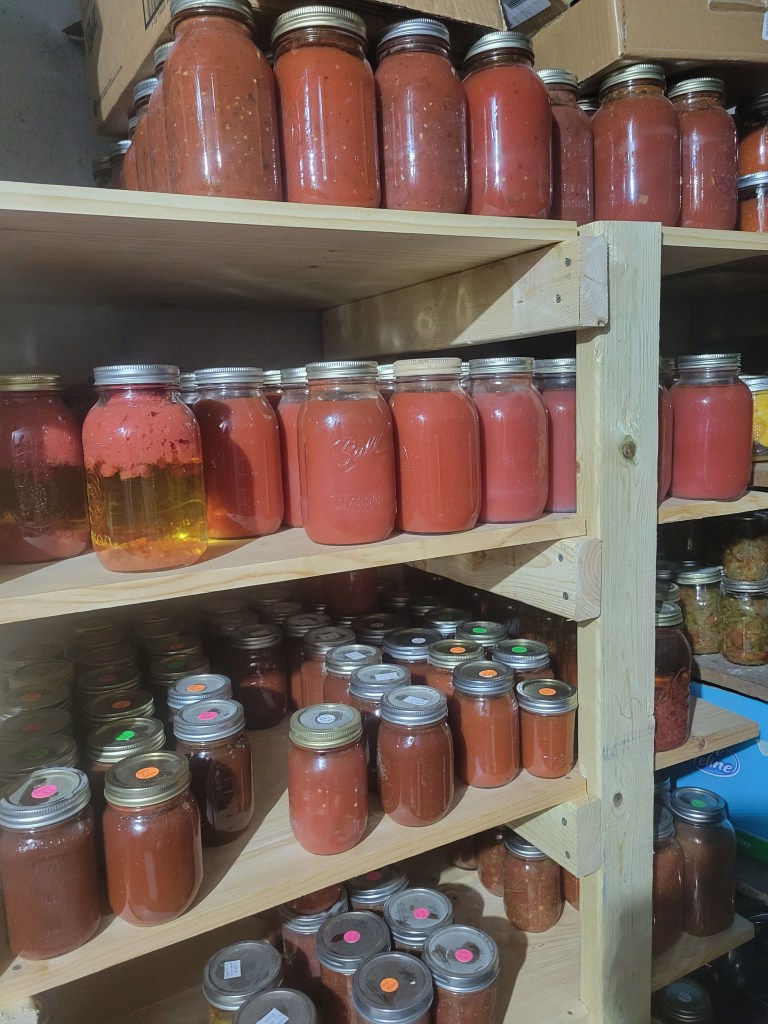
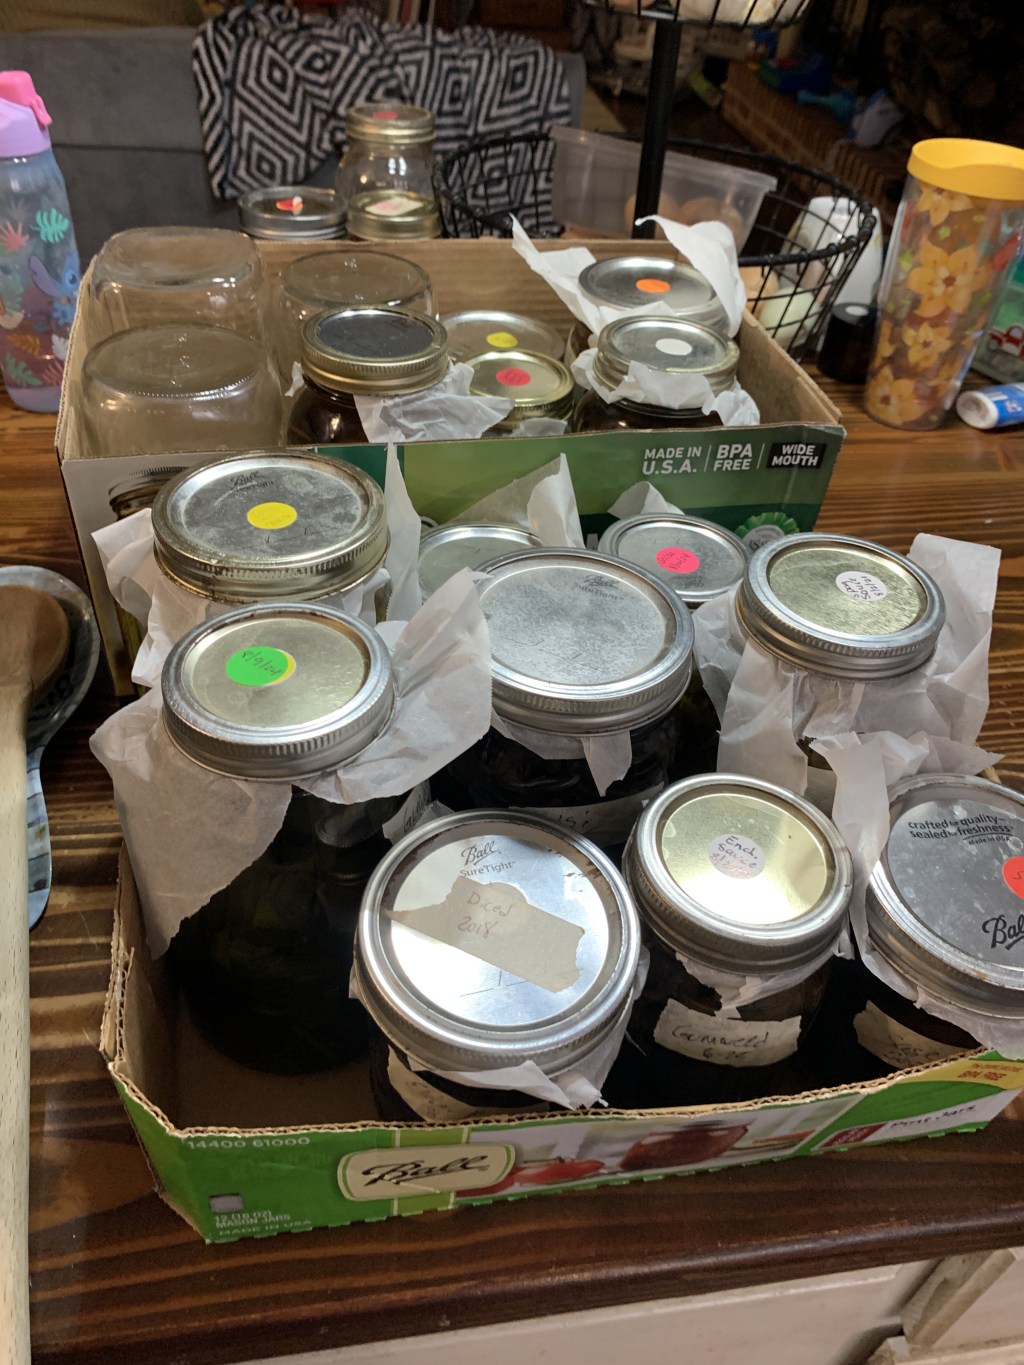
John and I have grown a garden for most of our marriage, typically increasing it in size a little every year. We have learned to can most of our bounty to use throughout the year and one of the vegetables we rely on most are tomatoes. During Covid, however, we found tomato seeds hard to find because, as you may have also experienced, there was a sense of panic about food shortages and suddenly people who had never gardened before were growing their own food. I personally think this was one of the best things to come from that awful time in our country’s history but I digress.
What we realized through that experience, though, was that we had better learn how to start saving seeds from year to year. I had already dabbled in saving flower seeds but we always bought our veggie seeds…until we couldn’t. So, we started researching and learned how to seed save and have been doing it for many years now with excellent success. Now we want to share that success with you! We have a “seed bank” where we stash seeds of all kinds of seeds for long term emergency needs but also save seeds yearly to use in subsequent.
Today I want to talk about tomato seed saving! It’s a longer process than just popping the seeds out, because as I’m sure you are aware, they come with some slimy stuff attached. But, it is still a rather easy and rewarding process, so let’s get to it!
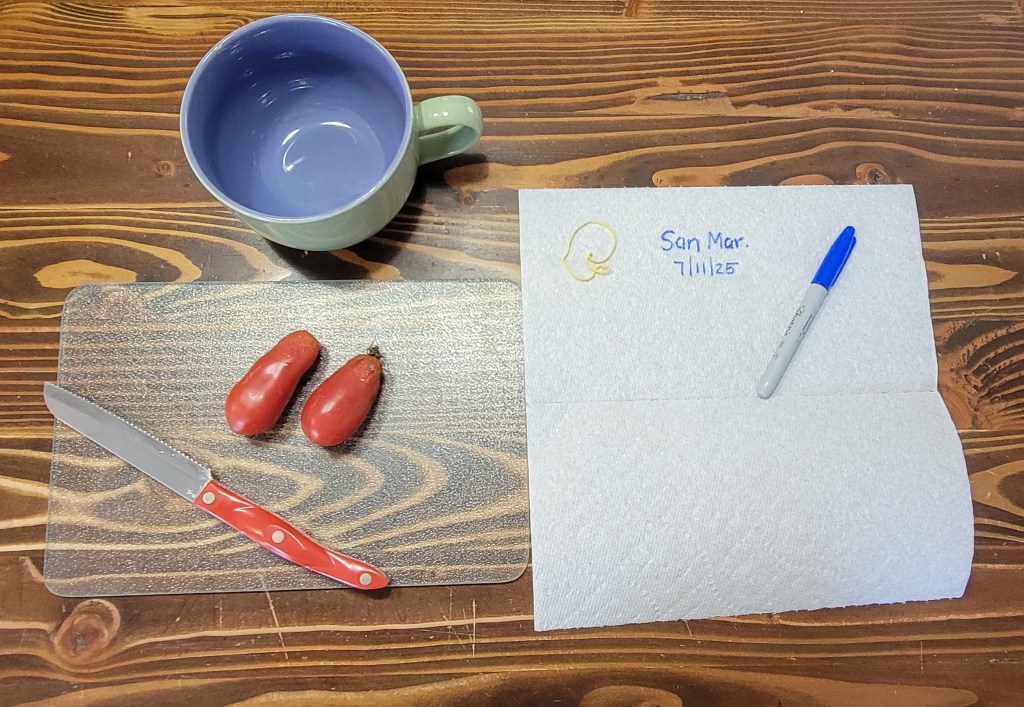
- Gather your supplies
A. Tomato(es) of your choice – heirloom only
B. Cutting board
C. Knife
D. Bowl(s)
E. Paper towel
F. Spoon
G. Marker
H. Rubber Band
I. Fine Mesh Metal Sieve (last step on day 3)
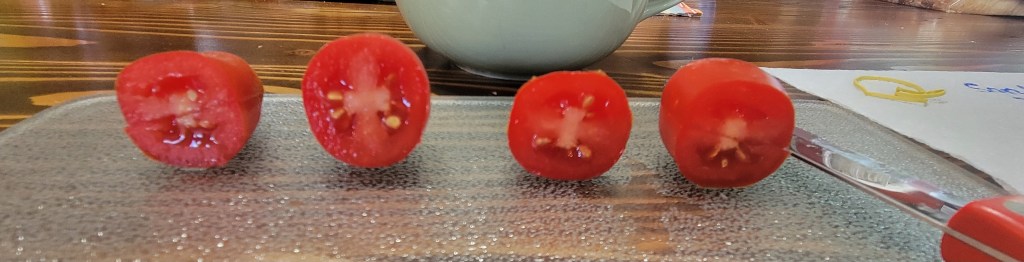
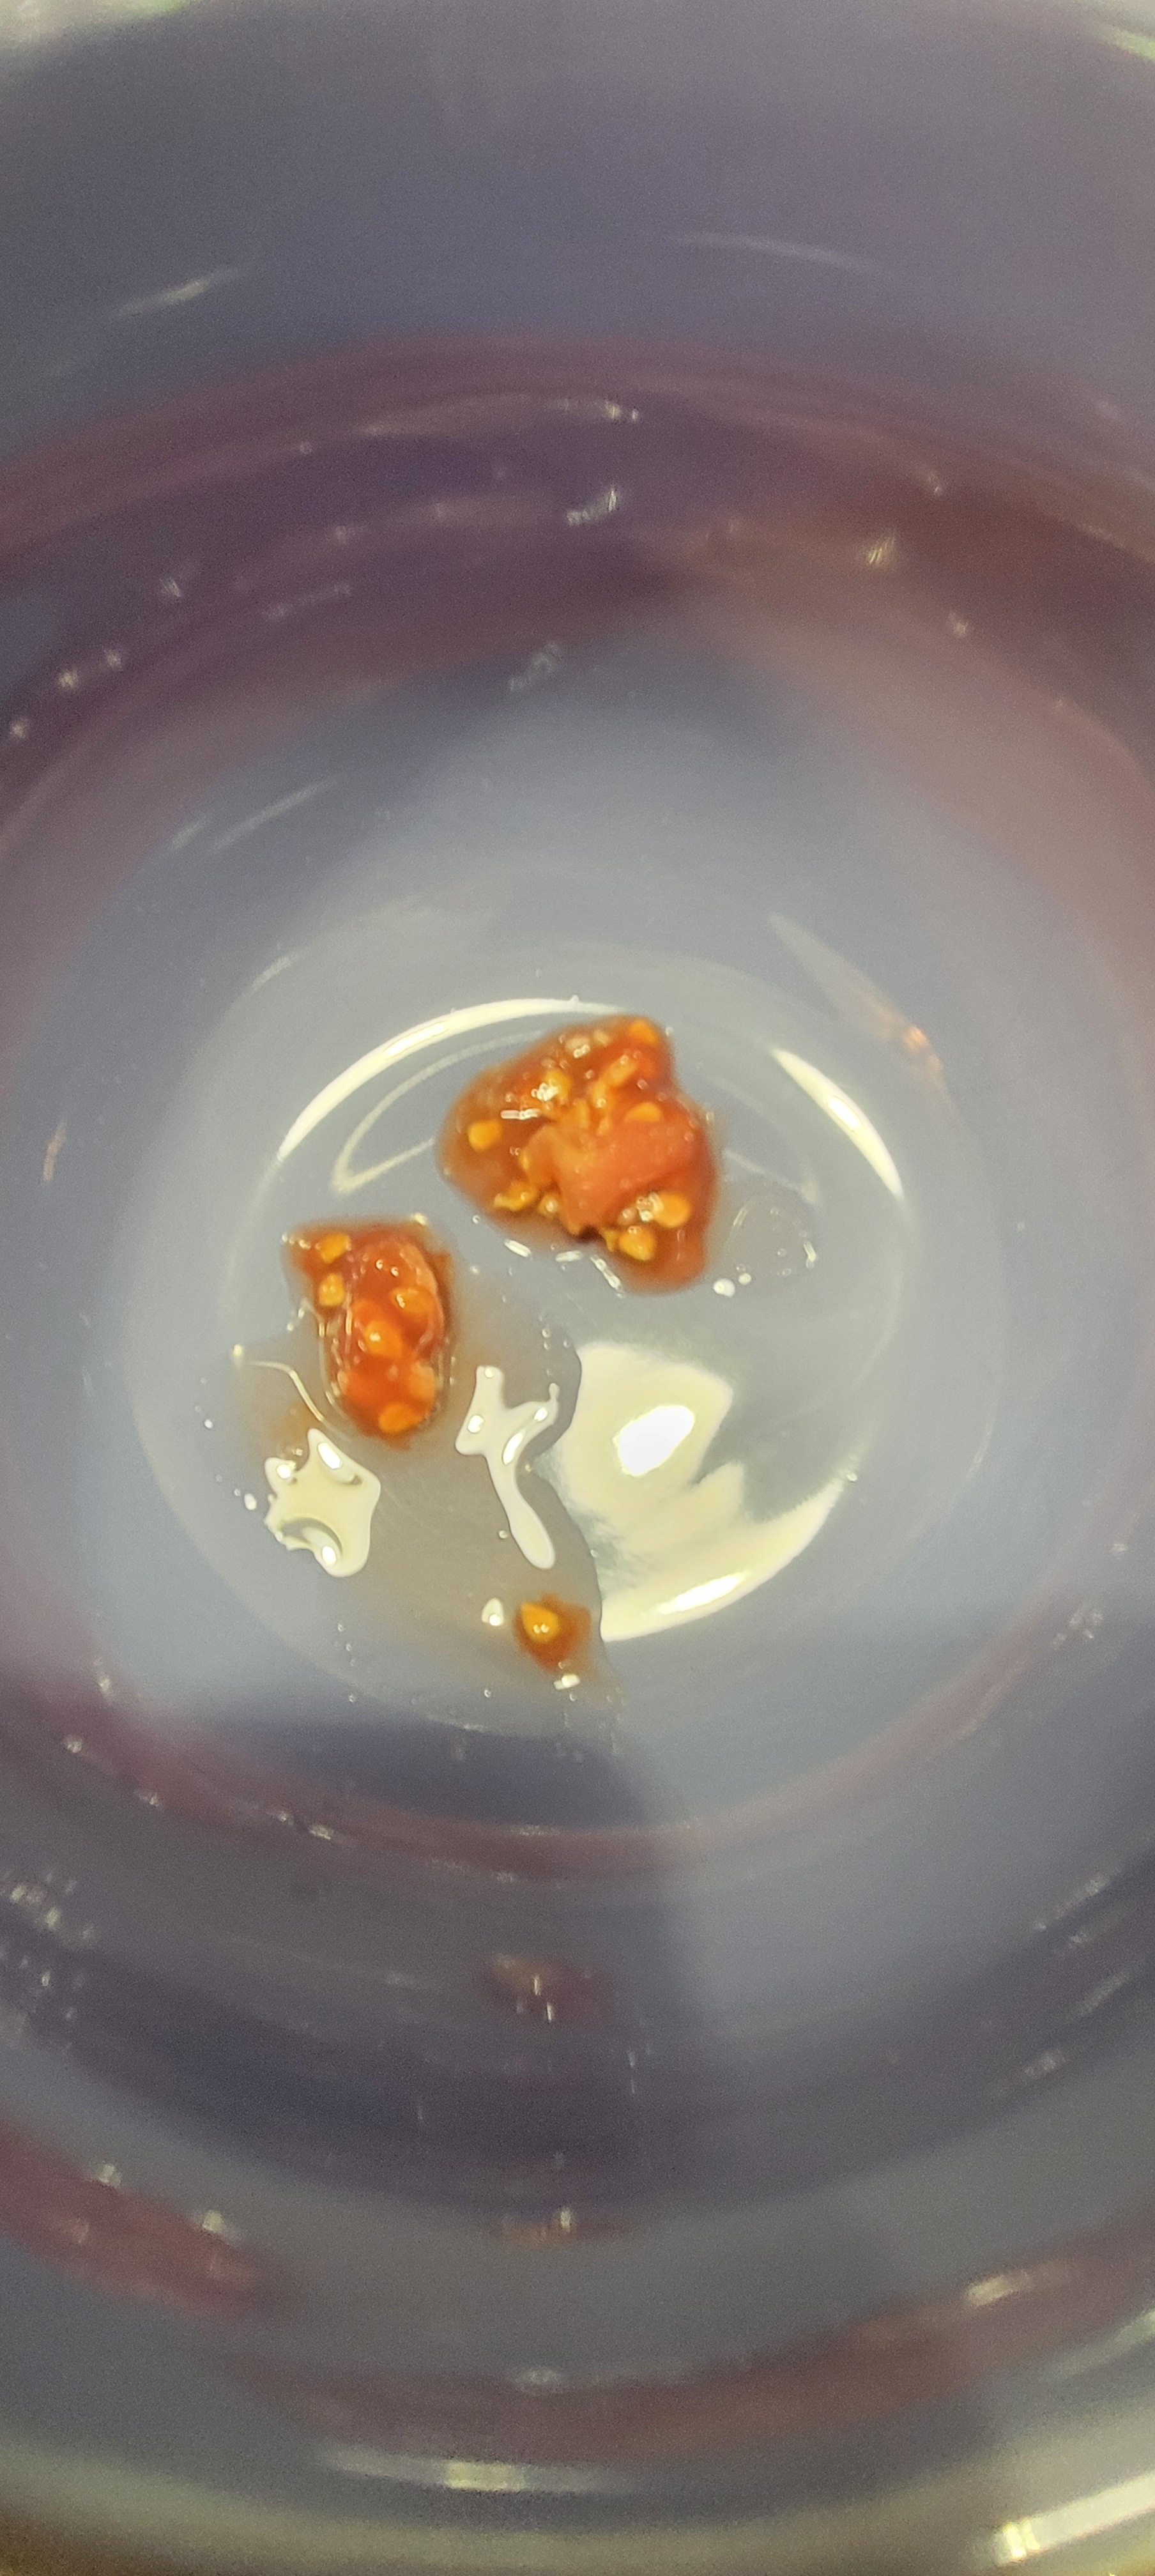
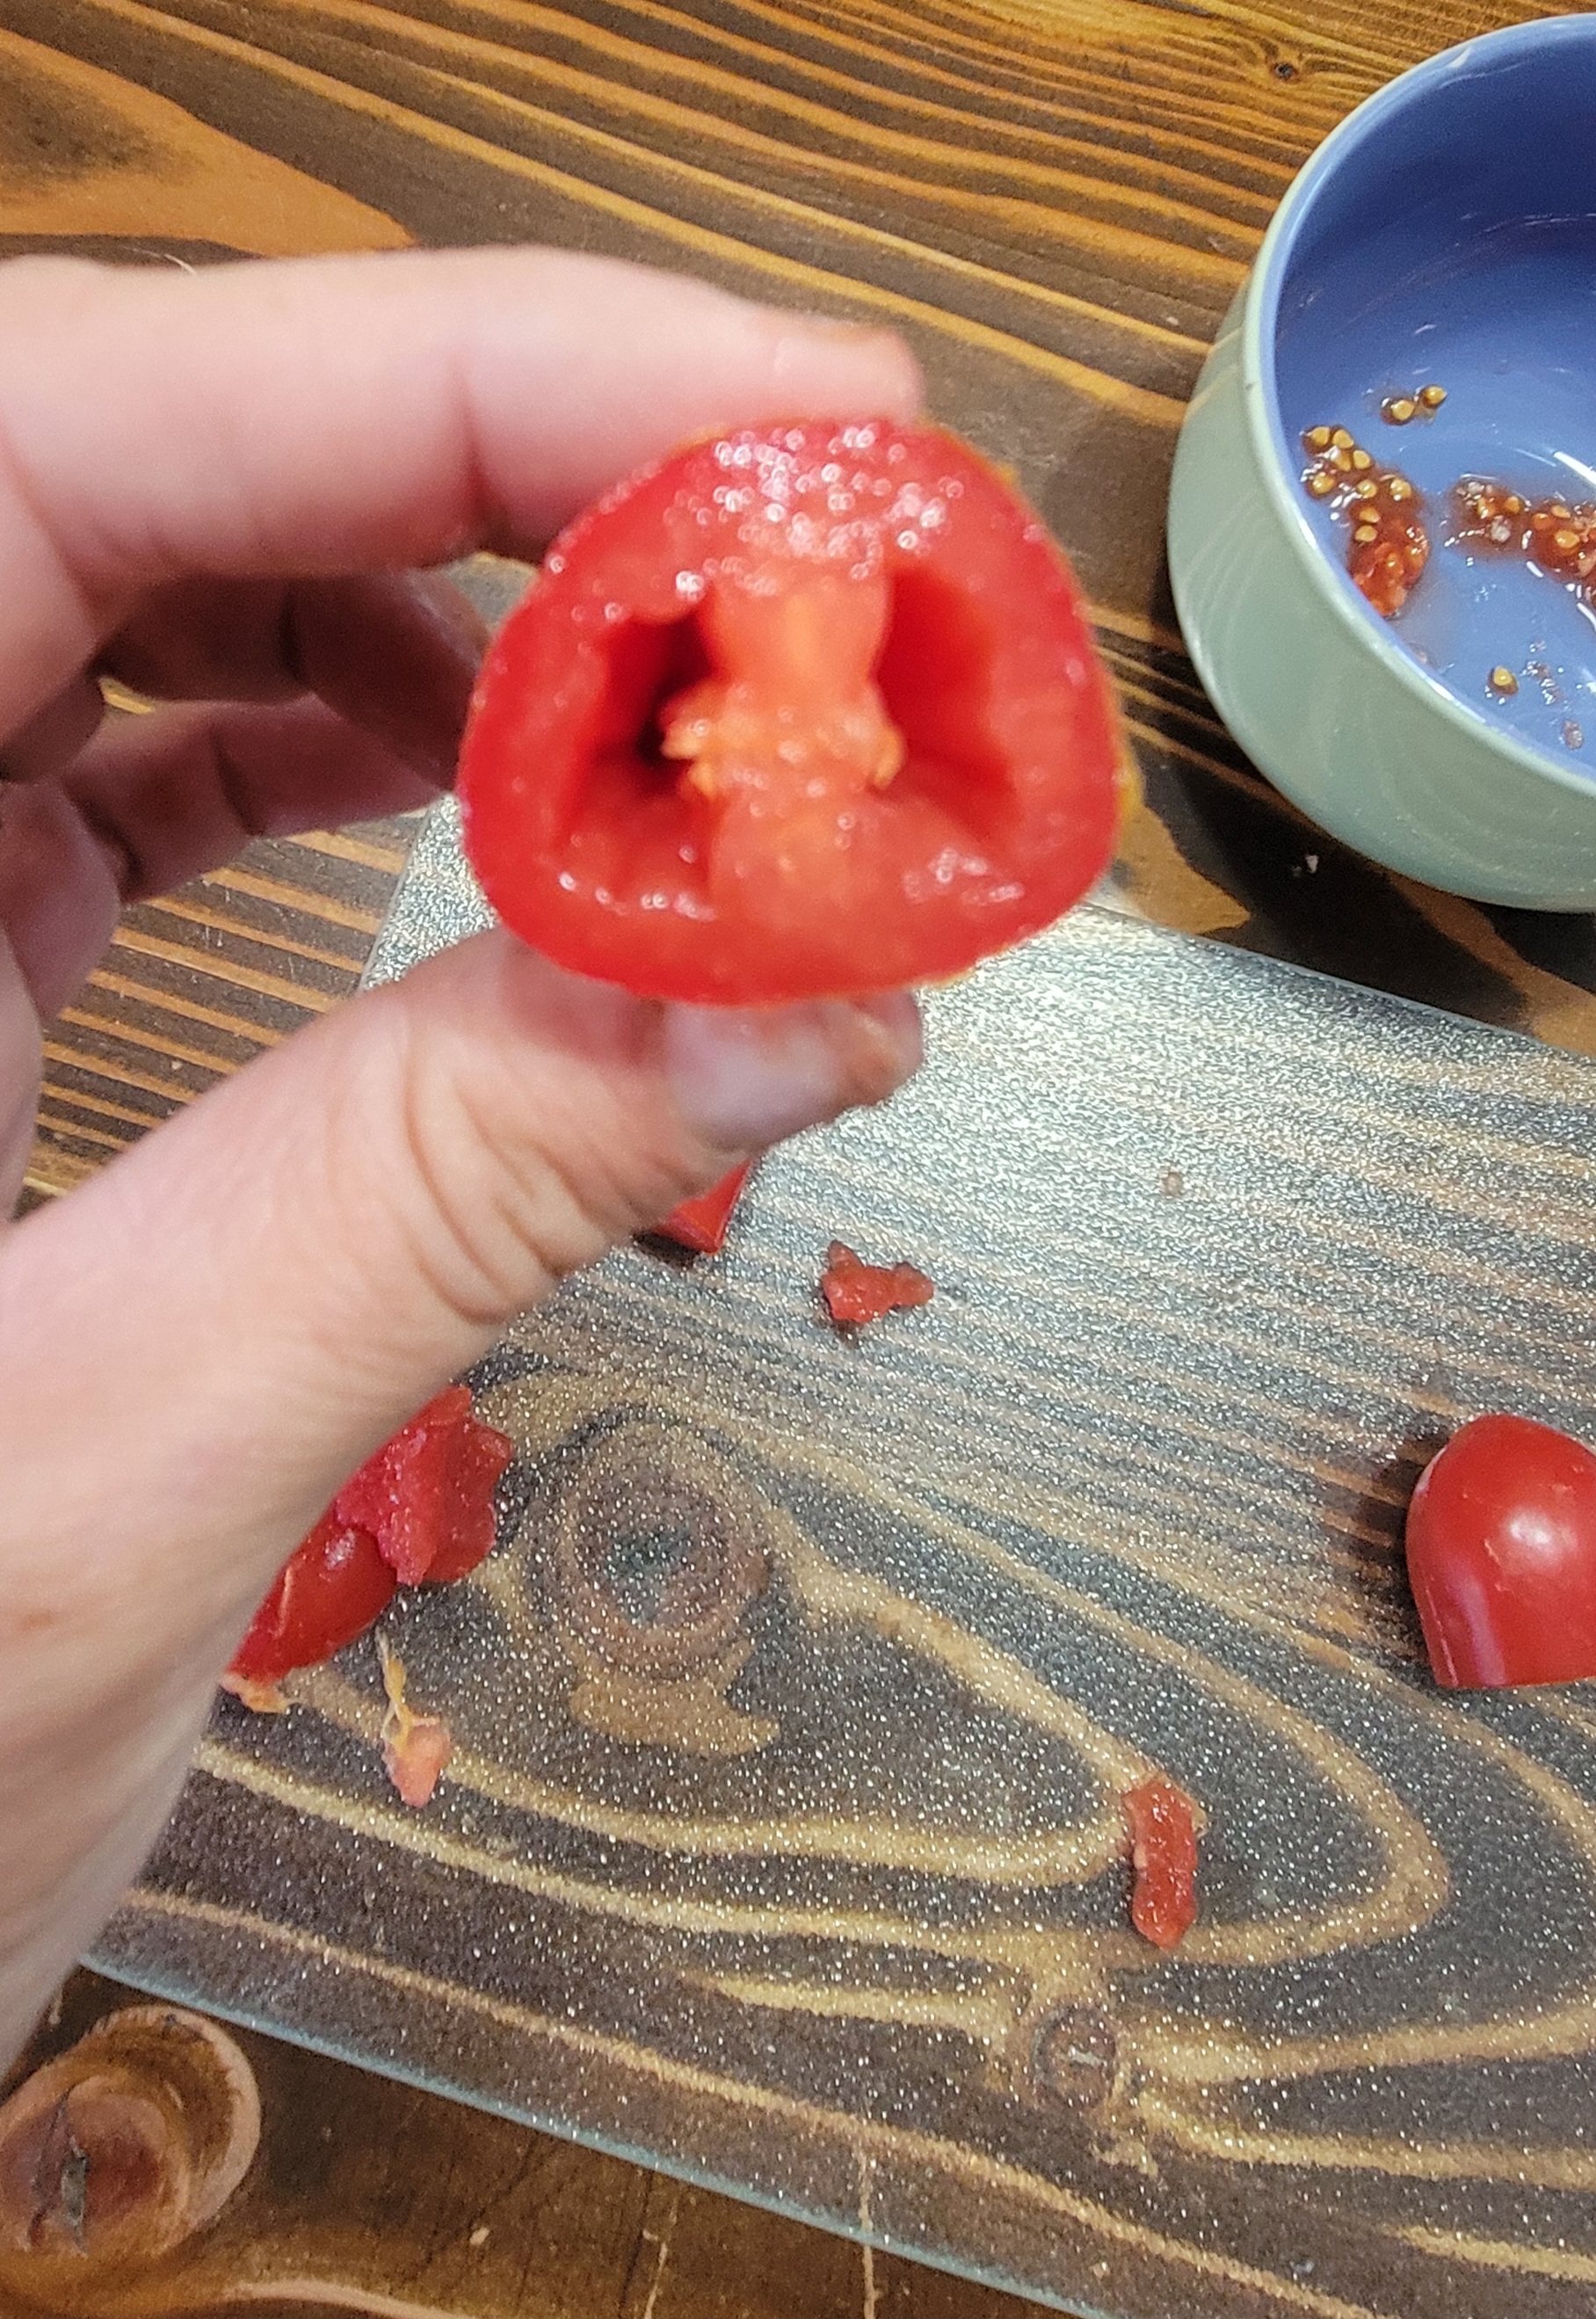
2. Cut tomato(es) in half horizontally (through its equator if you will) and gently squeeze or scoop seeds into the bowl. We have found by squeezing the tomato it releases easily without much damage to the tomato itself so you can still eat or process what is left.

3. Repeat this process with however many tomatoes you have. If you have multiple varieties, use separate bowls for each kind.
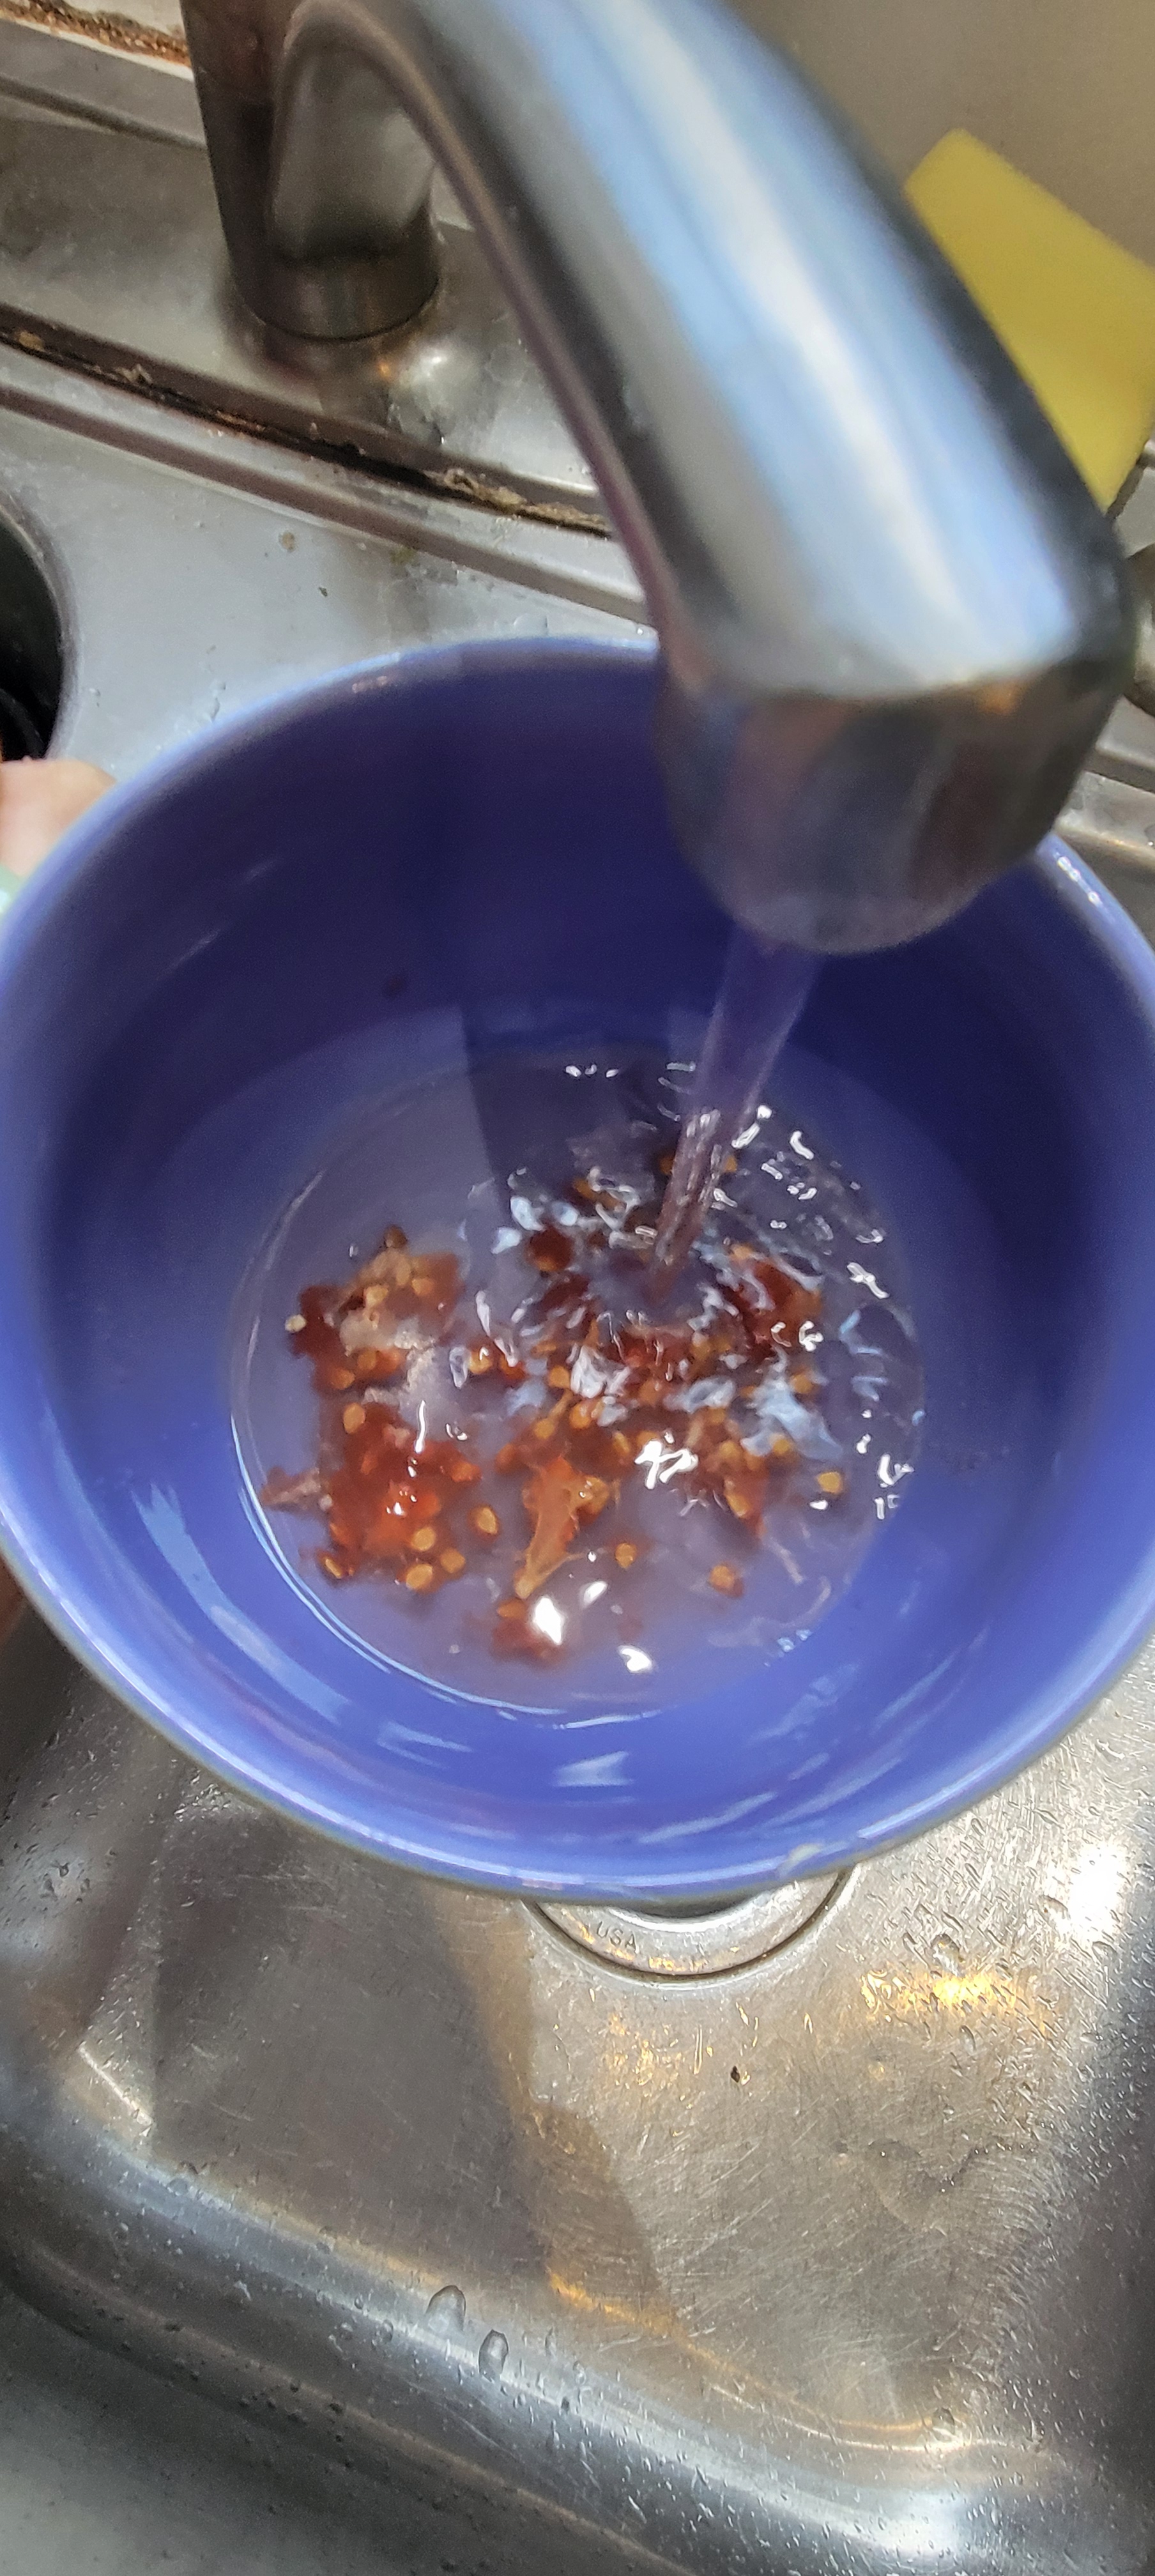
4. Add a small amount of water to each bowl and stir to begin to loosen the pulp of the tomato from the seeds. It is okay if it doesn’t come completely loose the first day.


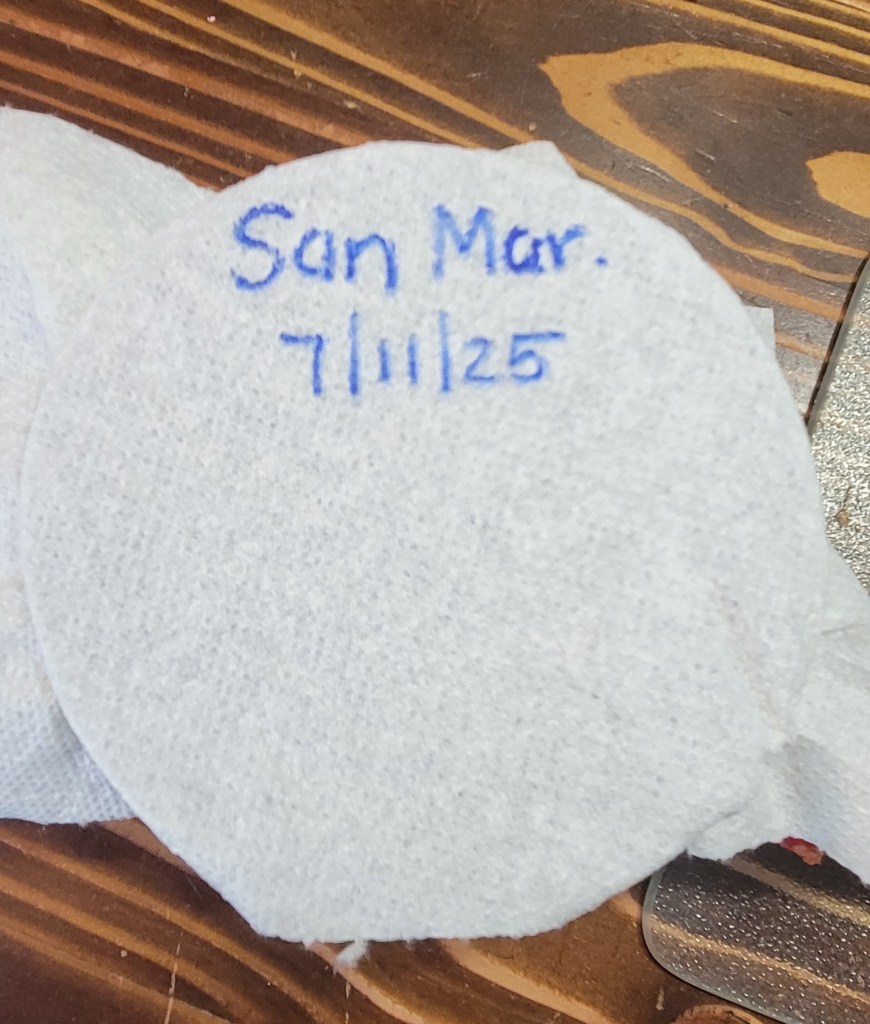
5. Write on a paper towel the type of tomato seed you are saving and the date and place it over the bowl. Place the rubber band around the paper towel. Now set the bowl aside and day 1 is complete!
6. The next day, you will want to stir the tomato seed, pulp, water mixture, and replace the paper towel. Repeat one more time on day 2.


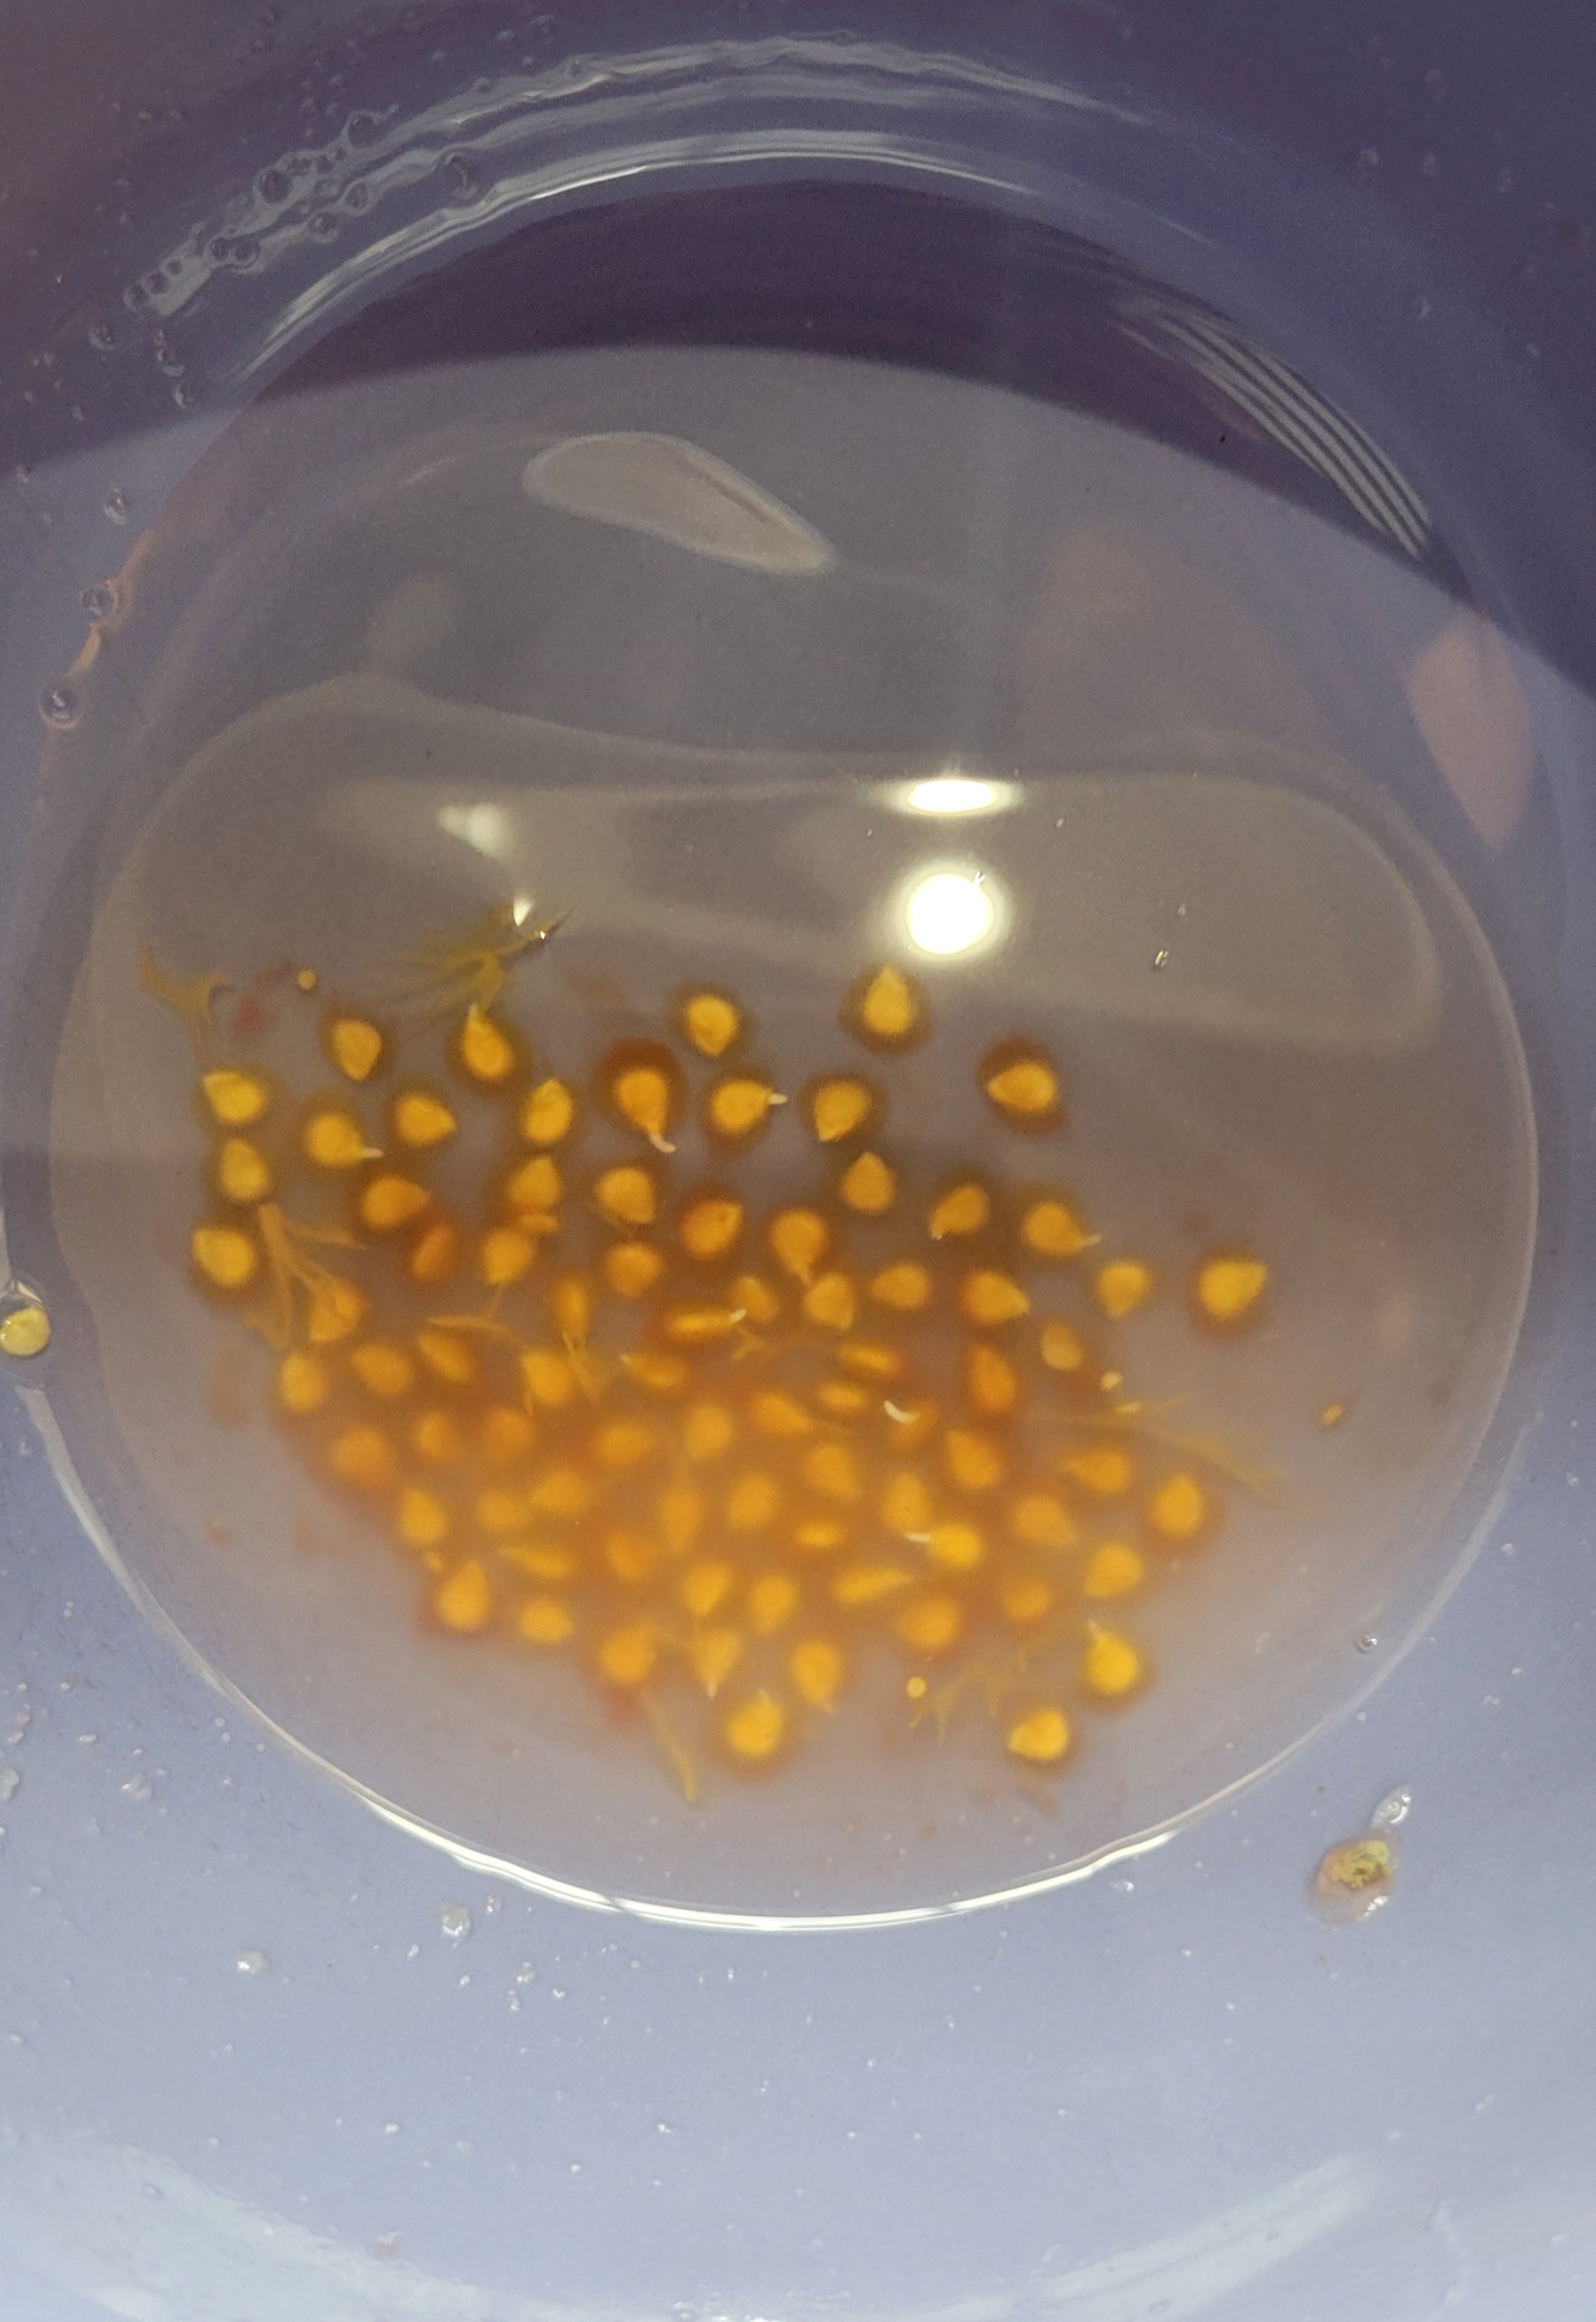
7. On day 3, it is time to rinse. Open your container. You will likely notice that the water in now quite cloudy, maybe smelly, and even has developed some mold. That is okay….DO NOT PANIC!!! That is the pulp, not the seeds.
8. Stir the mixture again and slowly start to pour the water off. You should notice that the seeds are staying at the bottom of the bowl! Any seeds that float are not viable and can be discarded. The seeds that sink are the seeds you want.
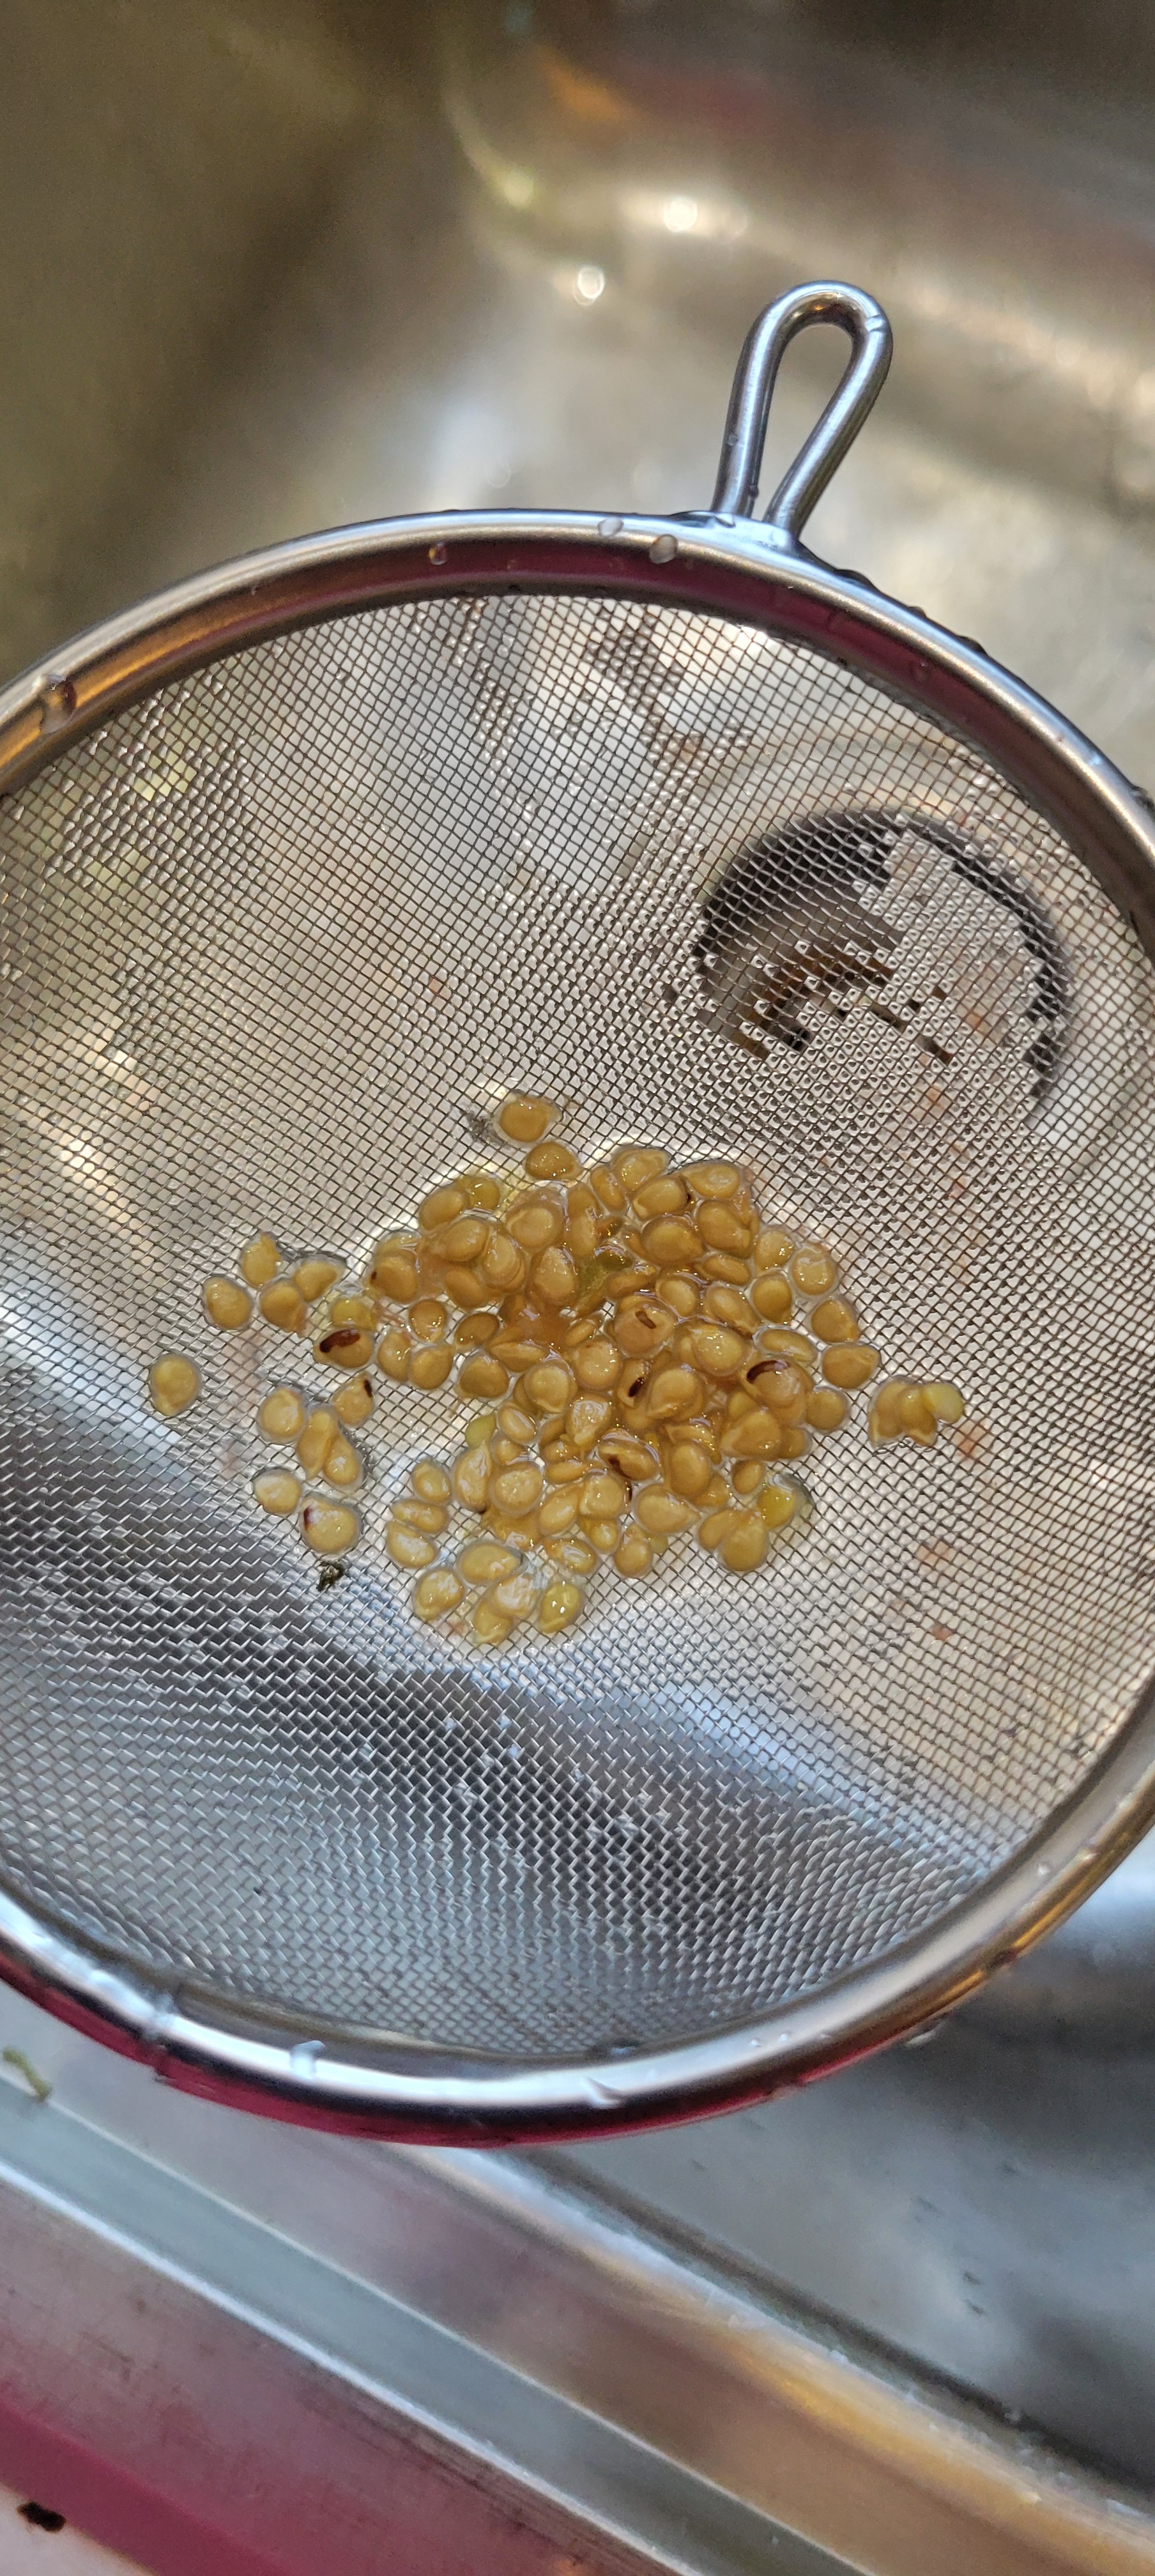
9. Add a little more water to really rinse the good seeds. Stir them around a bit and strain through your fine mesh metal sieve.

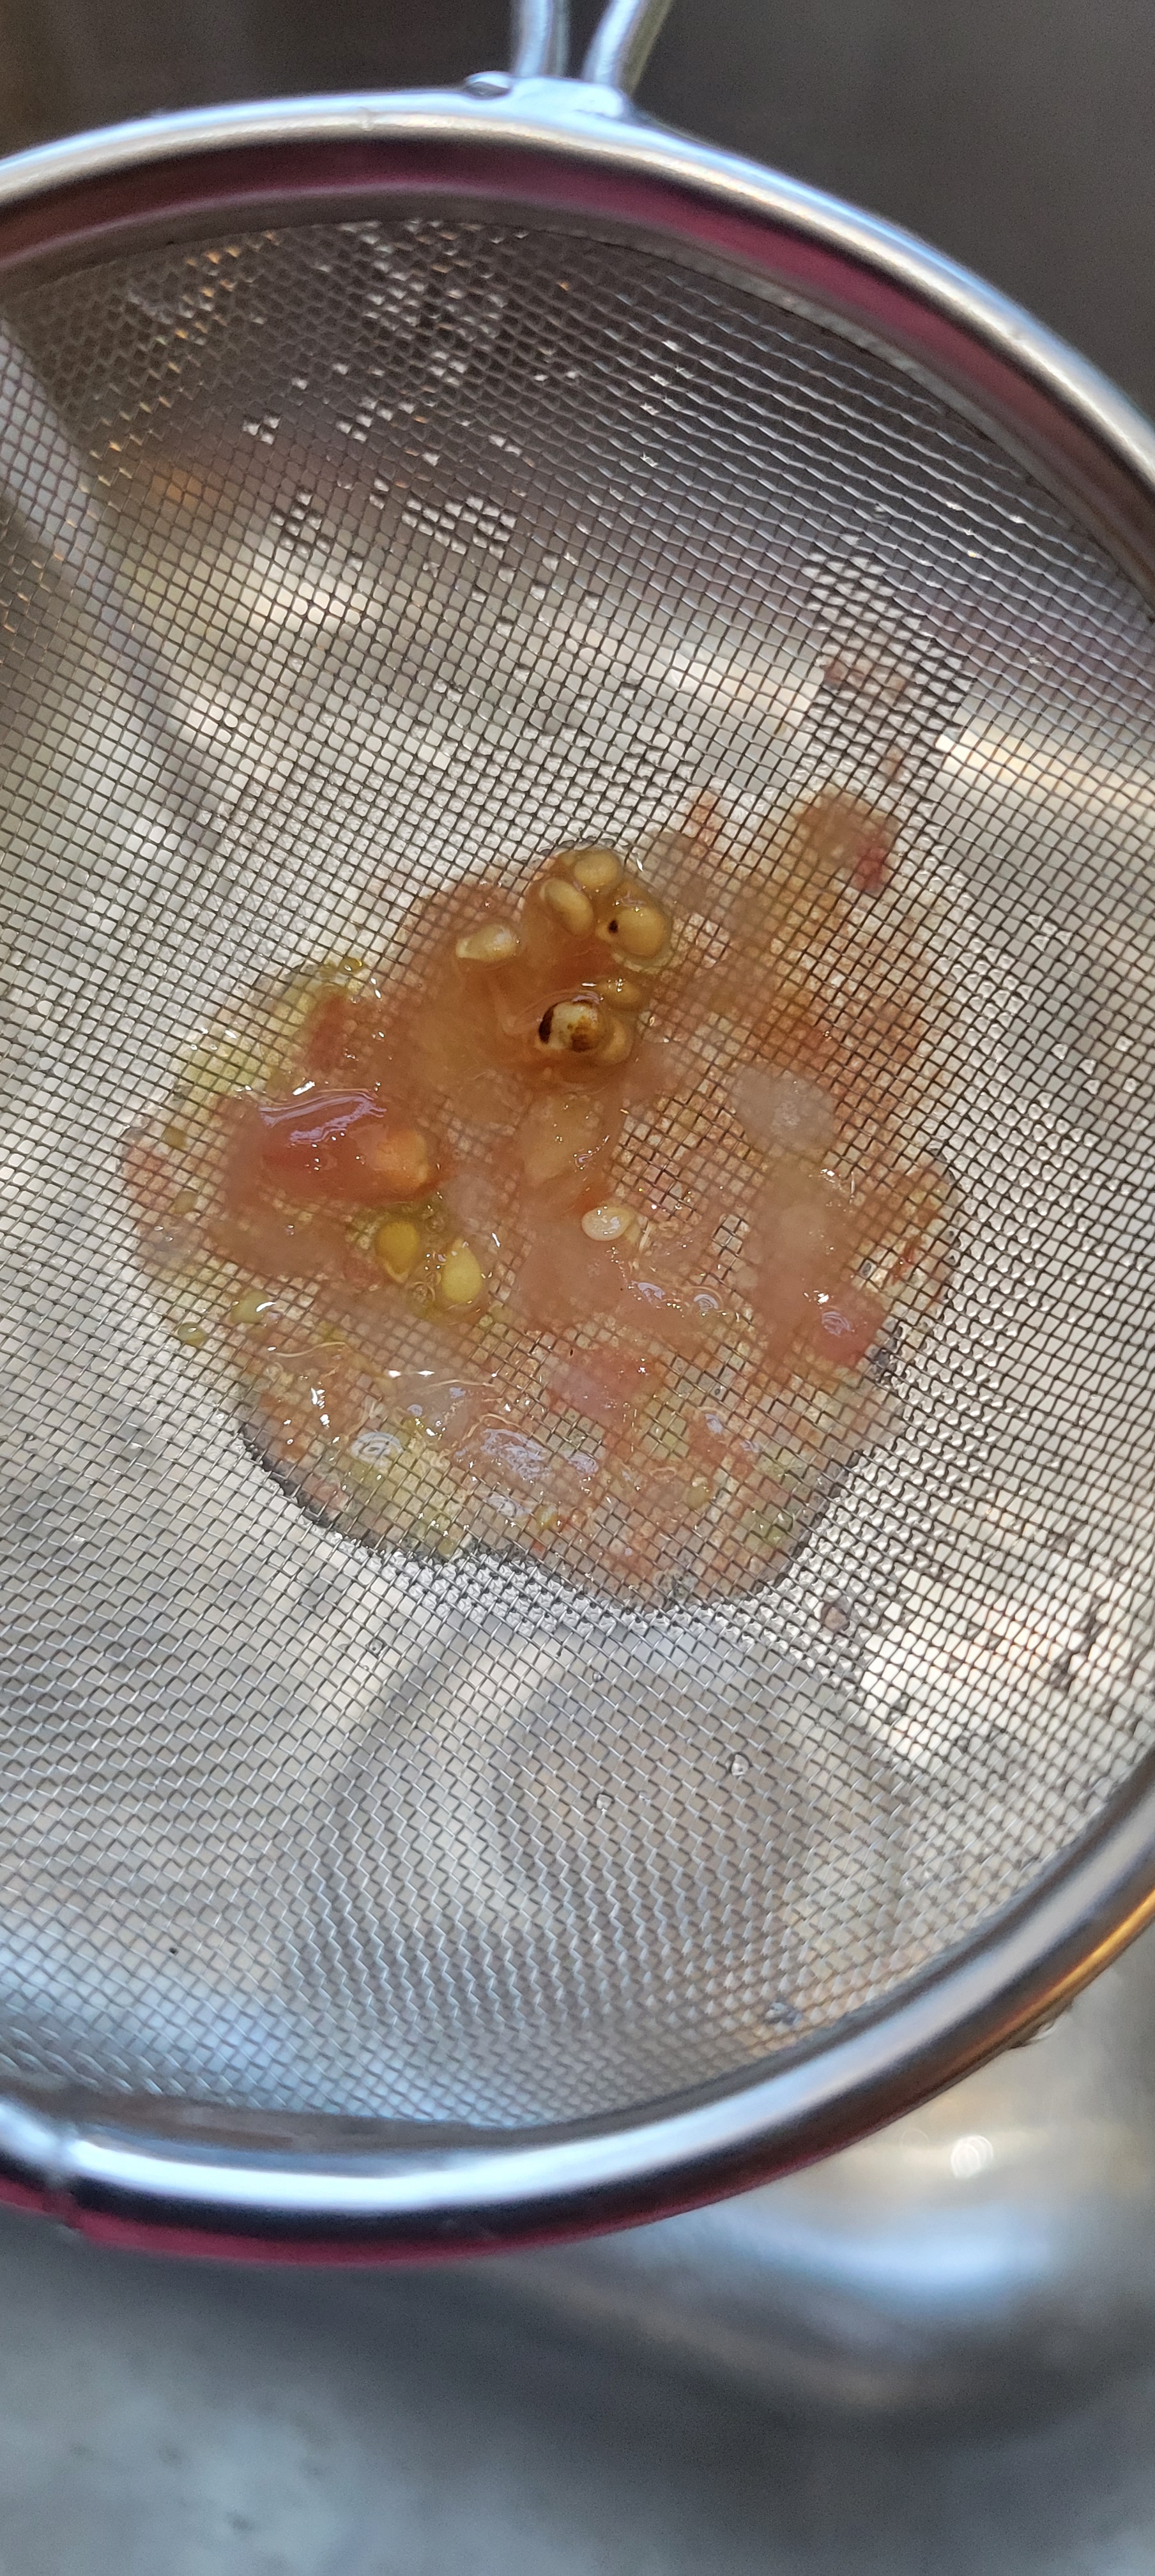
10. Dump seeds onto your paper plate and label with type of tomato and date collected.

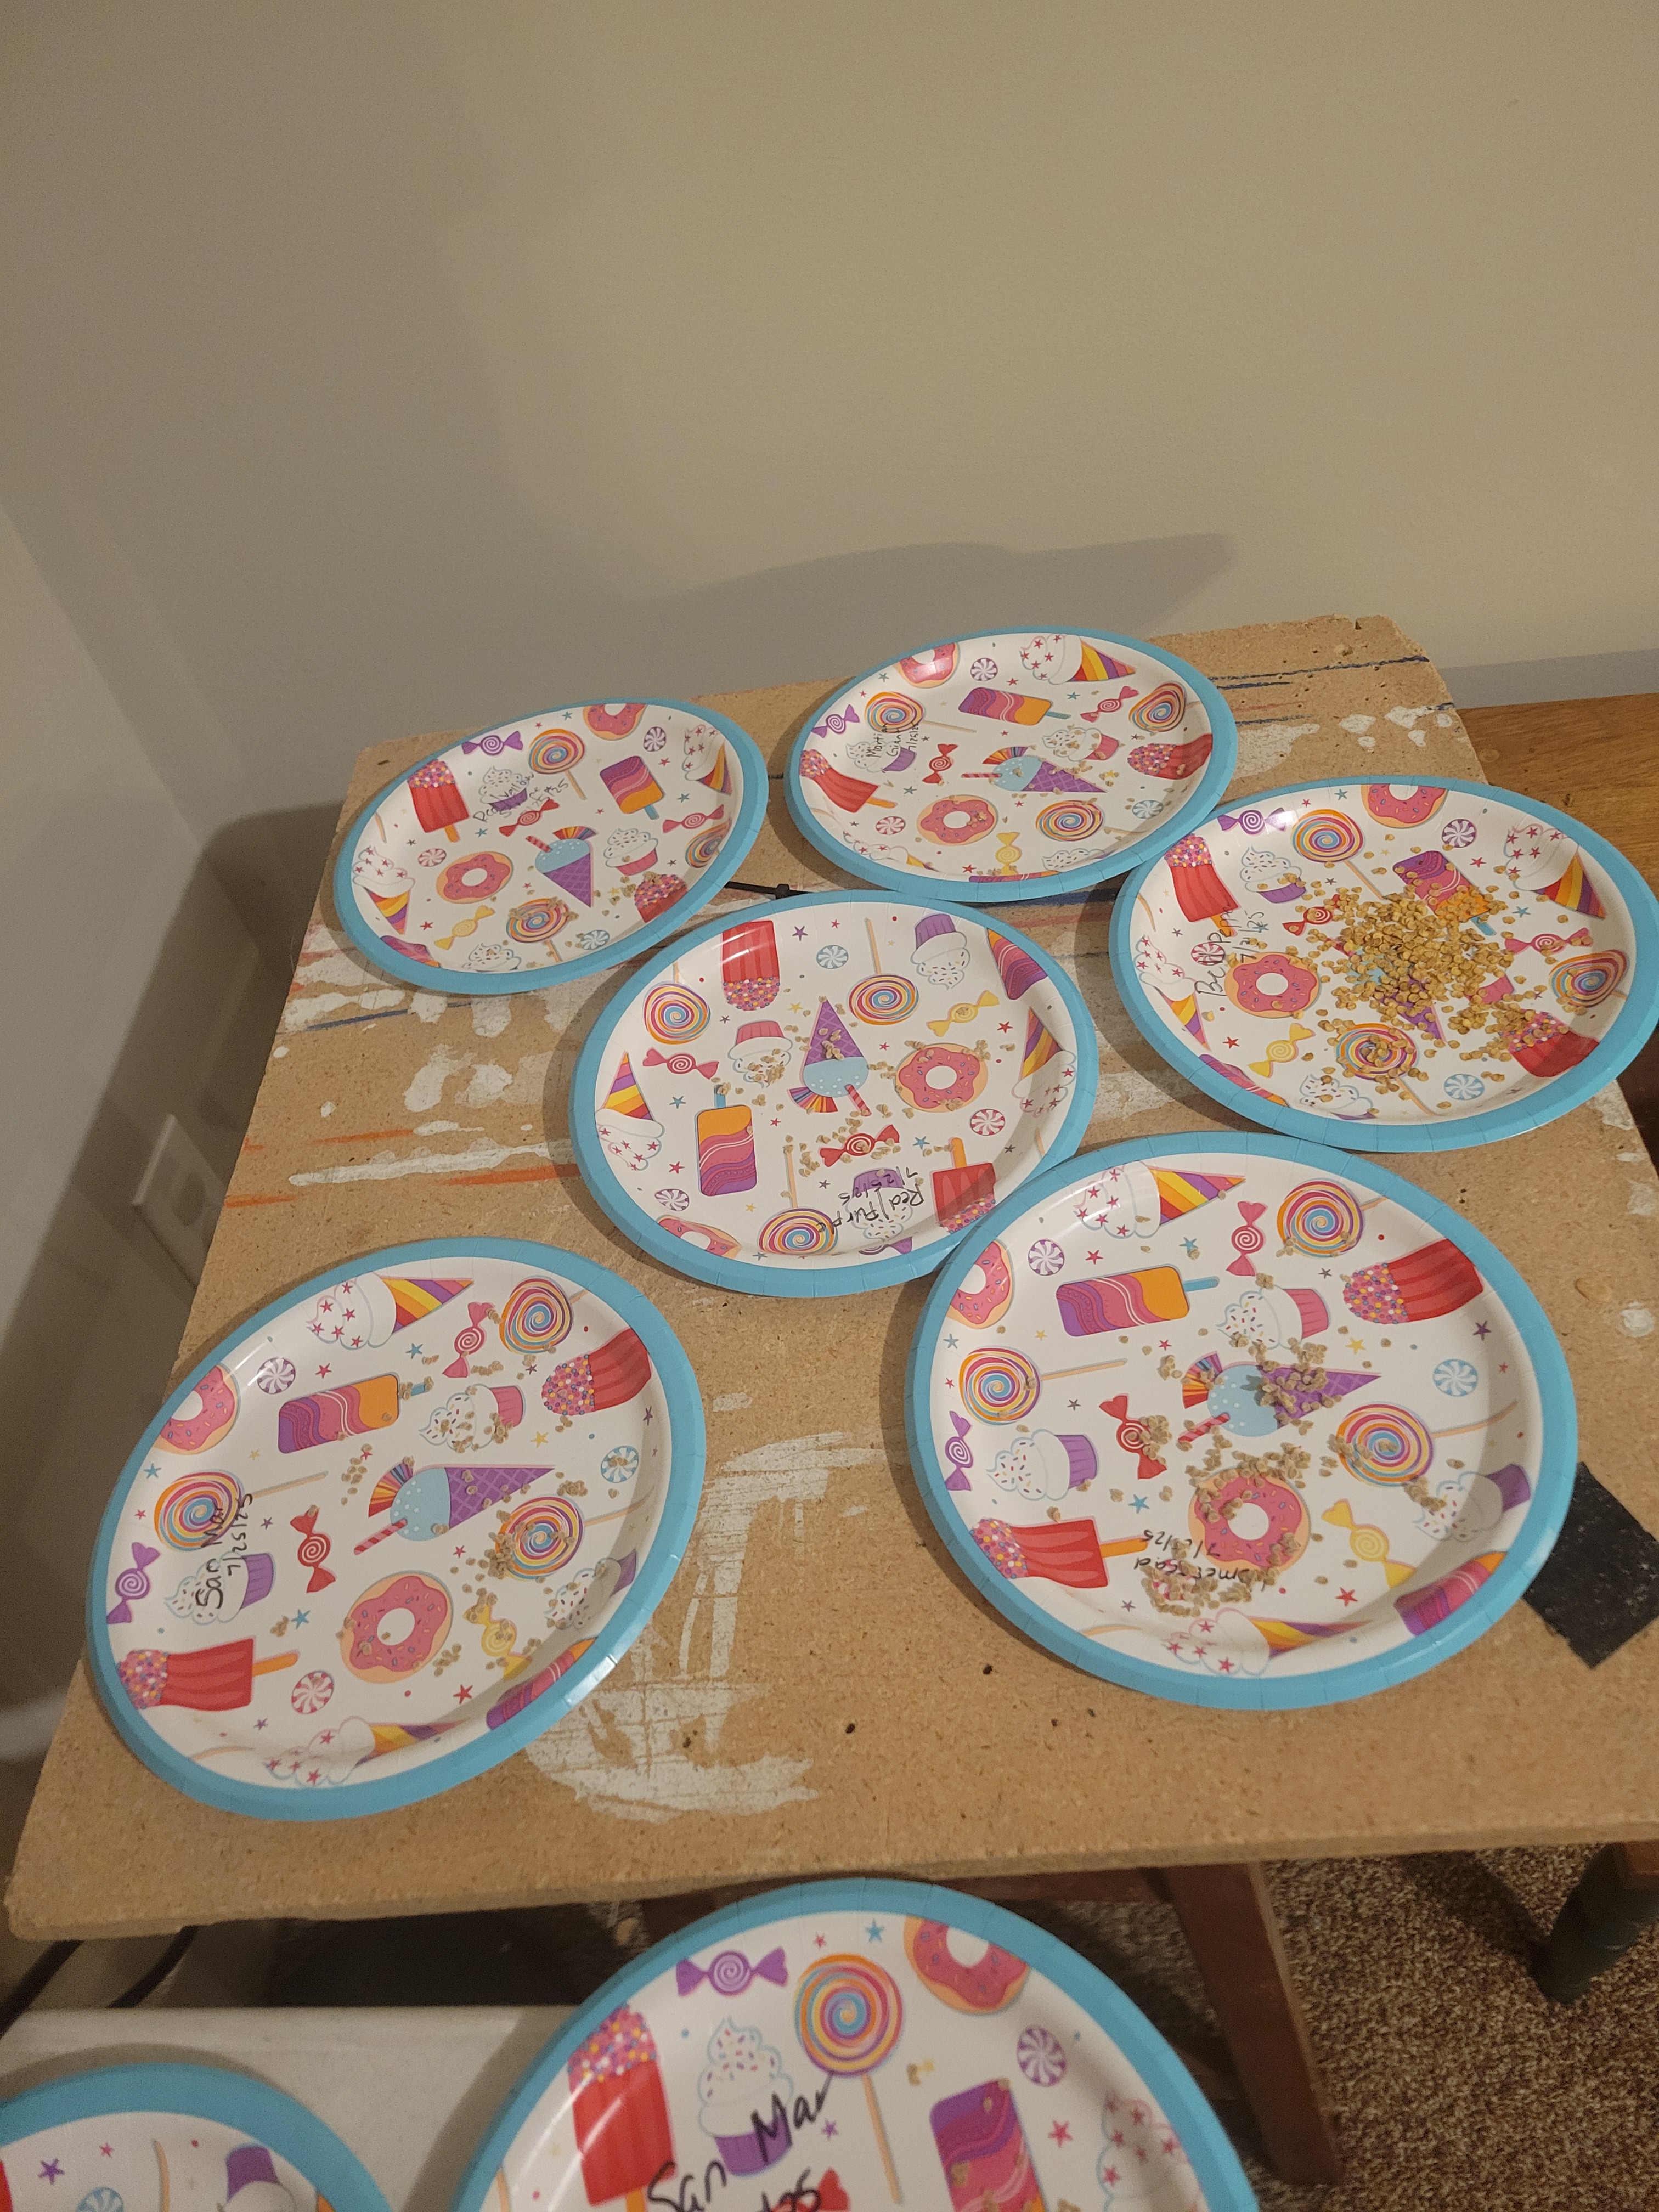
11. You should notice at this point that the seeds no longer have the slimy pulp on them and instead feel dry (even though they are wet). Do your best to spread them out on the paper plate so they dry quicker and are not stuck together. A toothpick works well for this. Some people use paper towels to dry them on, but we found they are difficult to then remove from the paper towels, but dealer’s choice.
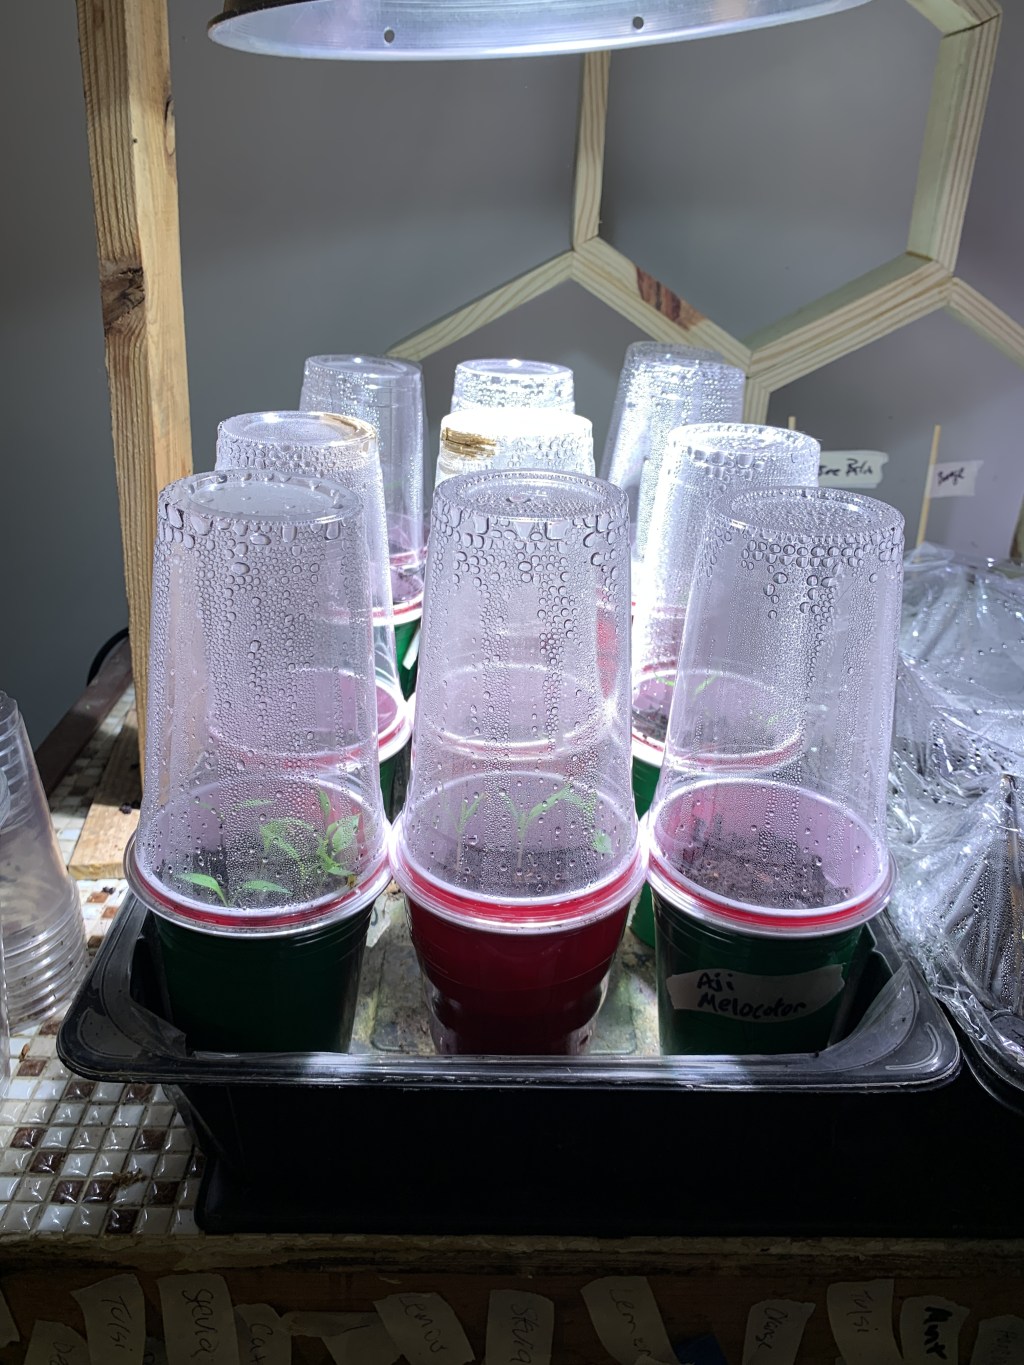
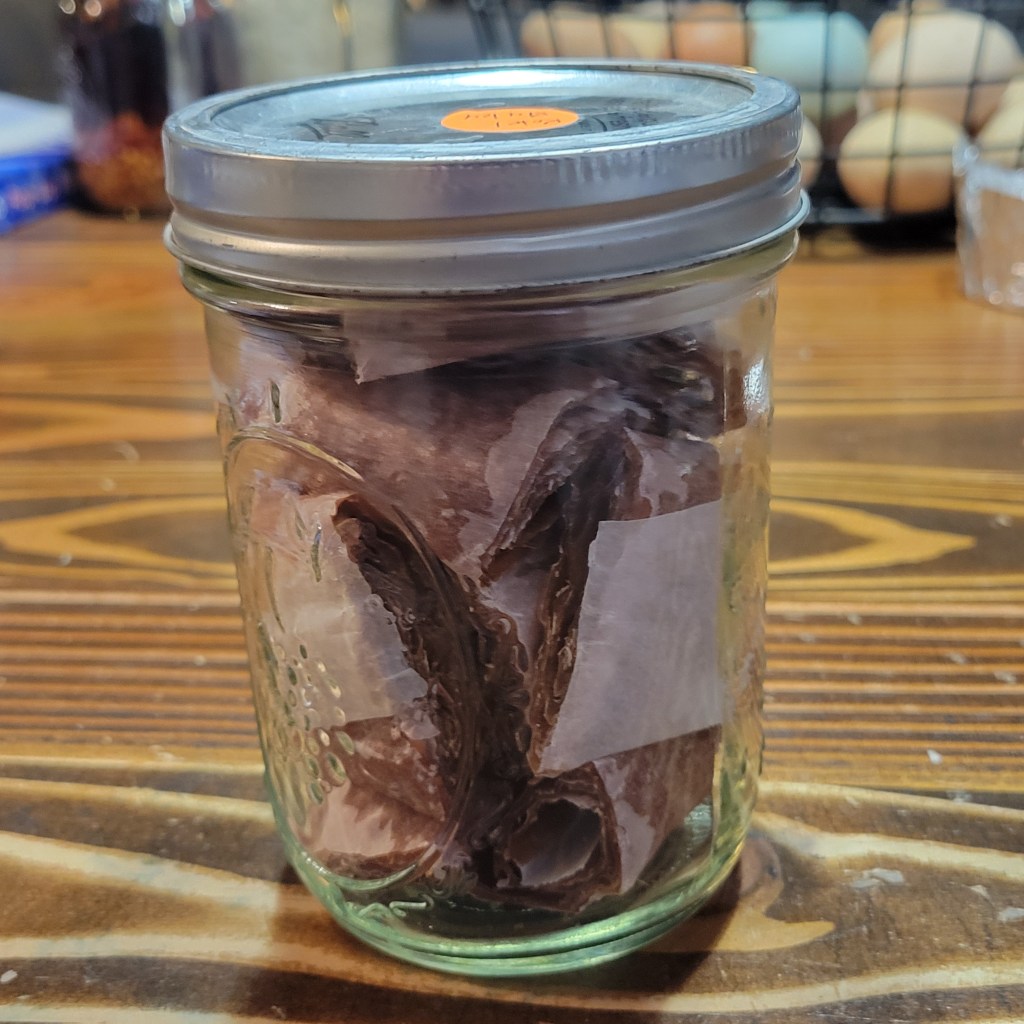
12. Now simply place somewhere where they can dry! We have a shelf in our basement where our seeds live while they dry but anywhere with low humidity is fine. Check them periodically and once completely dry, you can store them in any airtight container…ziplock bag, old tic tac container, small jar, use your imagination! For long term storage, you can keep them in the refrigerator, however they can just be kept at room temperature if planning to use the following year.
While this may seem like a long process once you get the hang of it, it is really so simple and rewarding. To know that you don’t have to rely on anyone but yourself to provide food for your family is such an amazing feeling. The list of things we make with tomatoes grows every year but a few of our favorites include:
- Spaghetti Sauce
- Marinara Sauce
- Taco Sauce
- Enchilada Sauce
- BBQ Sauce
- Ketchup
- Salsa
- Plain Jane Tomato Sauce
- Diced Tomatoes
- Pizza Sauce
Many of the herbs, spices, and other veggies that go into these products we also grow each year and save seeds from, so it costs us very little, if anything to make them. We know where they come from, we know what is in them, and it only takes our time to put them on our shelves each year!
I truly hope you have found some useful information in this blog and I wish you a blessed day! As always we are happy to answer any questions and would love to connect. Feel free to check out our Facebook page as well!
Also, please stop by our facebook page and give us a “like” there. We post some additional content there, and we’re always happy to respond and answer any questions you may have! You can also find me on GAB, https://gab.com/jungerer!


Leave a comment