

This year, our elderberry bushes were incredibly generous. After dehydrating plenty for winter wellness teas and making several batches of rich jelly, we still found ourselves with an abundance of these dark, juicy jewels. Determined not to let a single berry go to waste, we decided to explore a new preservation method: making elderberry vinegar.
This sweet, apple cider vinegar-based infusion is wonderfully versatile. It can be whisked into a vibrant salad dressing, used as a tangy marinade for meats, or simply added to a glass of water for a flavorful and healthful boost. It’s a simple and delicious way to capture the essence of our harvest in a bottle.
The Power of Elderberries
For centuries, elderberries have been a cornerstone of traditional herbal medicine, and for good reason. They are packed with vitamins and antioxidants, particularly flavonoids, which give them their deep purple hue. Elderberries are most famous for their immune-boosting properties, often used to help fend off or shorten the duration of colds and flu. Enjoying them in various forms throughout the year is a great way to support overall wellness.
Harvesting for Peak Flavor and Potency
The key to any good elderberry preparation is harvesting the berries at their peak. You’ll know they’re ready when the clusters are a deep, dark purple-almost black-and the berries are plump and full. They should be harvested in full clusters, and then the individual berries can be carefully removed from the stems, as the stems themselves are not edible.
Our Elderberry Vinegar Recipe
This recipe creates a beautifully colored and richly flavored vinegar that will keep for at least a year, letting you enjoy the taste of summer long into the winter months.
Ingredients
- 7 cups clean, de-stemmed elderberries
- 2 ½ cups apple cider vinegar
- 3 ¾ cups granulated sugar
Instructions
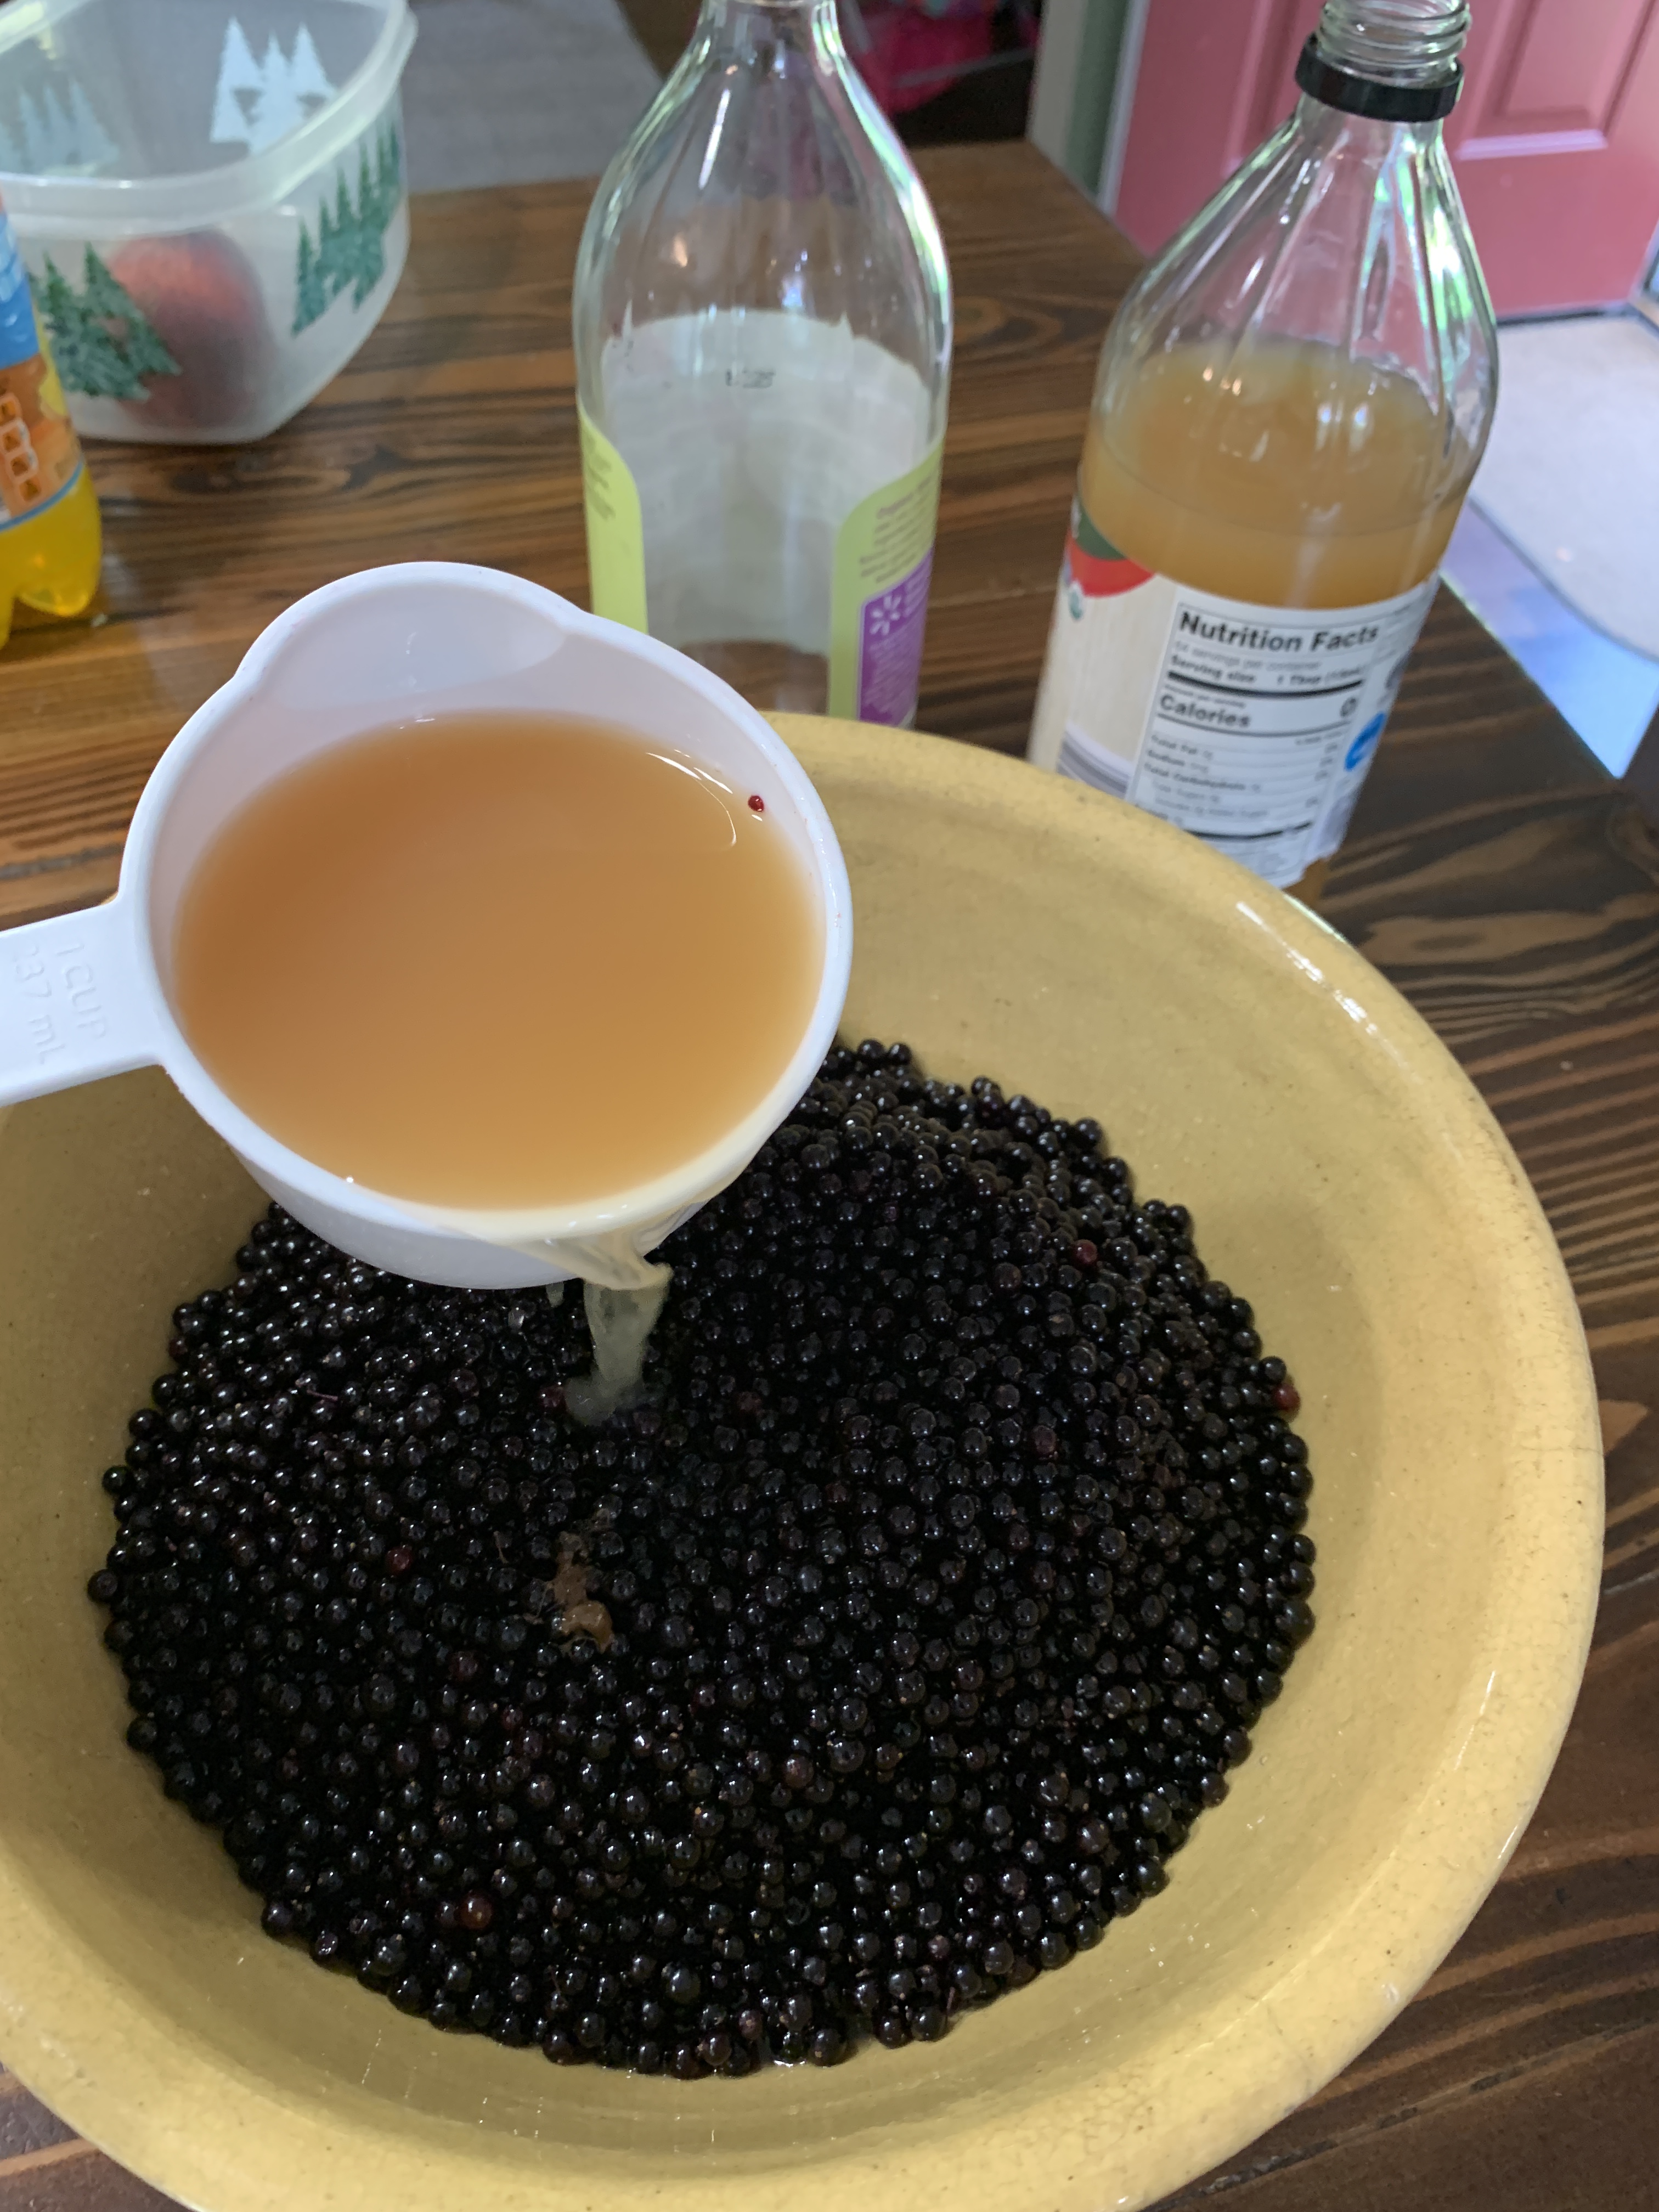
- Place the cleaned elderberries in a large bowl. Pour the apple cider vinegar over them and use a potato masher to gently crush the berries. This helps release their juice and color.


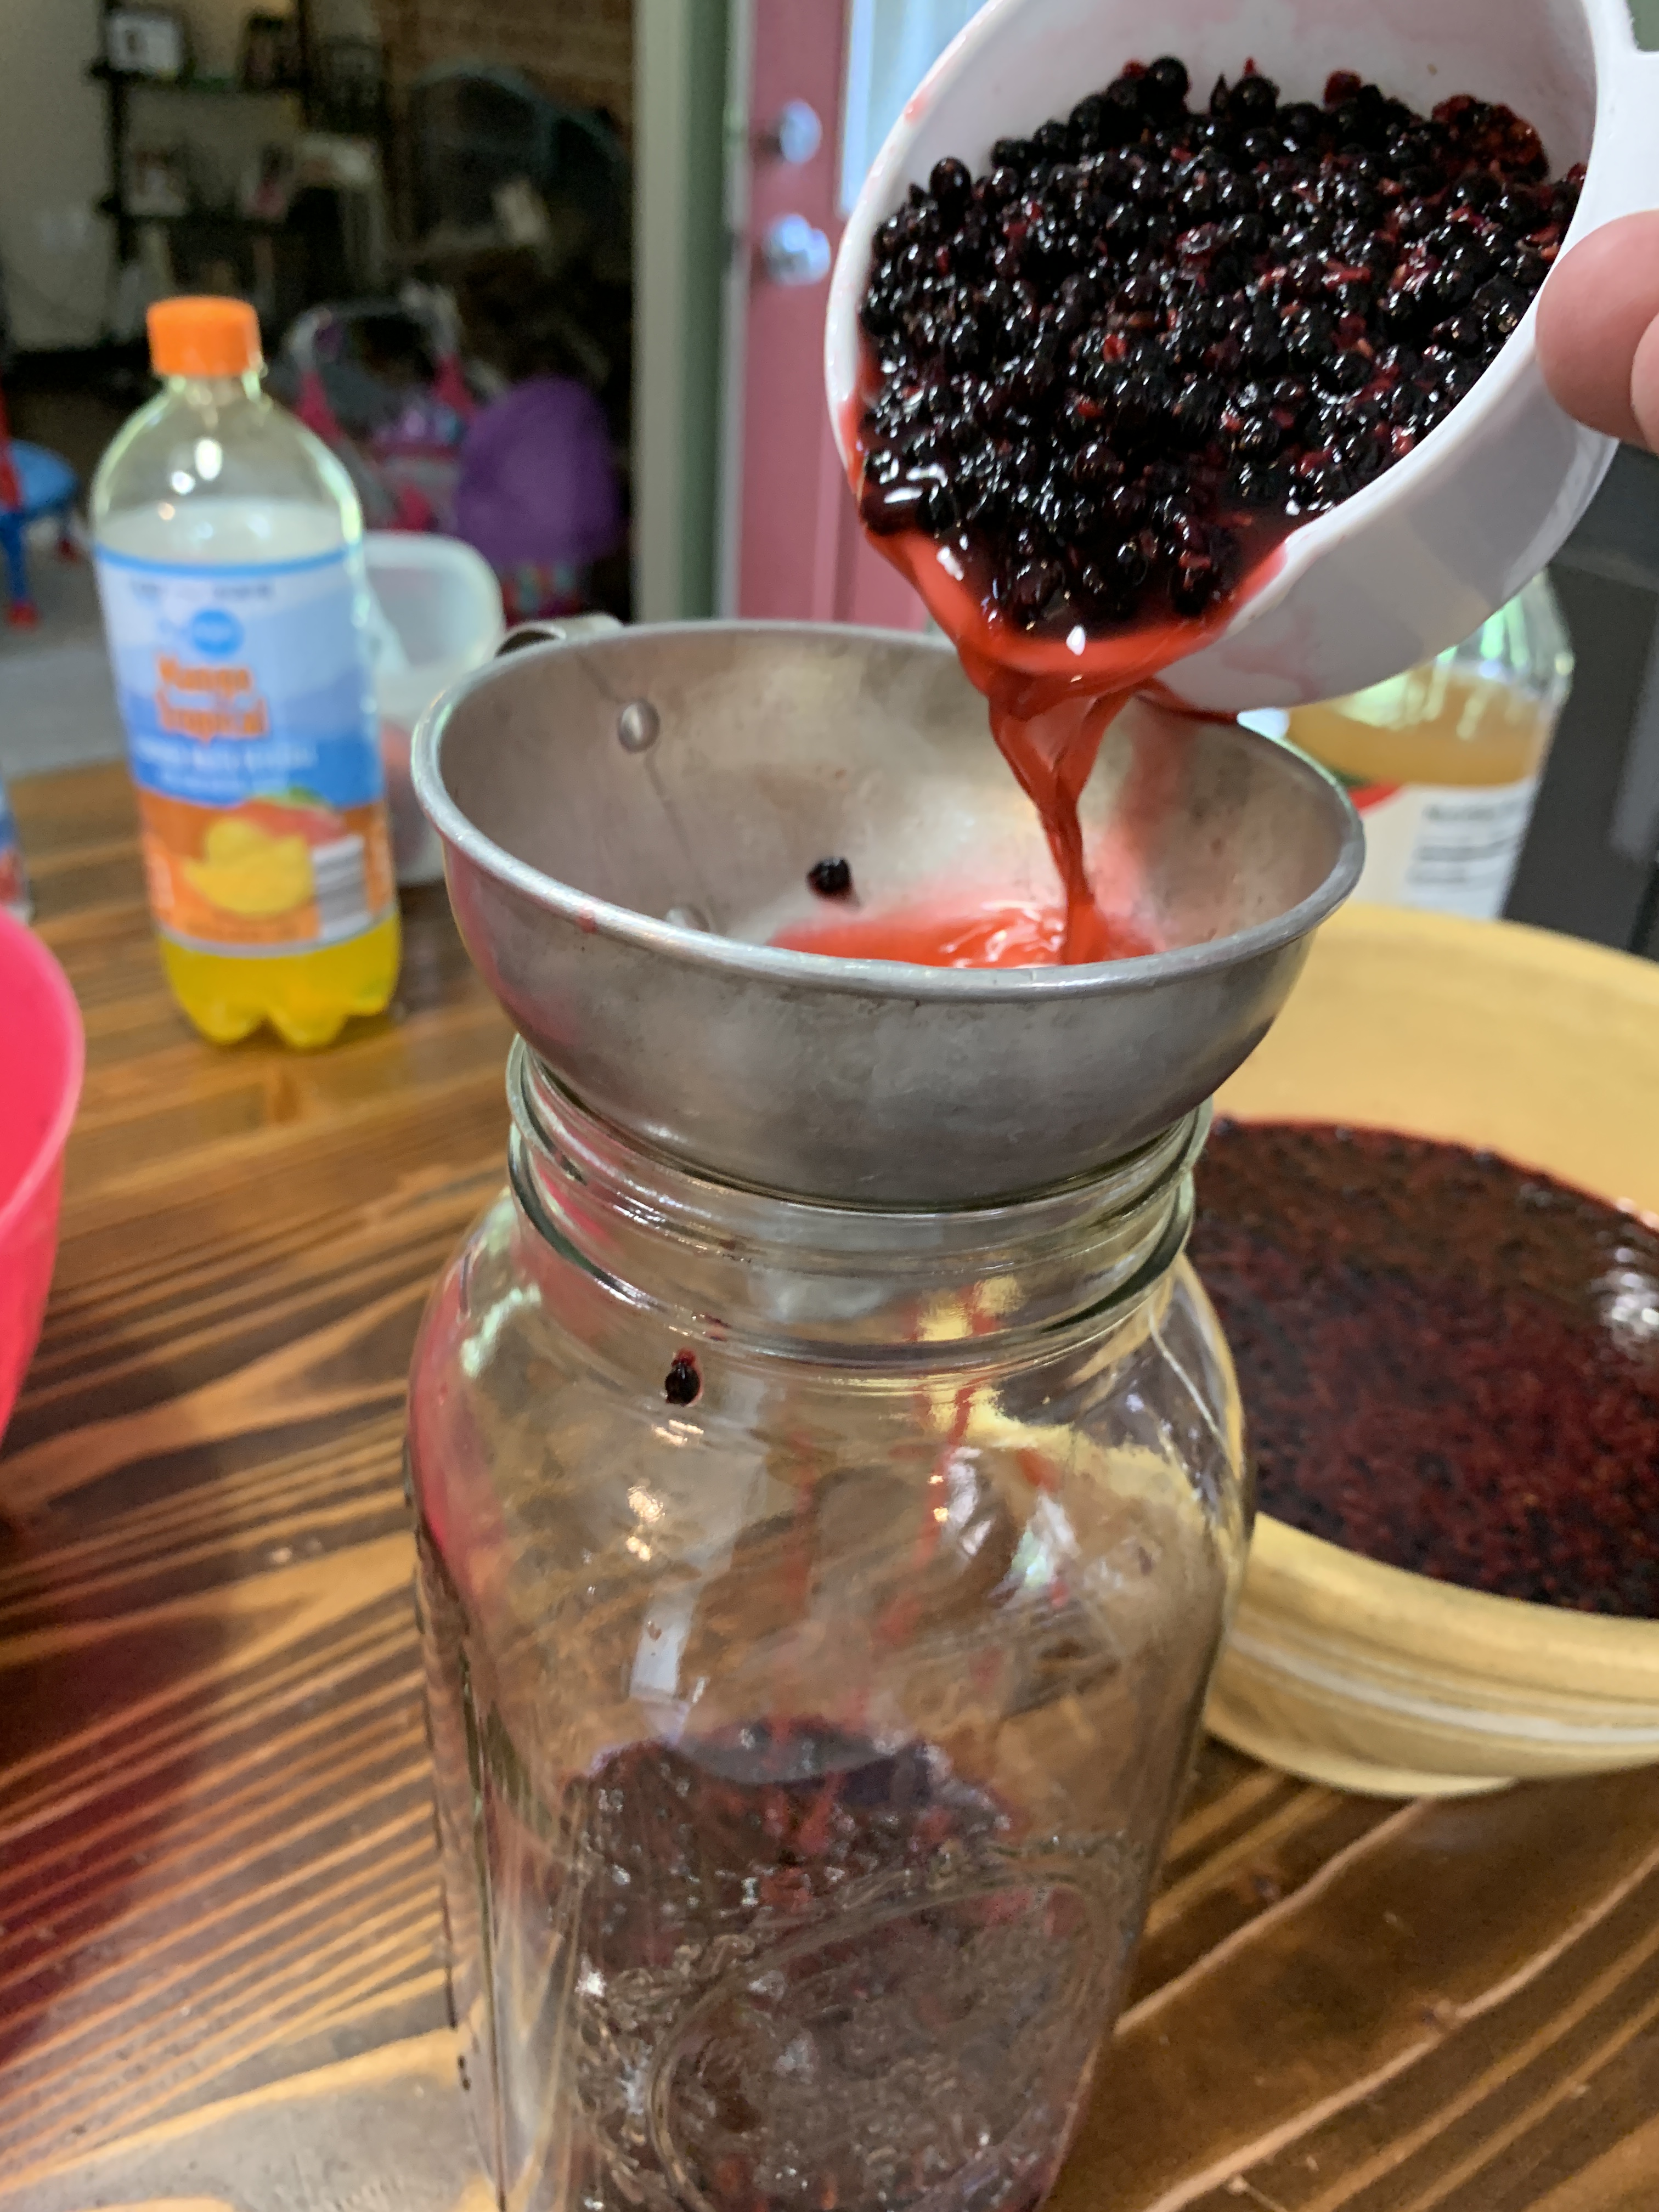
2. Pour the berry and vinegar mixture into a large, sealable glass container. Let this mixture macerate, or steep, for at least 3 days. If you have the time, letting it sit for up to 5 days will result in a deeper flavor.

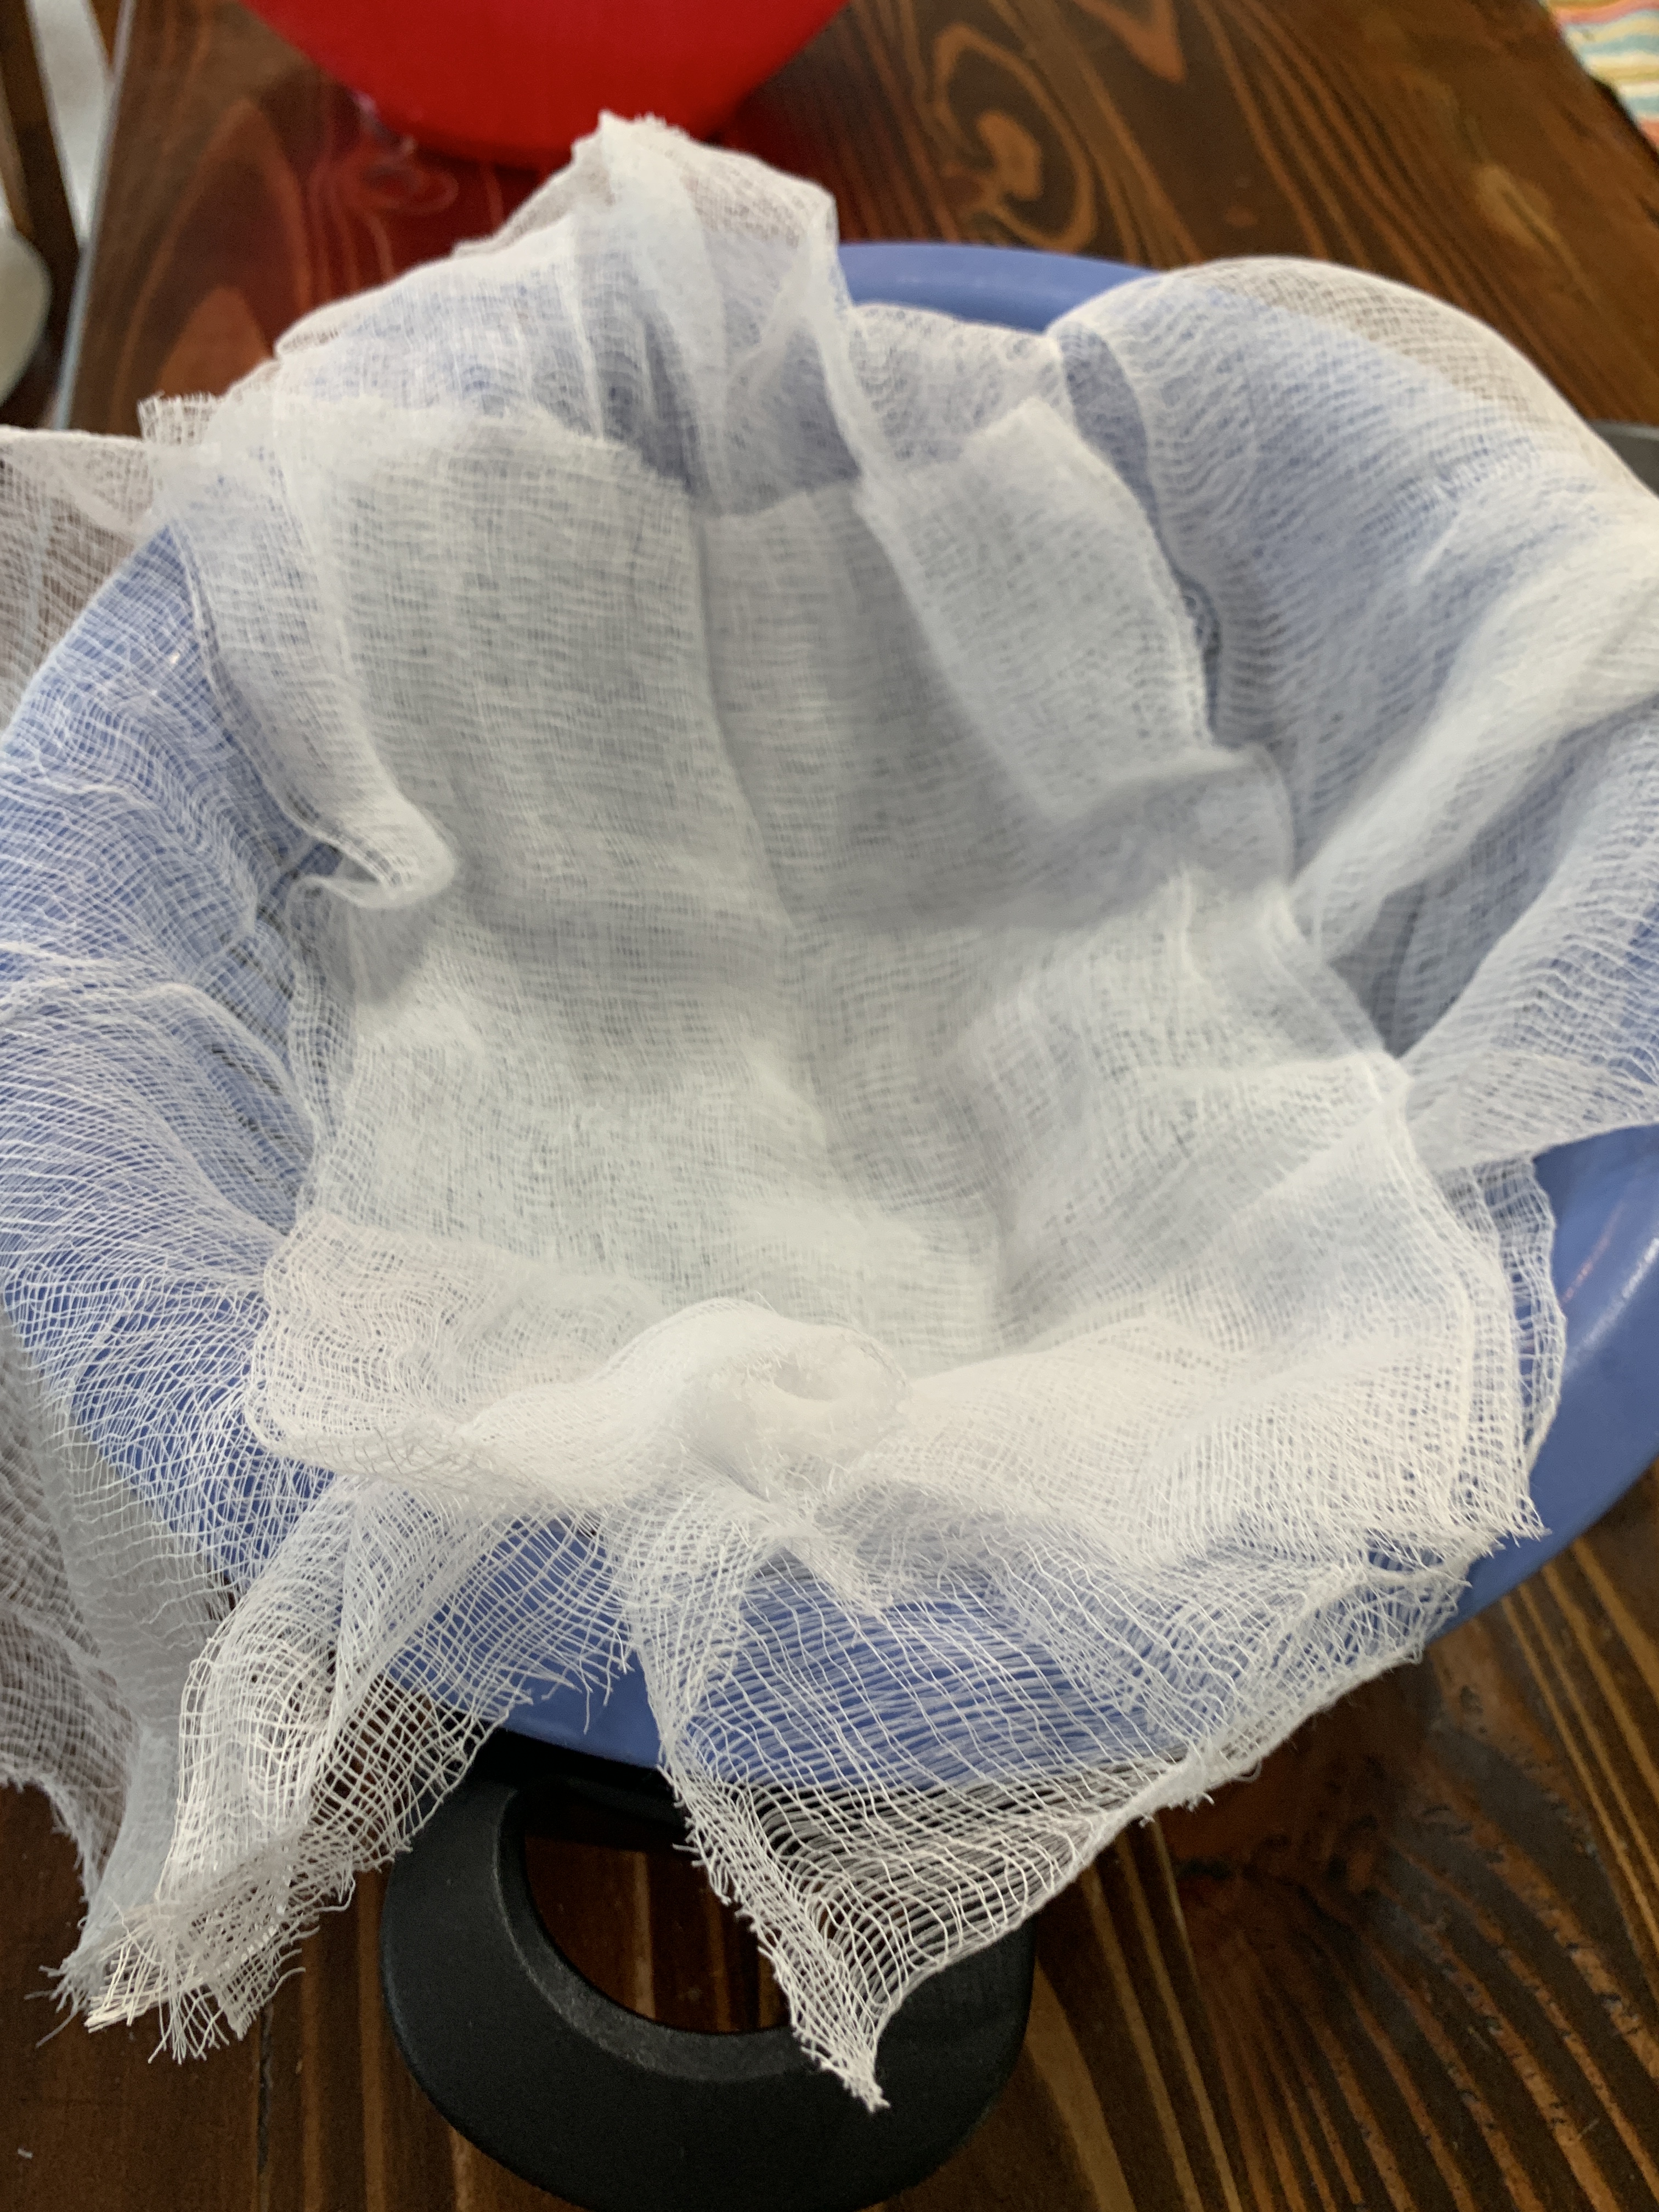
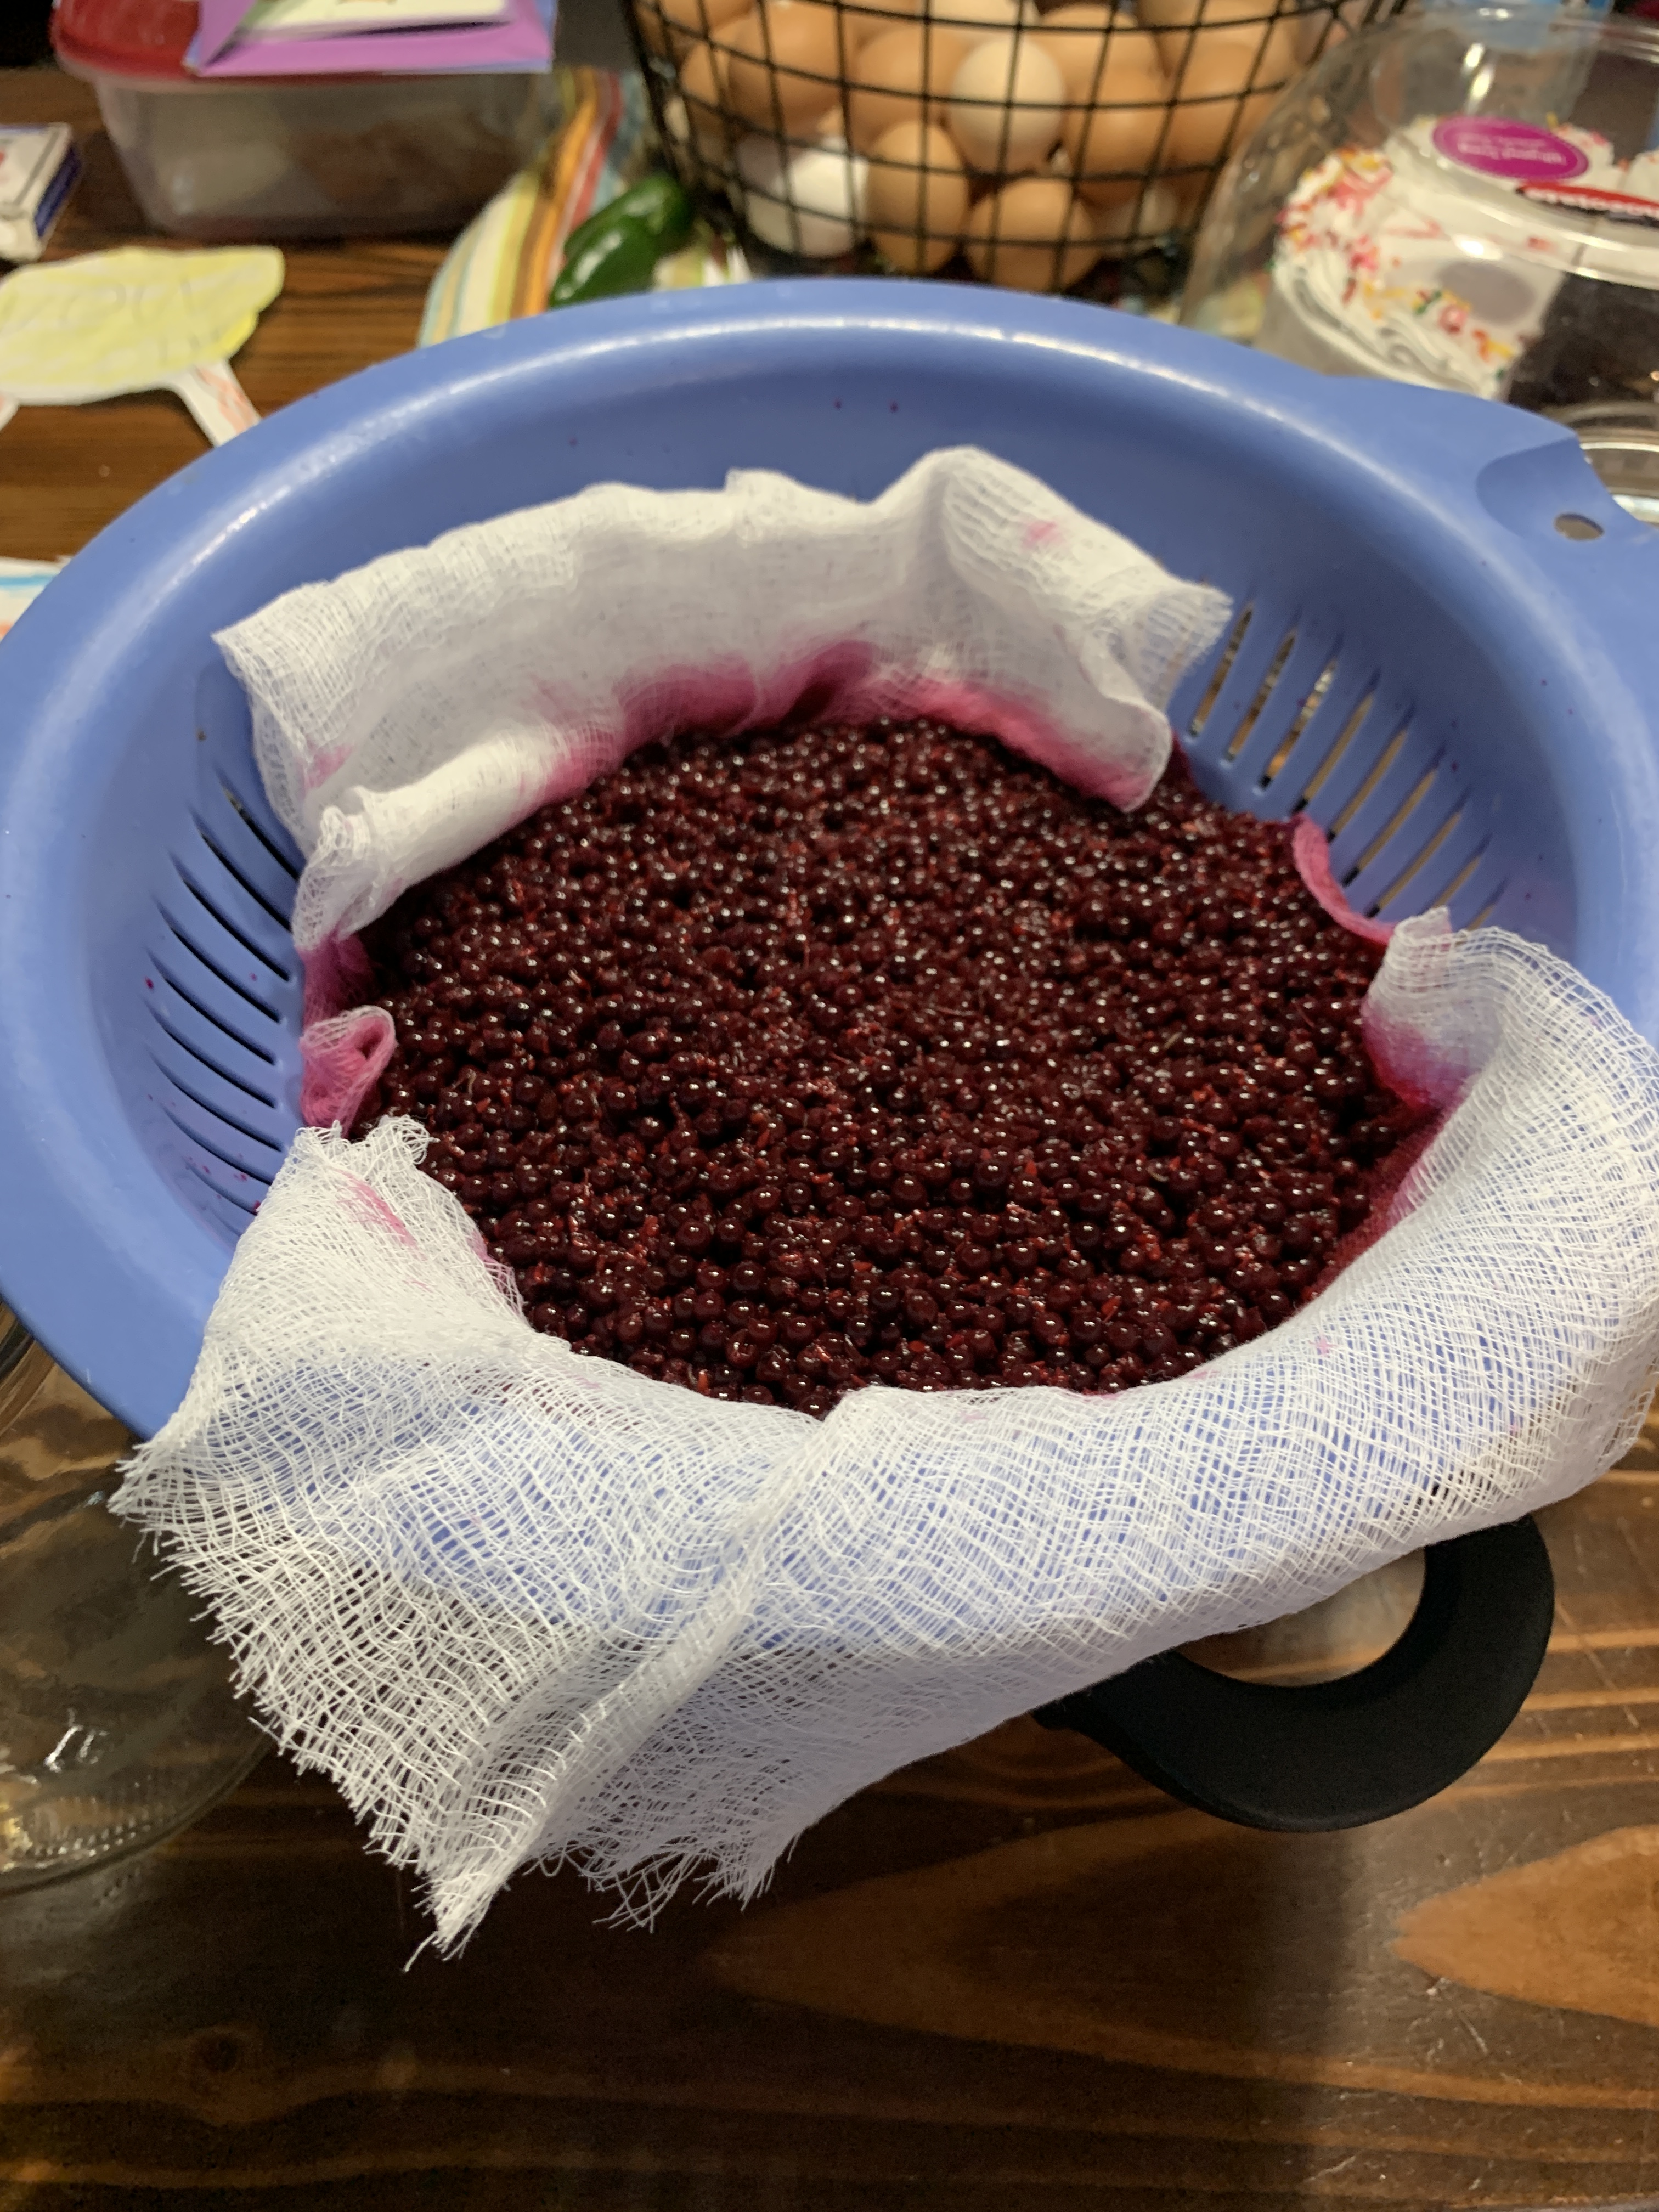
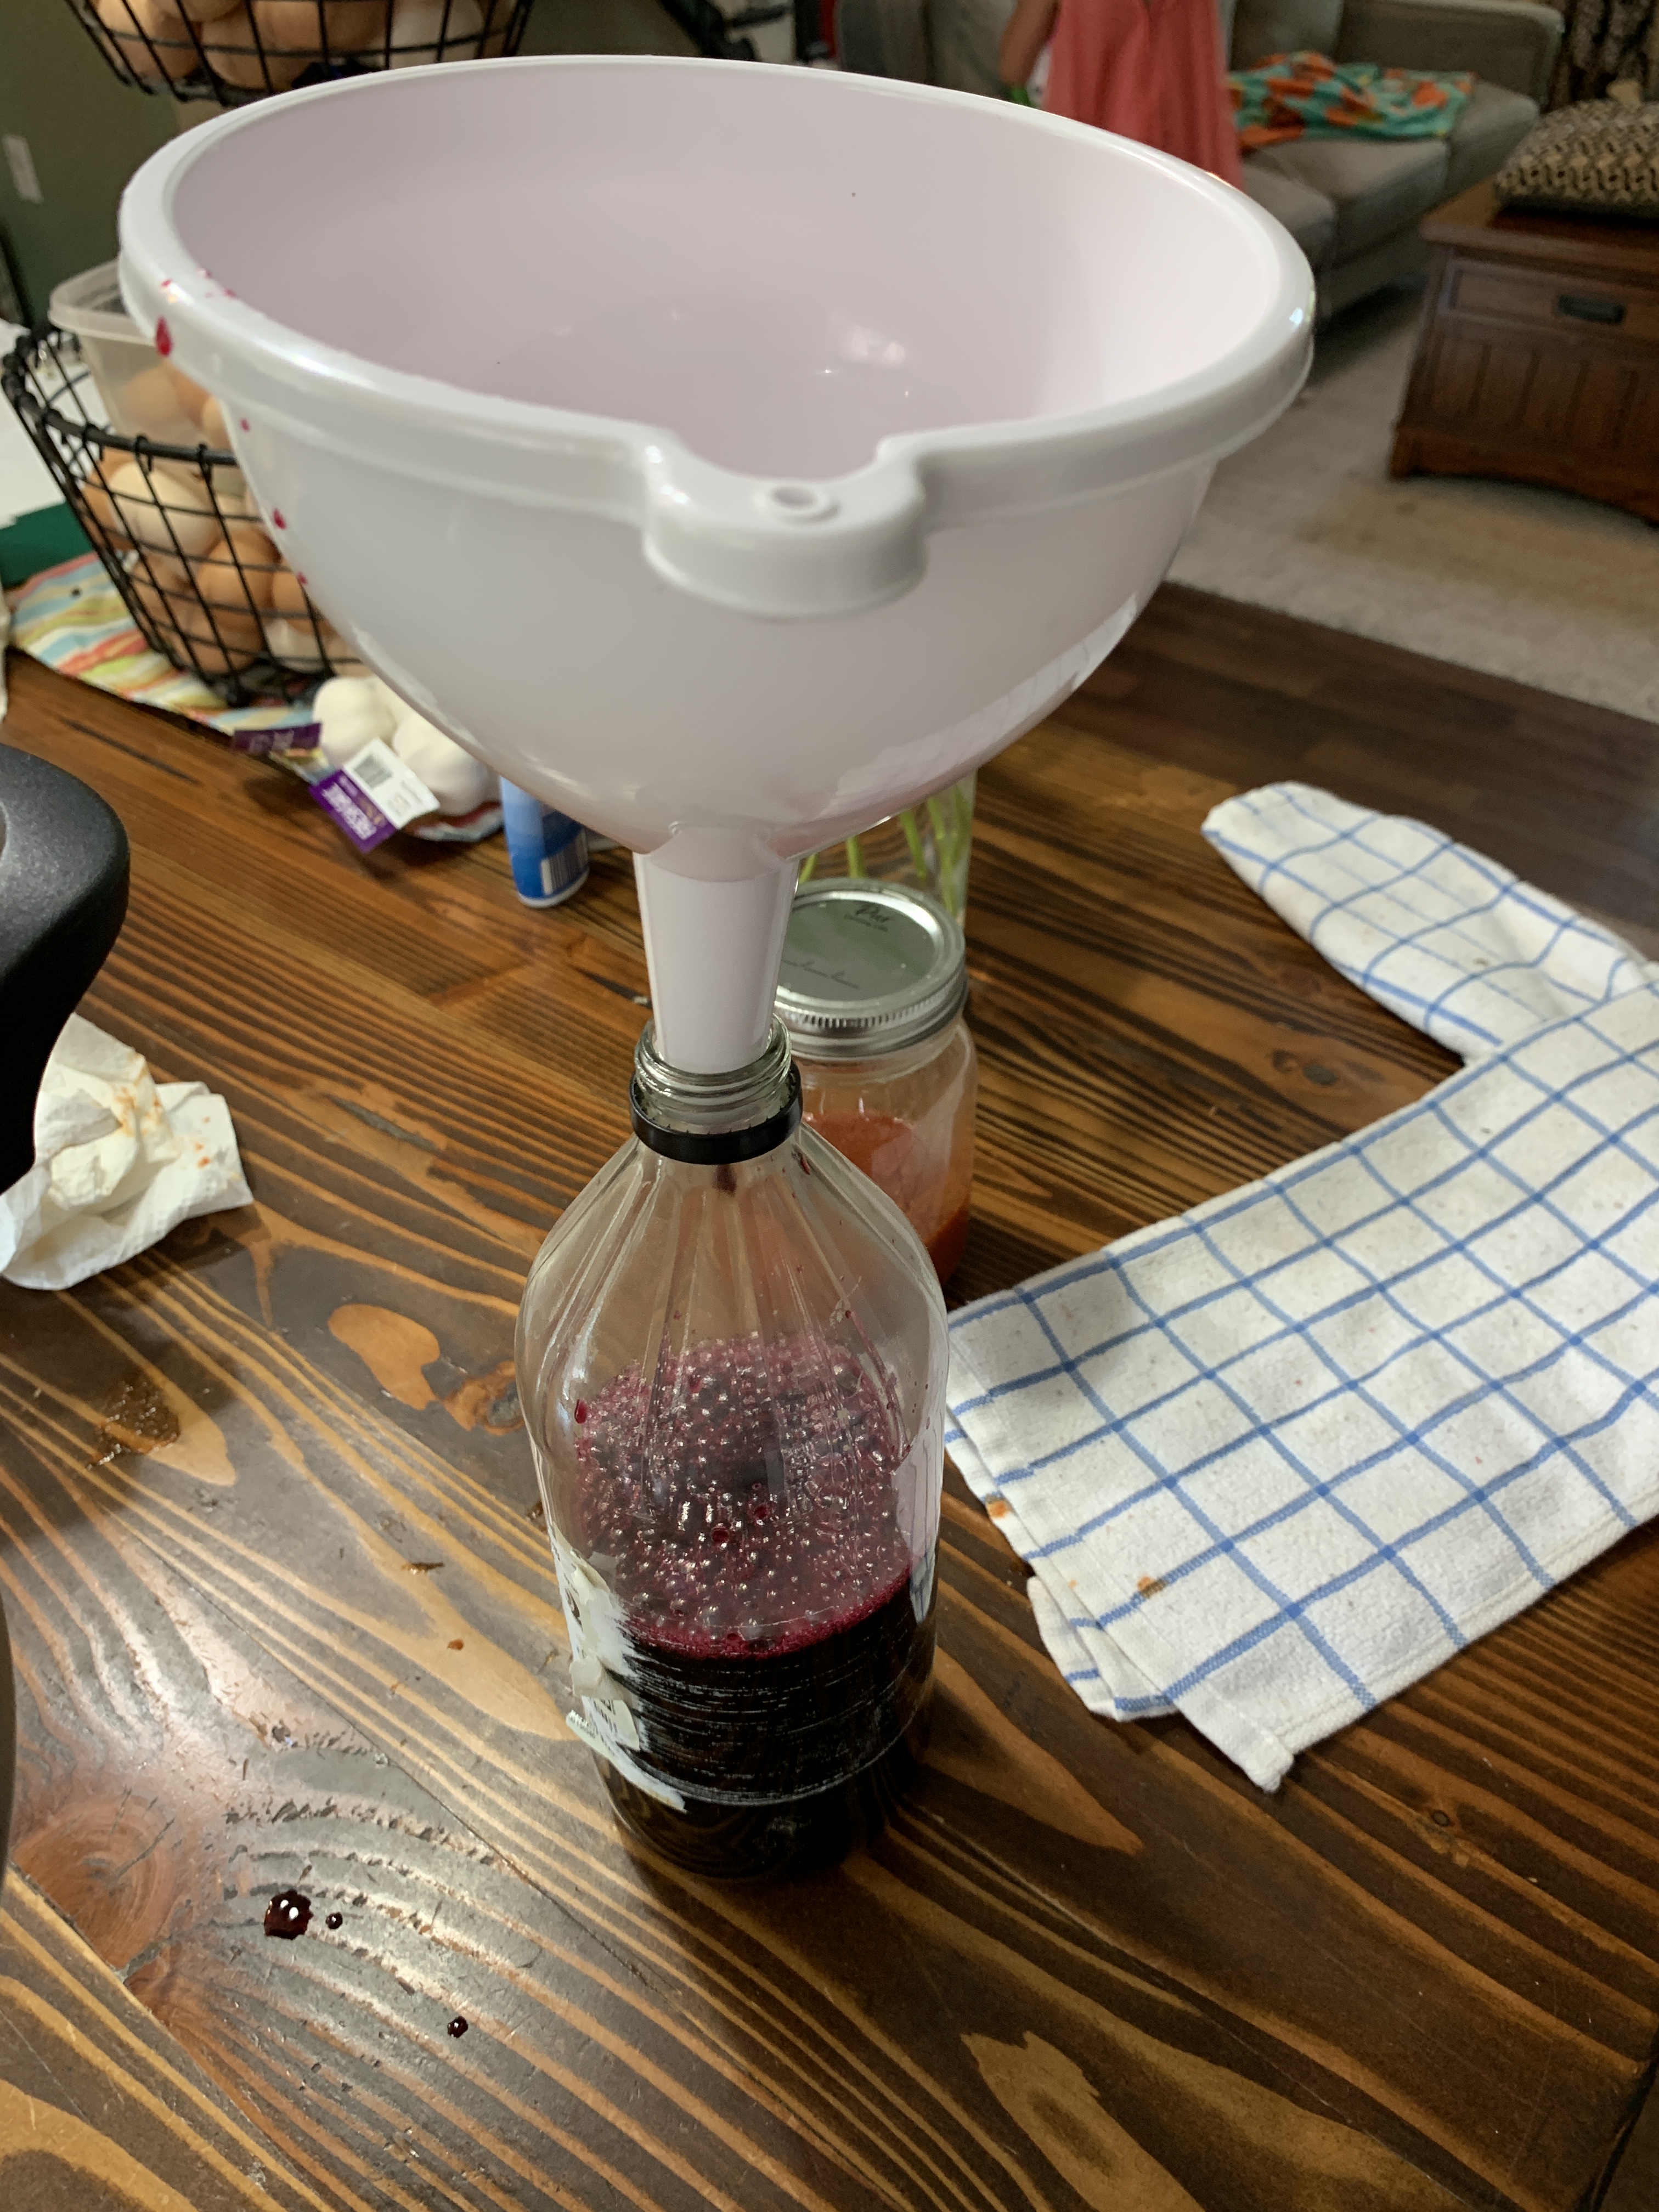
3. Once the maceration is complete, set up a jelly bag over a large bowl. Pour the elderberry mixture into the bag and allow it to strain naturally for at least 2 hours, or even overnight. It’s important not to squeeze the bag, as this can make the final vinegar cloudy. We do not have a jelly bag, so I went with the cheese cloth lined colander suspended by two mason jars over a pot method.

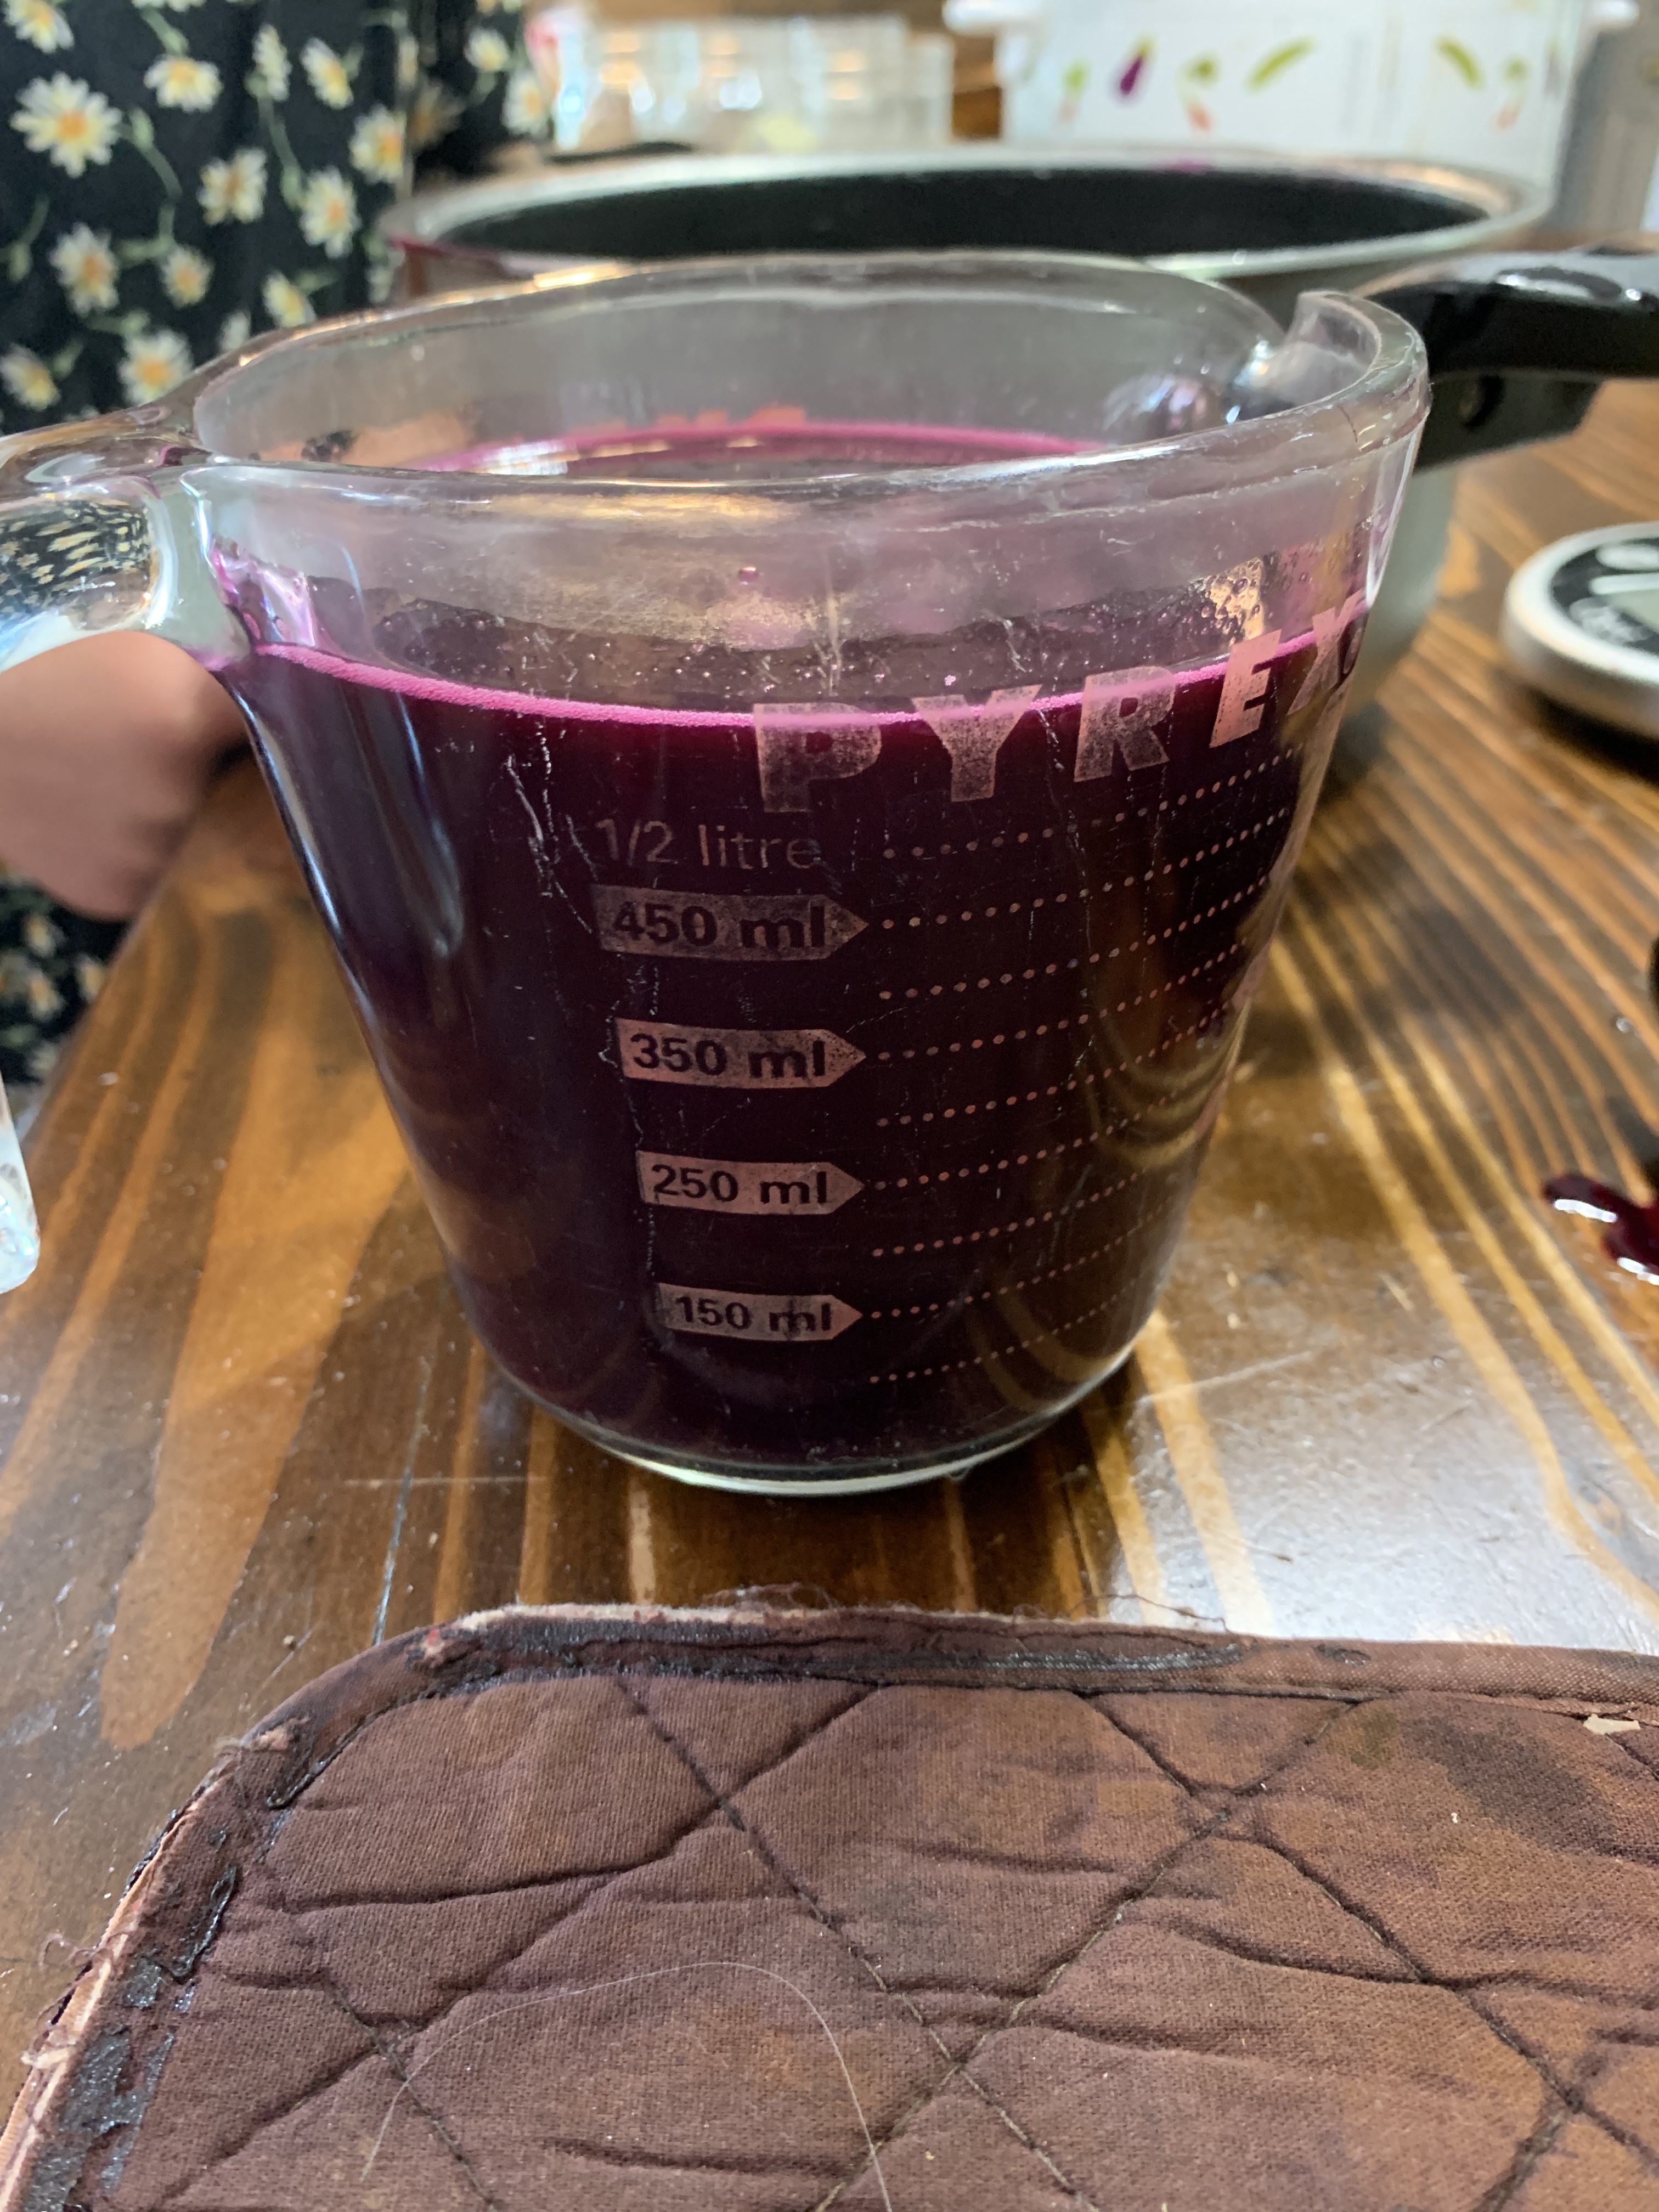
4. Measure the strained liquid and pour it into a large saucepan or preserving pan.
5. For every 2 ¼ cups of elderberry liquid, add 2 ¼ cups of granulated sugar.
6. Gently heat the mixture over a low heat, stirring continuously until all the sugar has completely dissolved.


7. Once the sugar is dissolved, slowly bring the liquid to a boil and let it boil for 10 minutes. If you prefer a more syrupy consistency for your vinegar, you can boil it for 15 minutes.

8. Remove the pan from the heat and use a spoon to skim off any foam or scum that has formed on the surface.
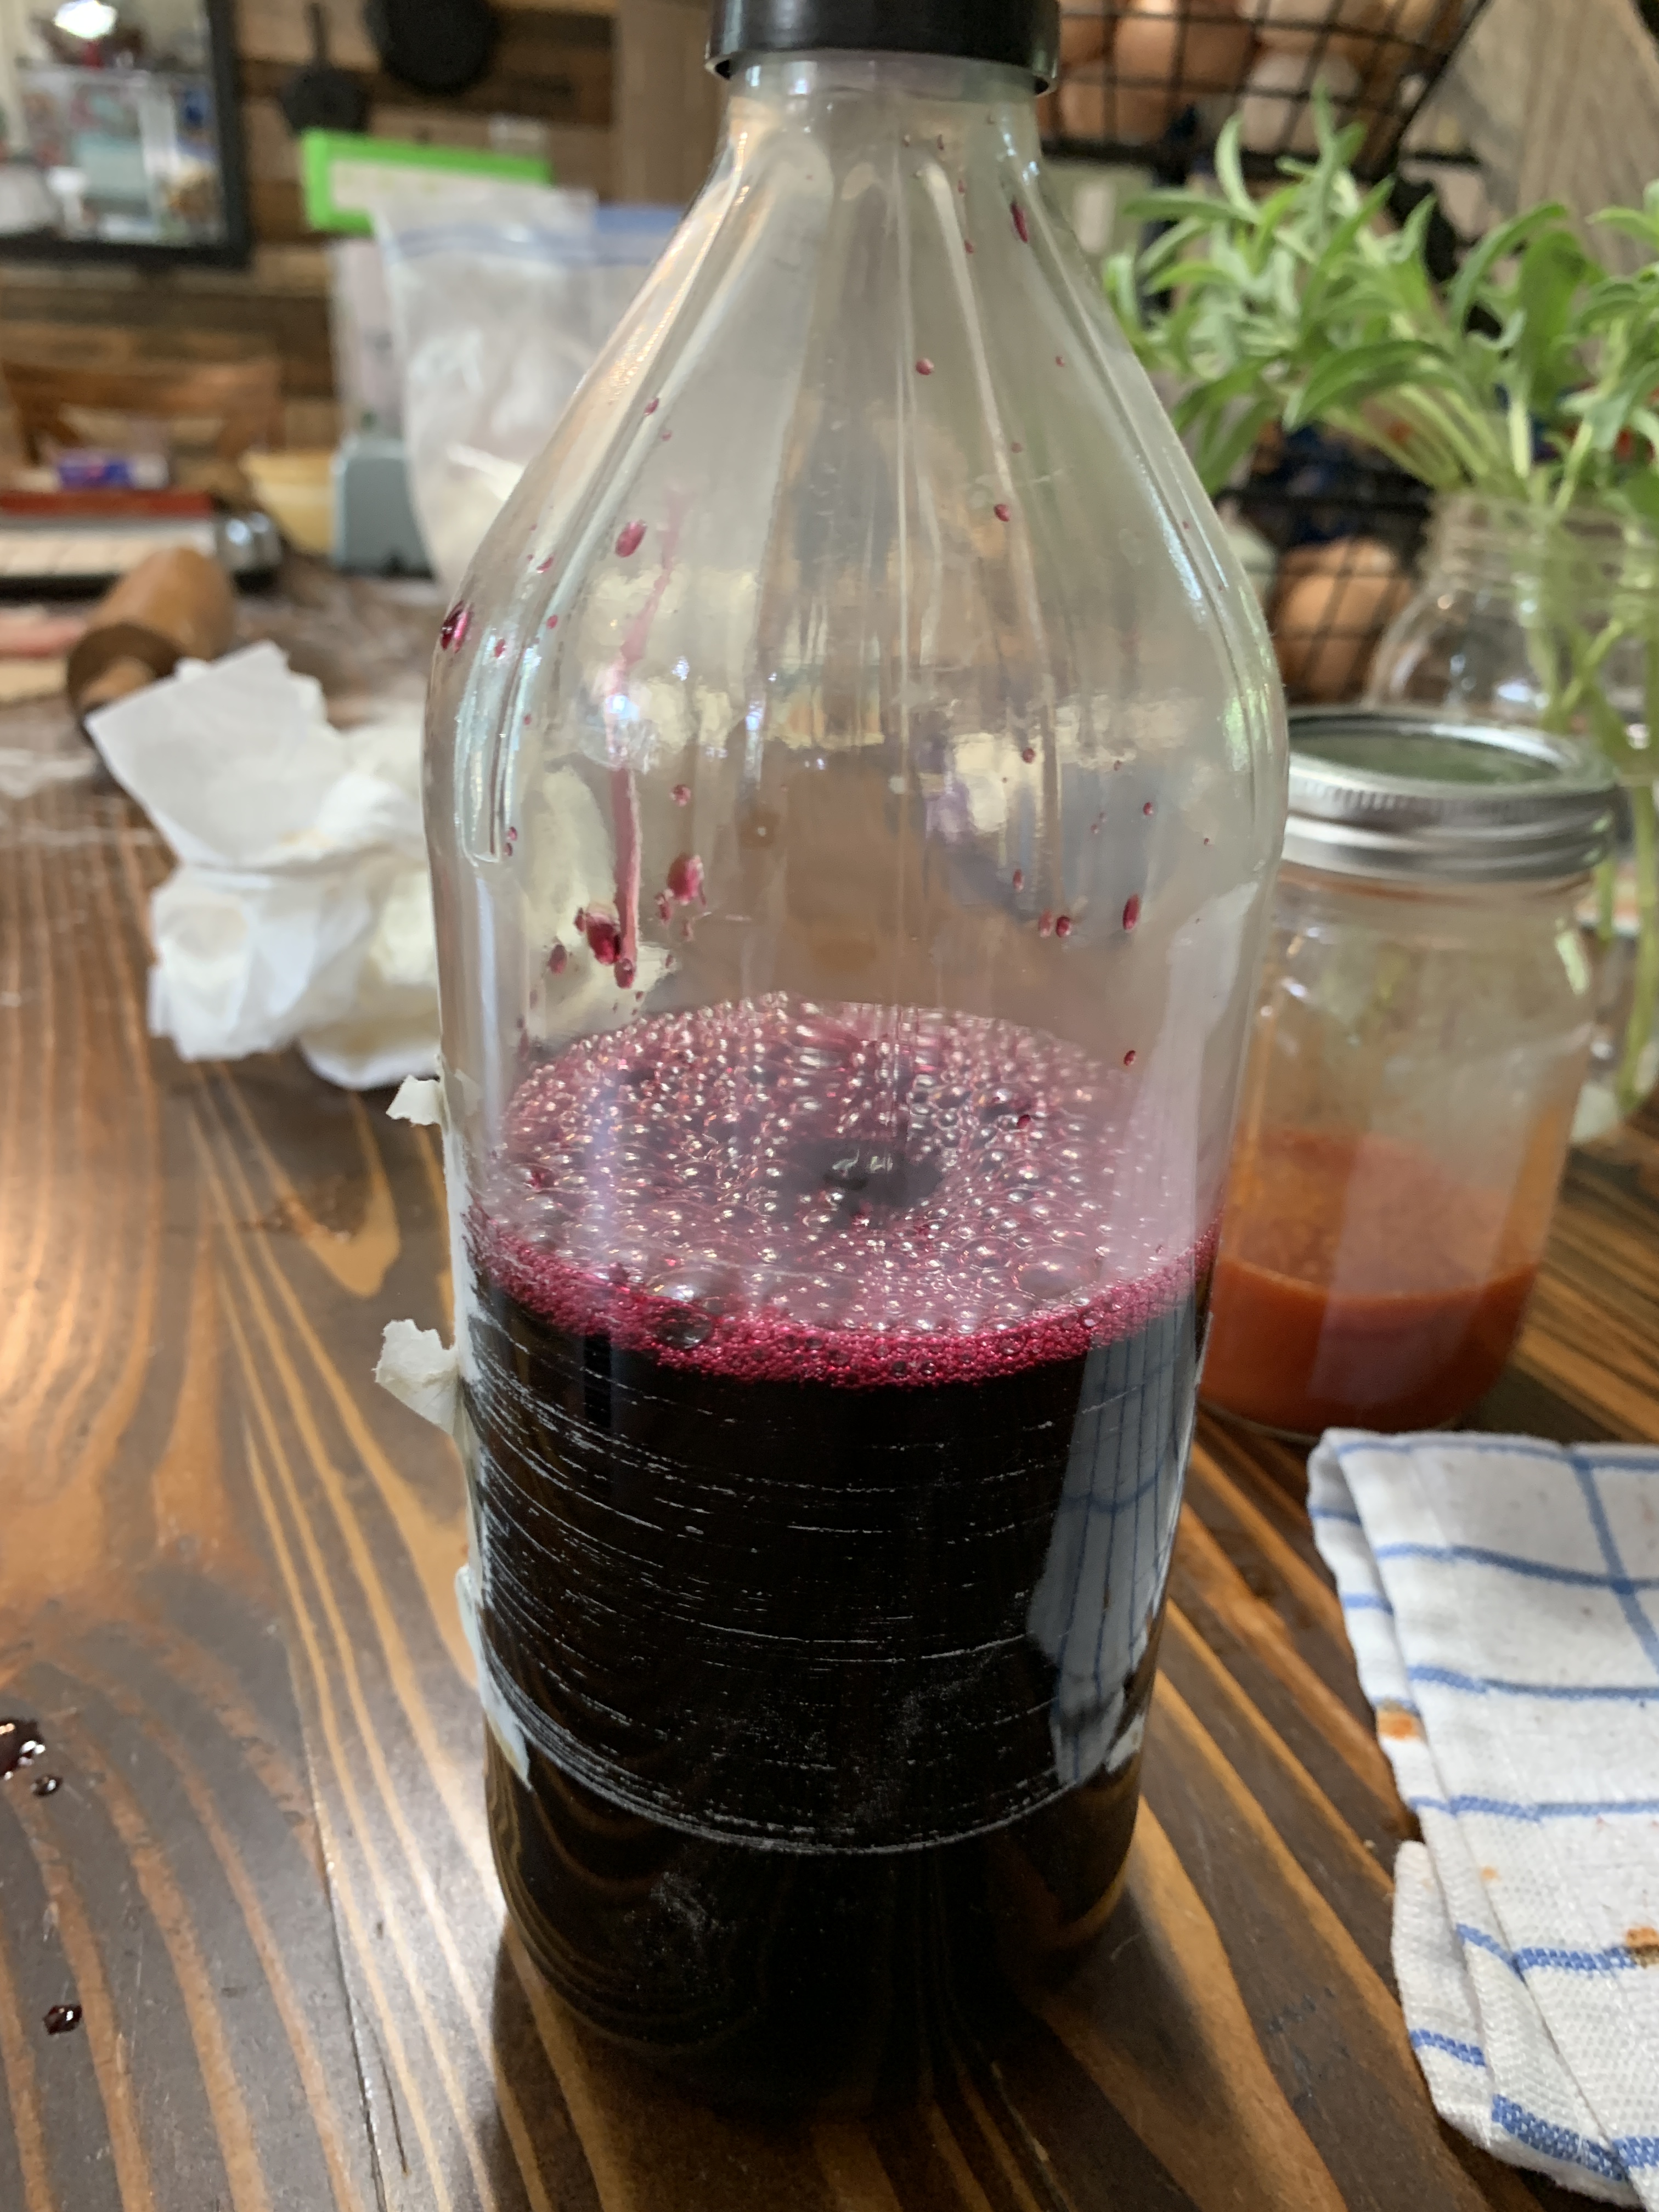
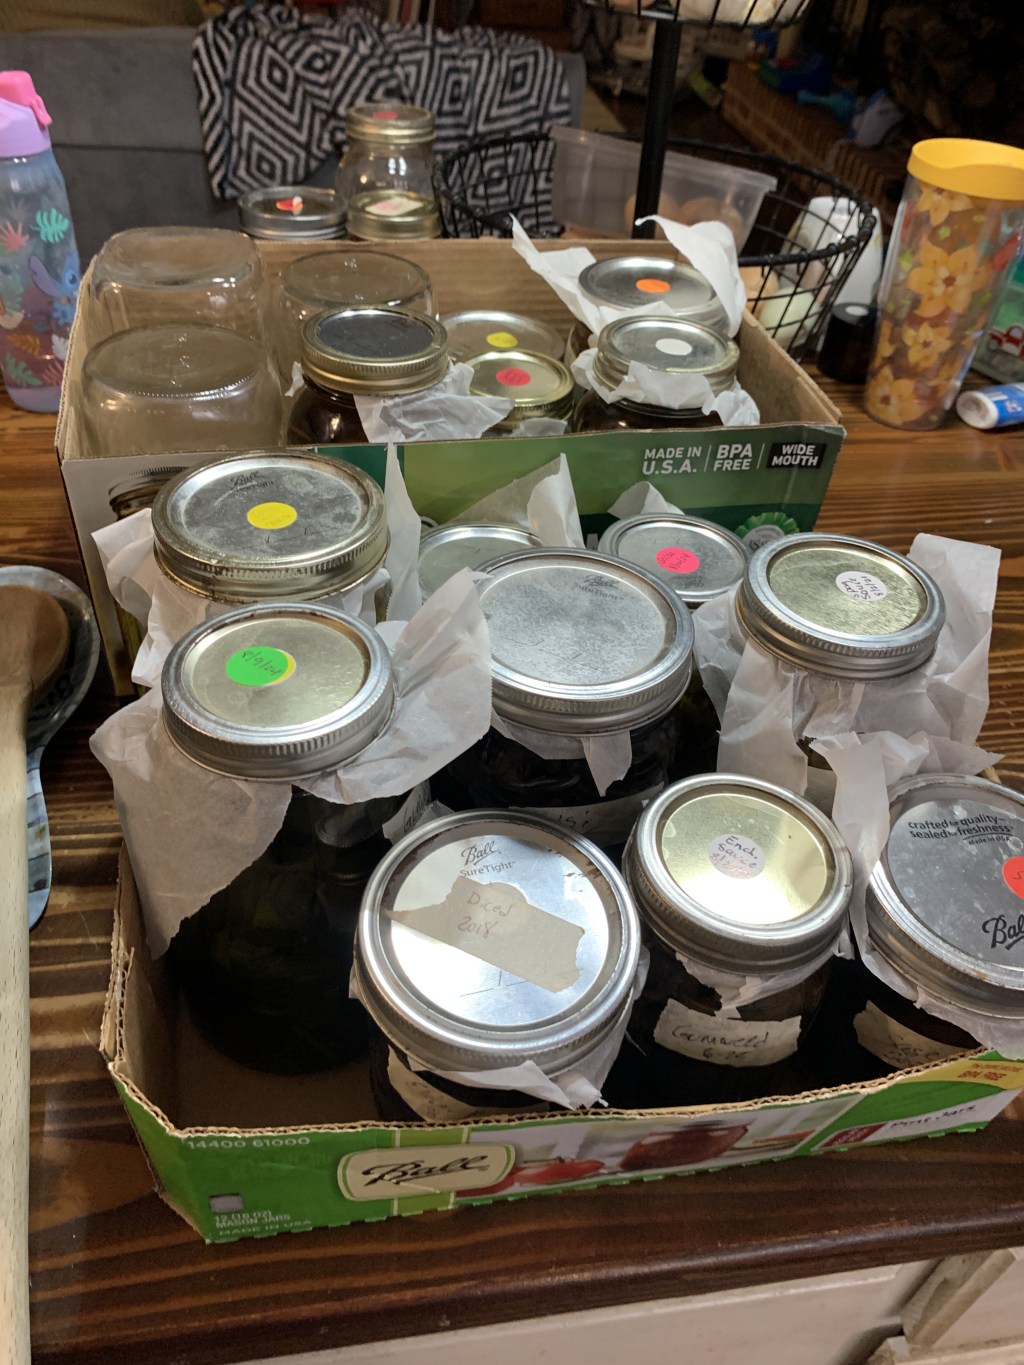
9. Allow the vinegar to cool completely before decanting it into sterilized bottles or jars. We like to reuse the glass apple cider vinegar jars. Why let them go to waste.
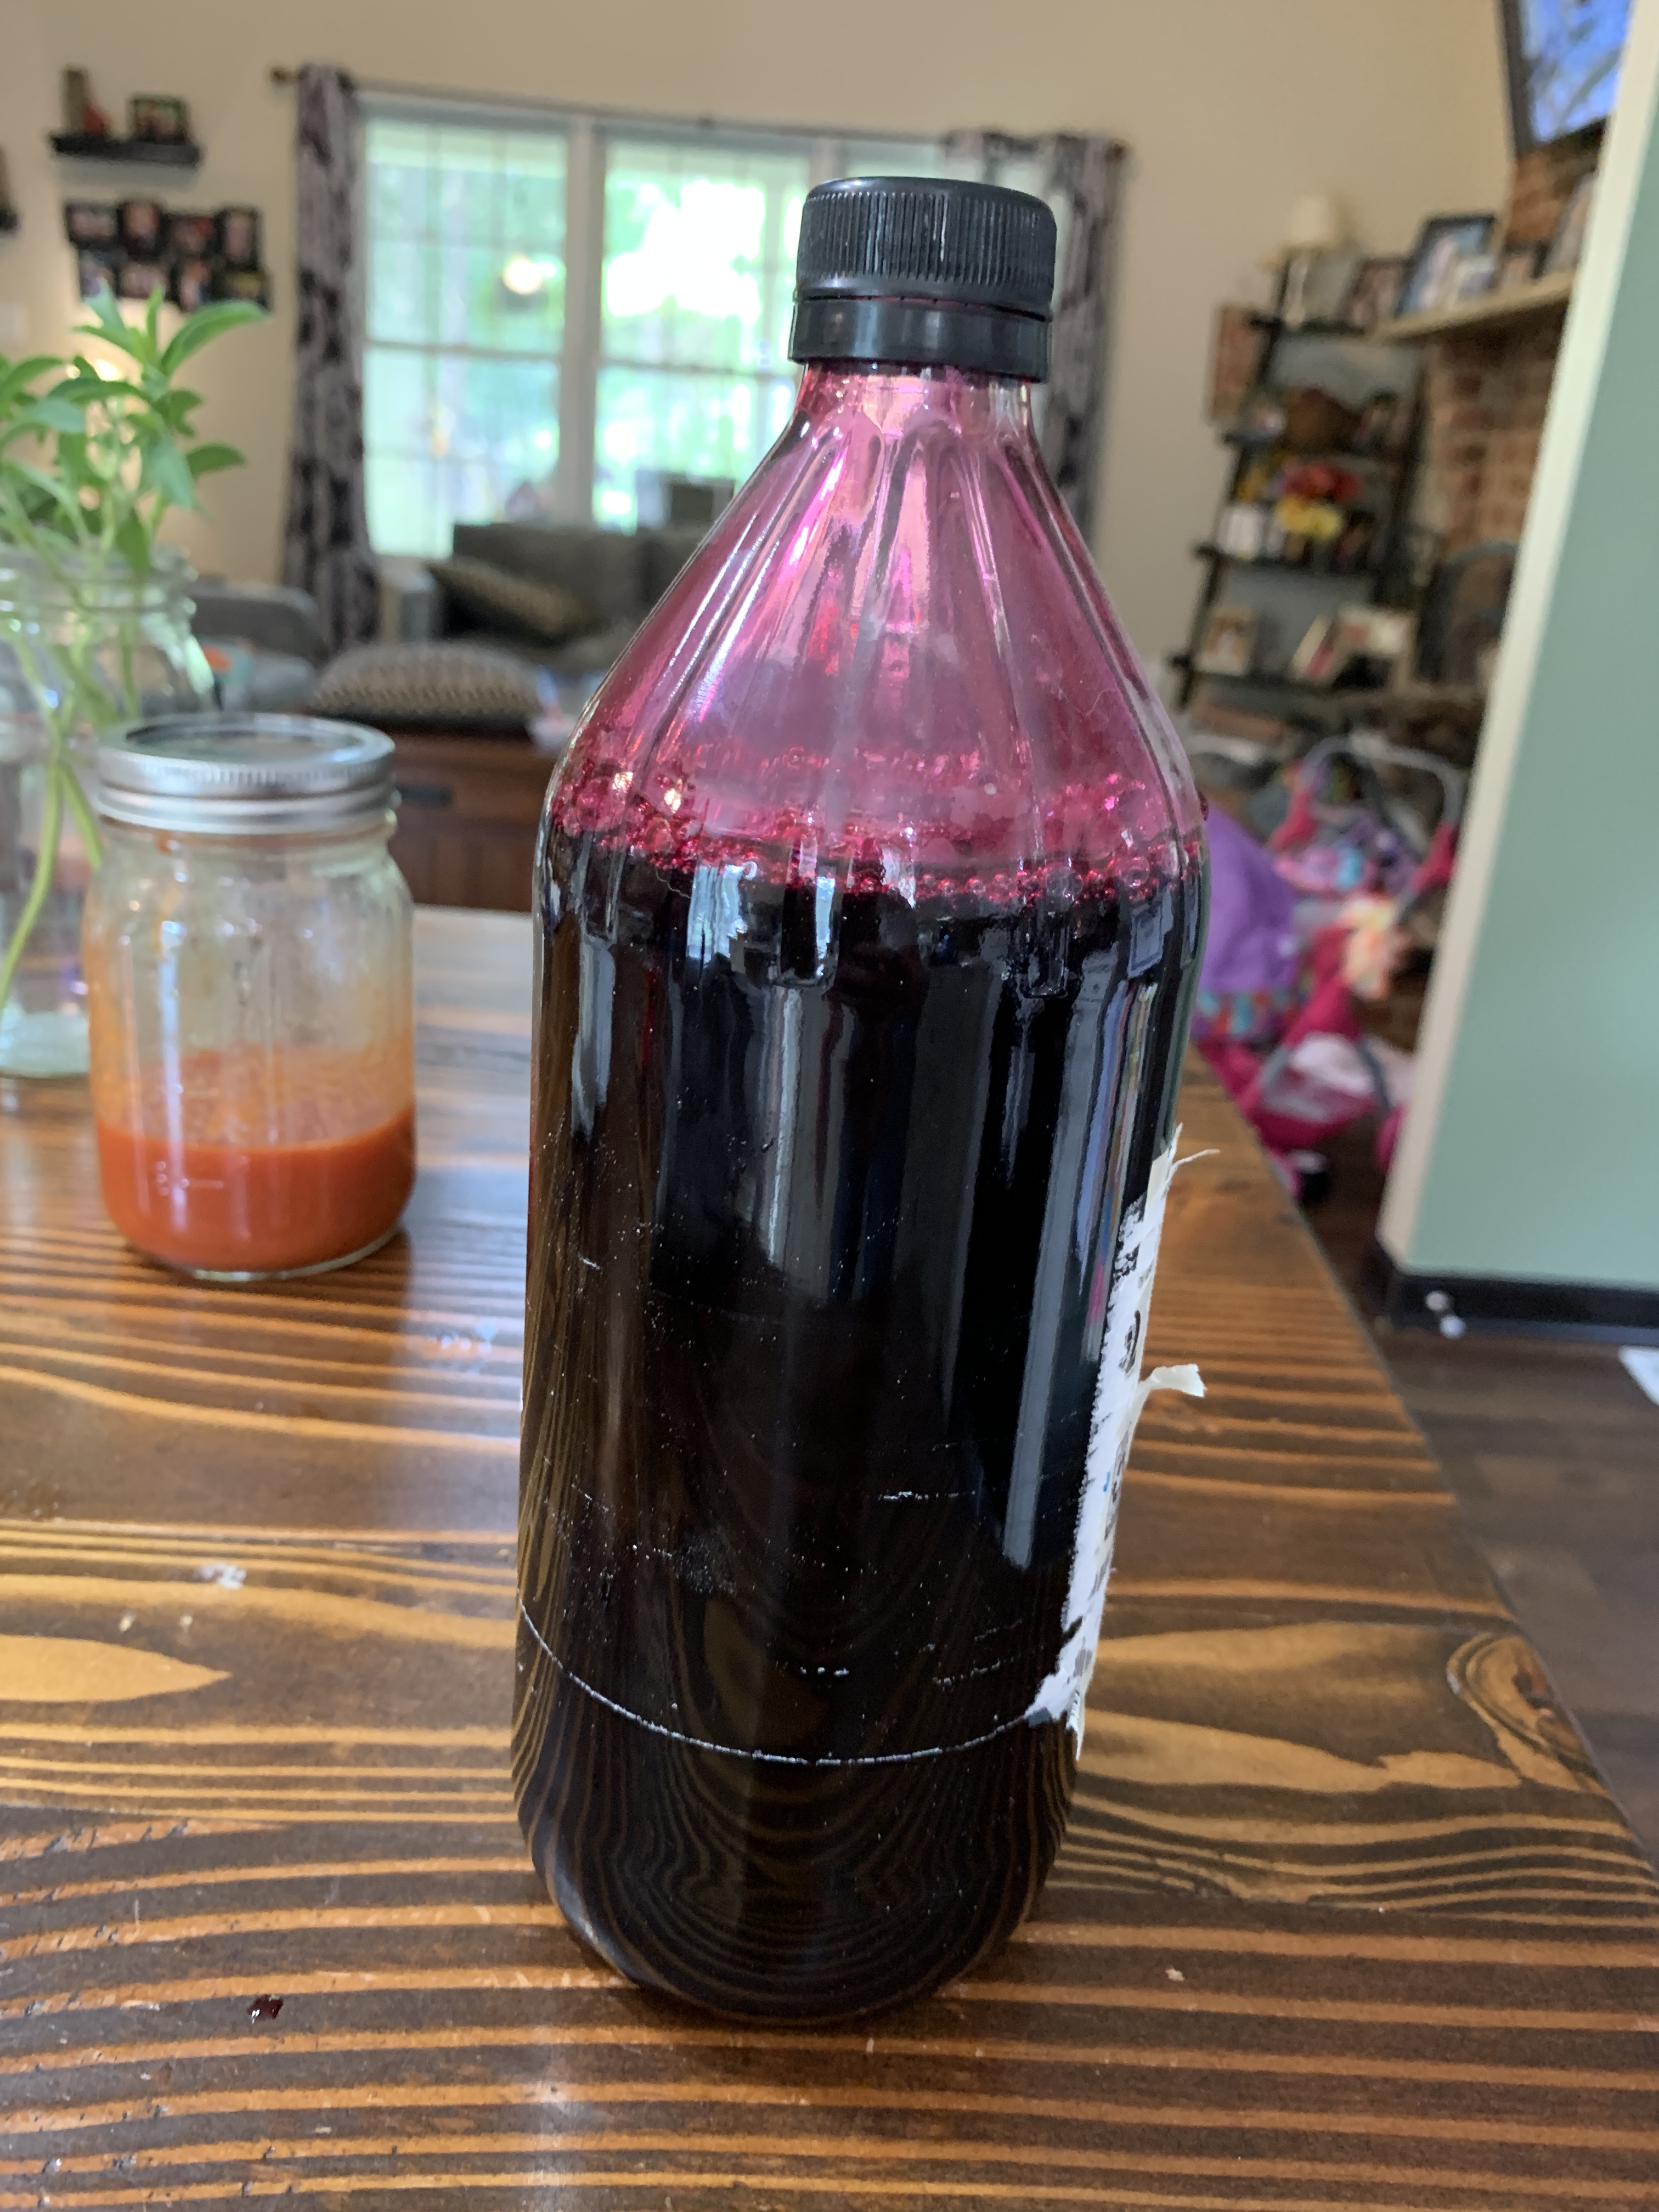
10. Store your finished elderberry vinegar in a cool, dry place away from direct sunlight. It will keep well for at least 12 months.
This process of turning an abundant harvest into something new and useful is at the heart of our homesteading journey. Each bottle of this vibrant elderberry vinegar is a reminder of the season’s generosity and a tasty addition to our pantry that we’ll enjoy for months to come.
Also, please stop by our facebook page and give us a “like” there. We post some additional content there, and we’re always happy to respond and answer any questions you may have! You can also find me on GAB, https://gab.com/jungerer!


Leave a comment