

I’ve been riding the kombucha train for almost a year now. One thing you know, if you make your own kombucha, is that you end up with lots of extra SCOBY. While SCOBY (Symbiotic Culture of Bacteria and Yeast) is actually NOT the name of the rubbery pancake-like disc that forms on the top of the kombucha, most people (myself included) call it that. So that is how I will be referring to it here. The technical name of it is a pellicle, in case you were wondering.
But back to the problem at hand…too much SCOBY! Now, there are many things you can do with this slimy, thick, and often sour SCOBY. You can eat it raw, you can feed it to your pets or livestock, you can throw it in your compost pile, or you can simply throw it away. There are also recipes for things like jerky and candy that can be made from the SCOBY. When I learned this my thoughts started churning in my head. So many possibilities!
I wanted to make something from it that Eva would enjoy. I am a member of several Kombucha Home-Brewing groups on Facebook so I started there, looking for advice. The resounding recommendation was fruit leather! Since Eva drinks kombucha regularly and enjoys it, I had a feeling she may like the fruit leather too! I was all in!
The recipe seemed easy and straight forward and could easily be tweaked to each person’s particular taste. Any fruit can be used and spices can also be added to step up the flavor even further. For our first try, I pulled out some peaches that we had frozen over the summer. I originally had plans to bake with these peaches, but it’s pretty obvious that may not happen! Eva loves peaches so they seemed like the perfect fruit to try first.
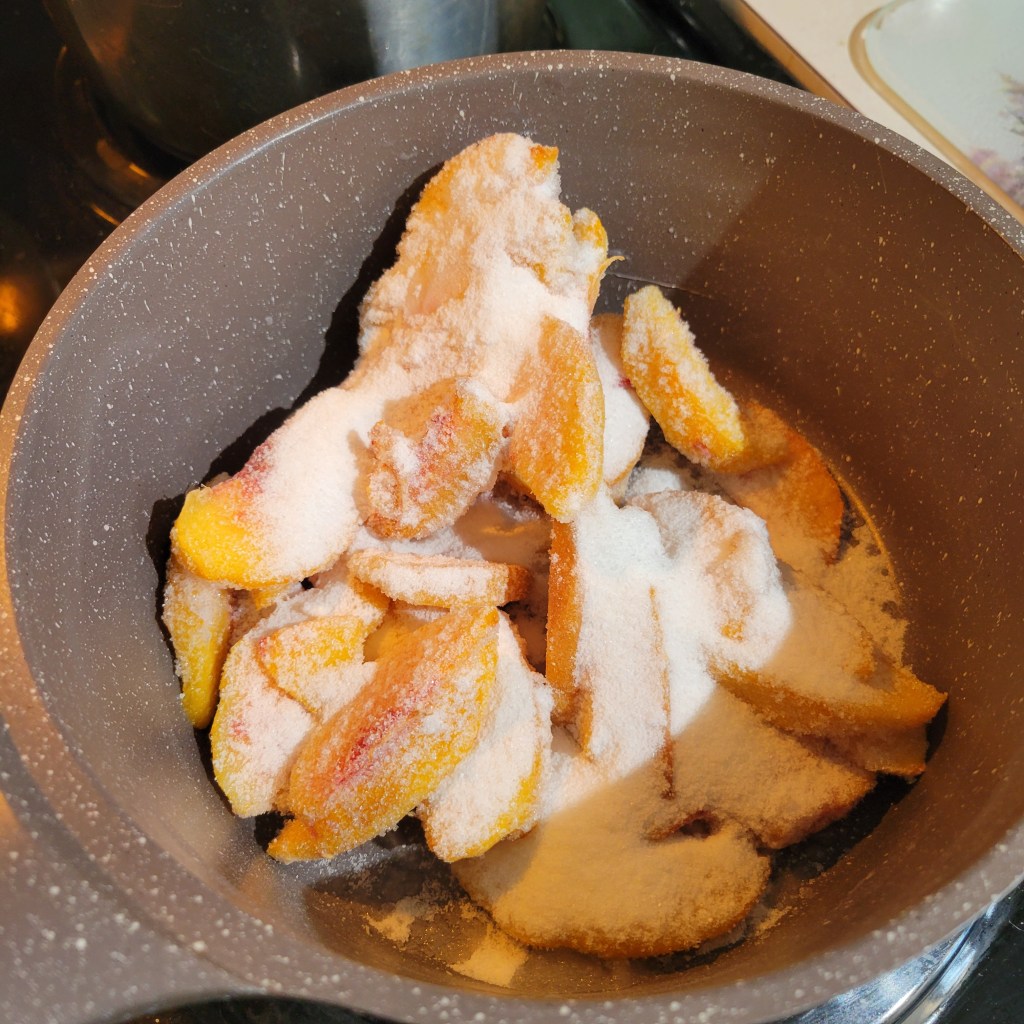
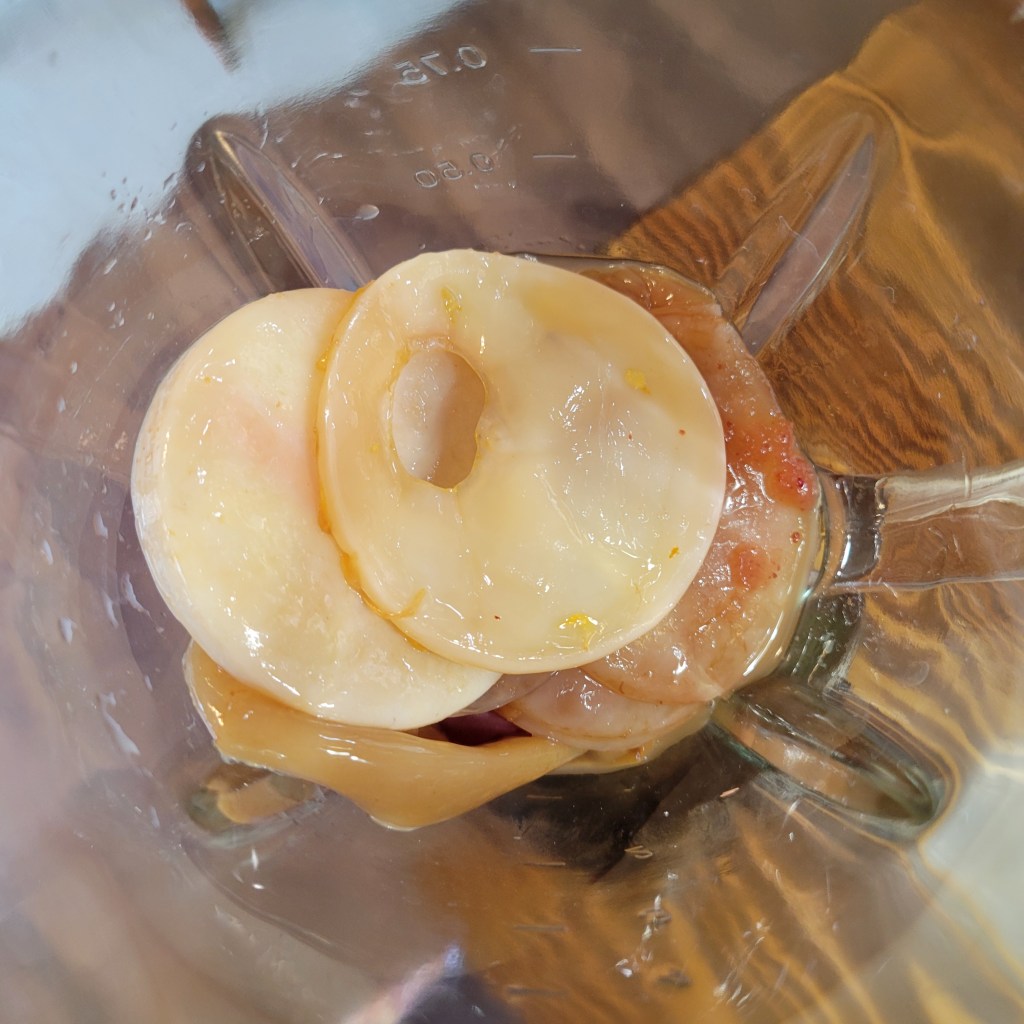
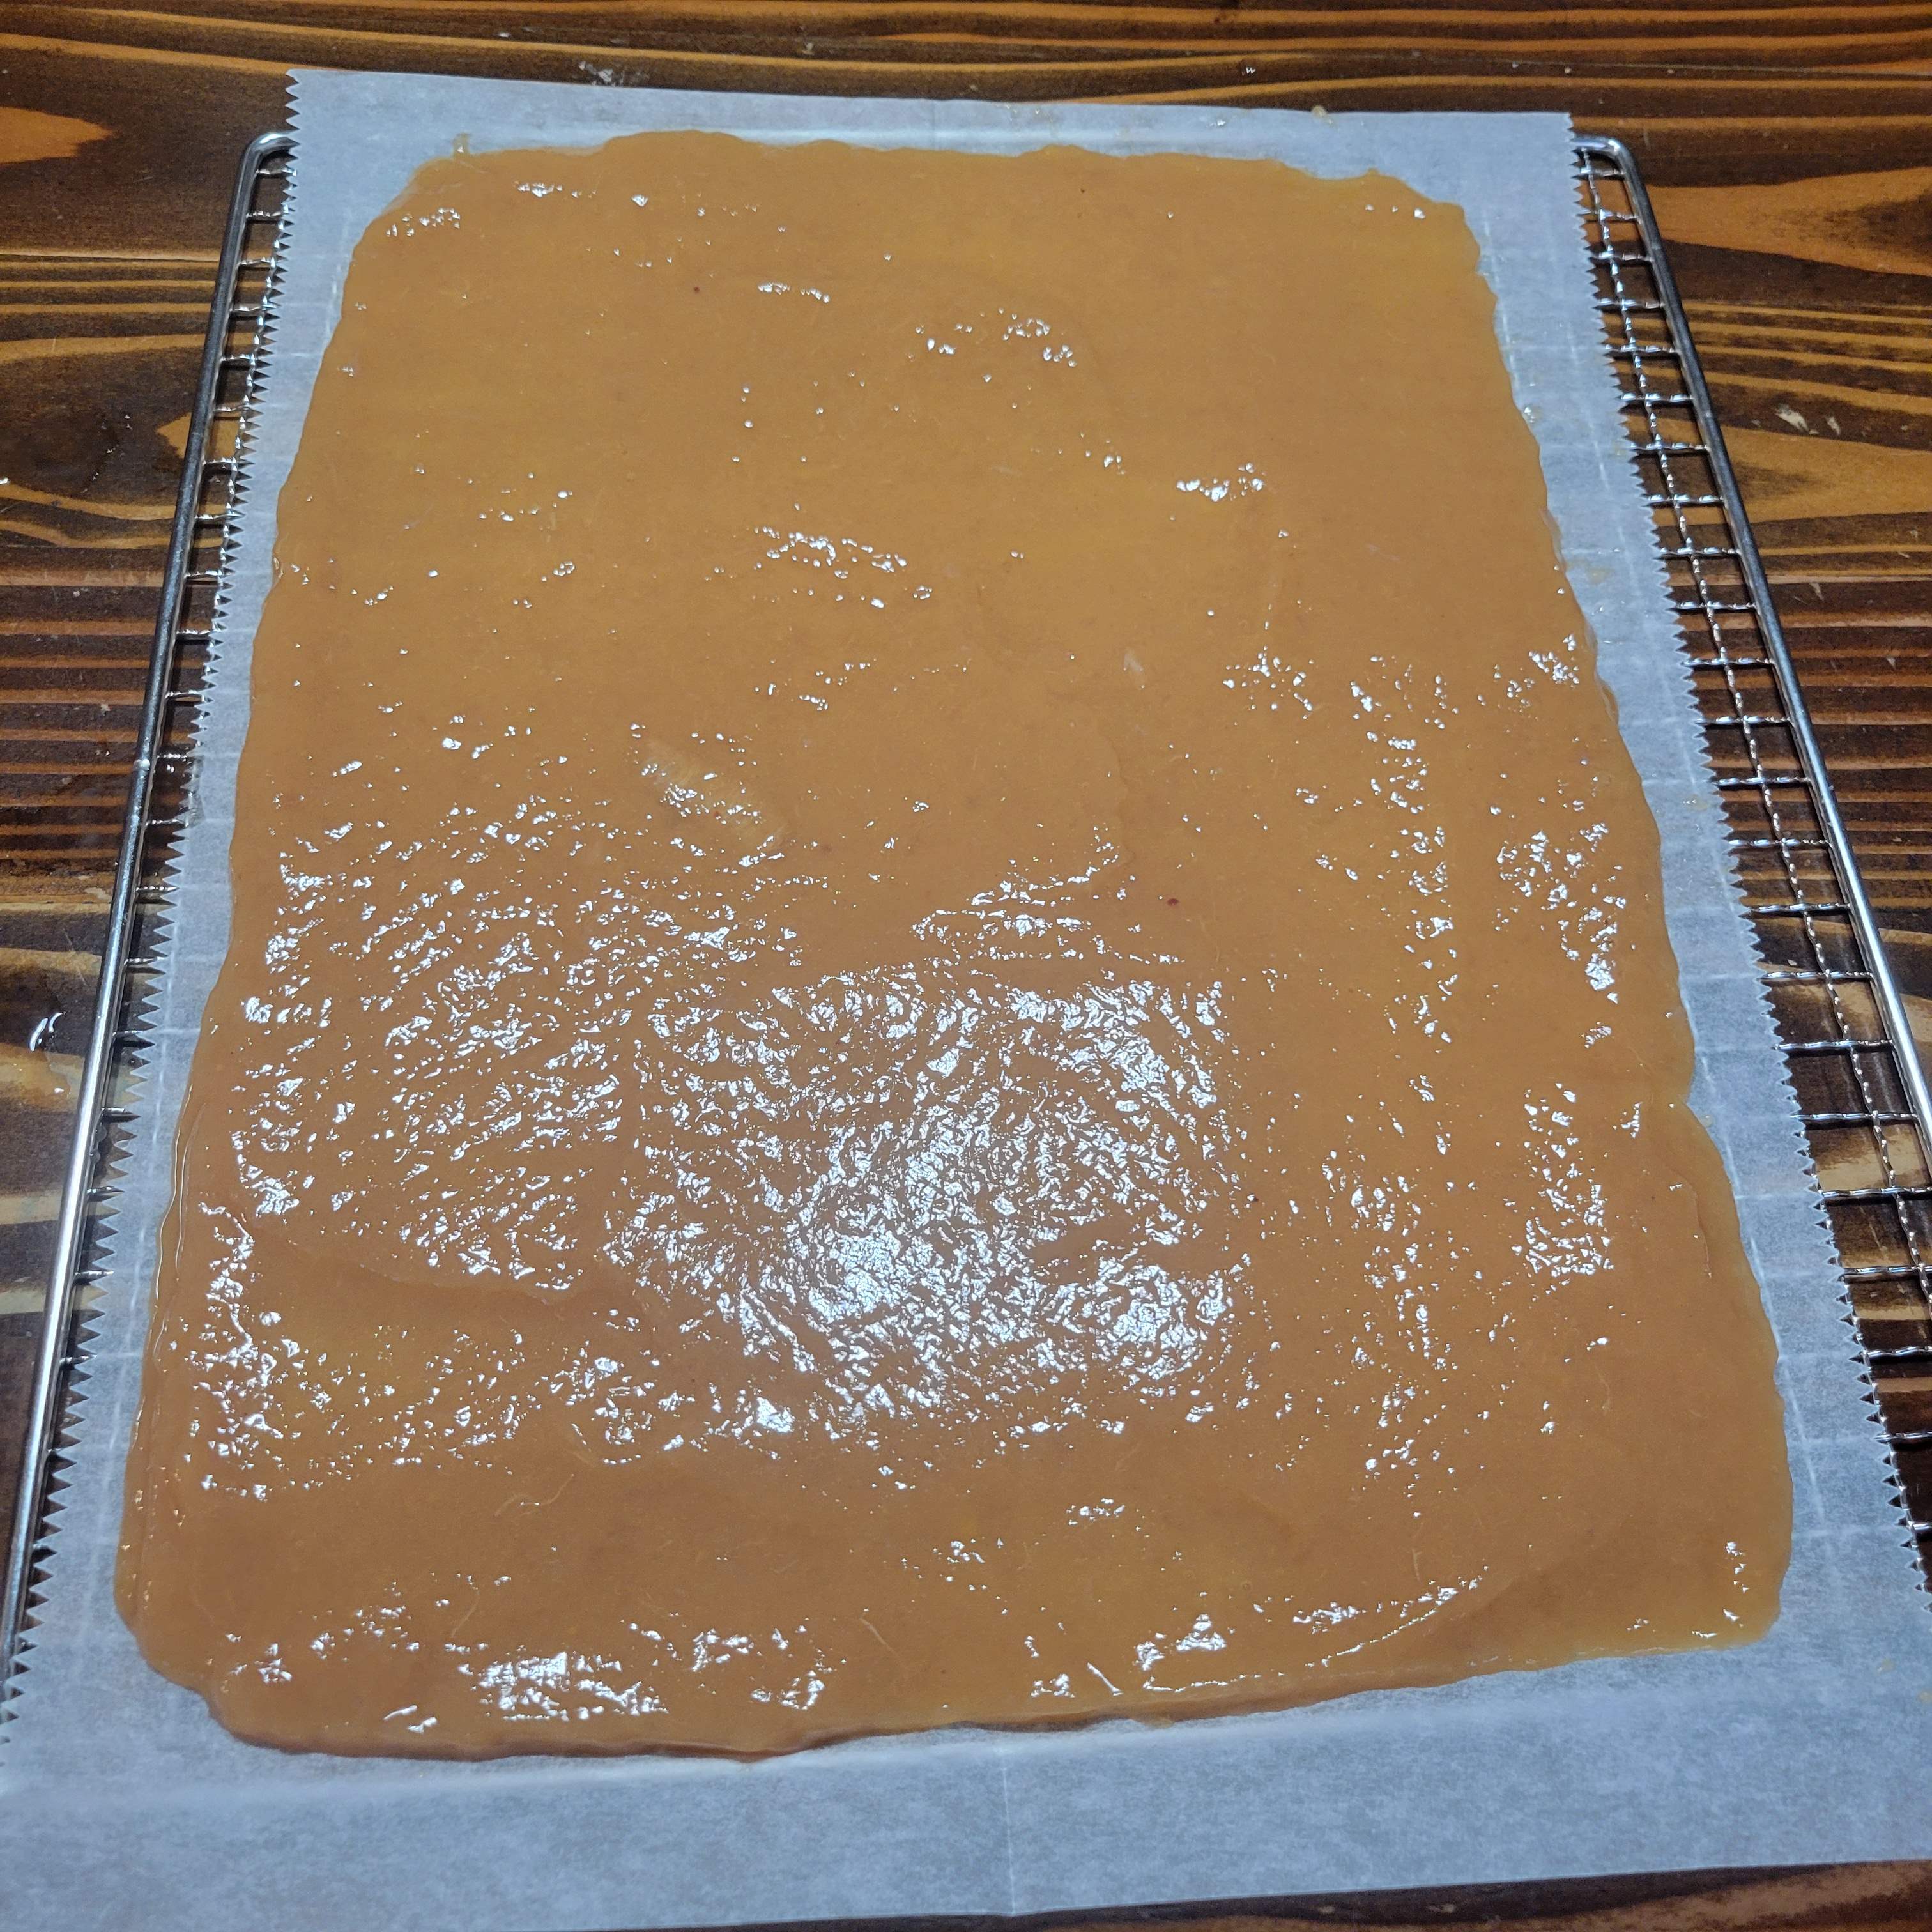
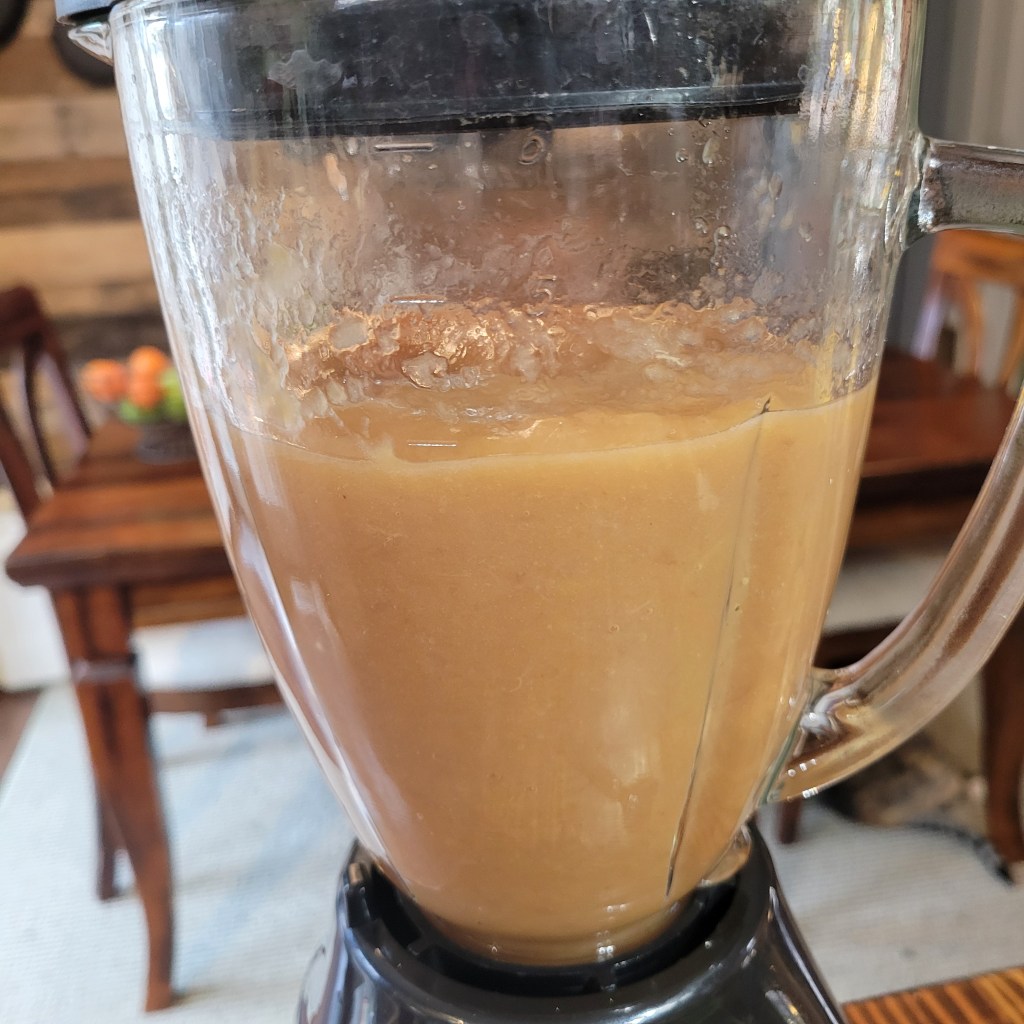
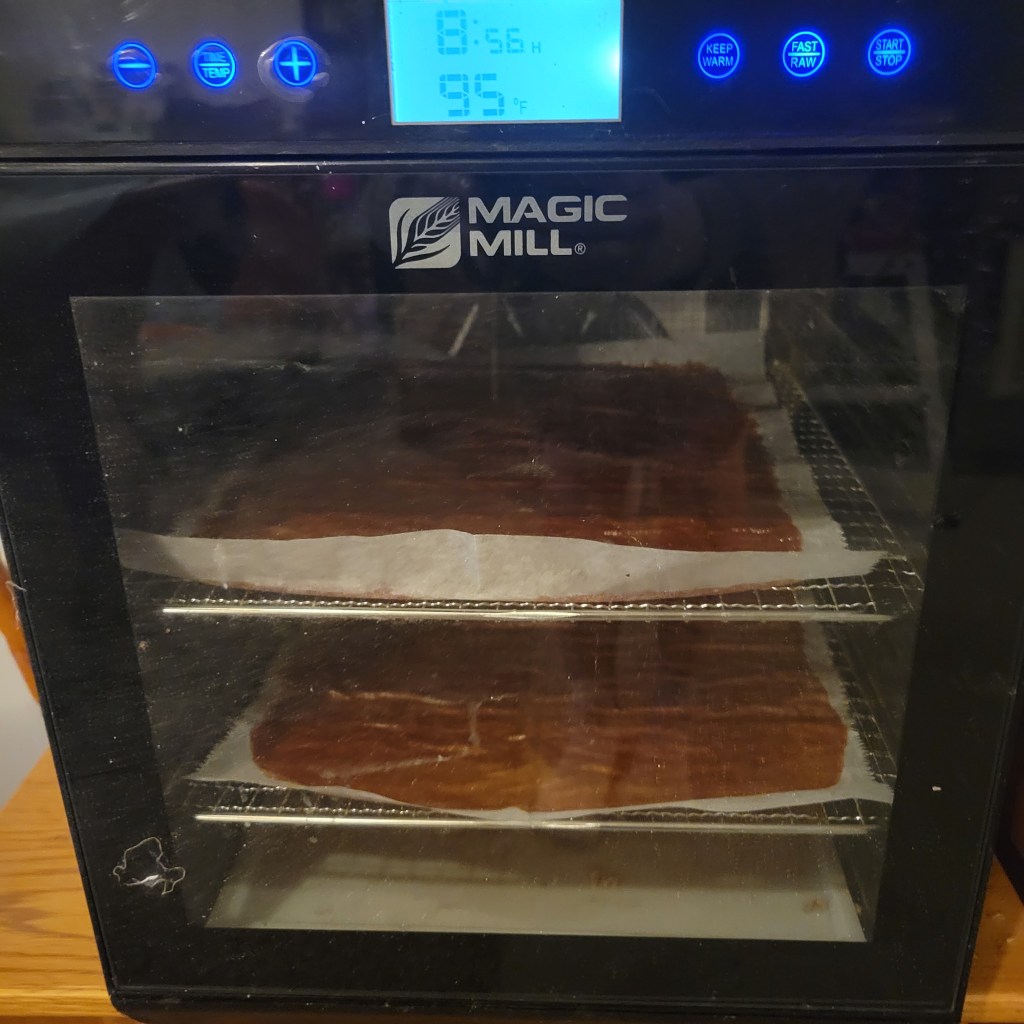
I didn’t bother thawing them because they needed to warm in a sauce pan with sugar anyway. How easy is that? From freezer to pot. Boom! Once the fruit mixture cooled down again (you don’t want to add it to the SCOBY while it is hot or it could kill off the probiotics), I pureed with the SCOBY. Then I spread it on some parchment paper and into the dehydrator it went for 12ish hours.
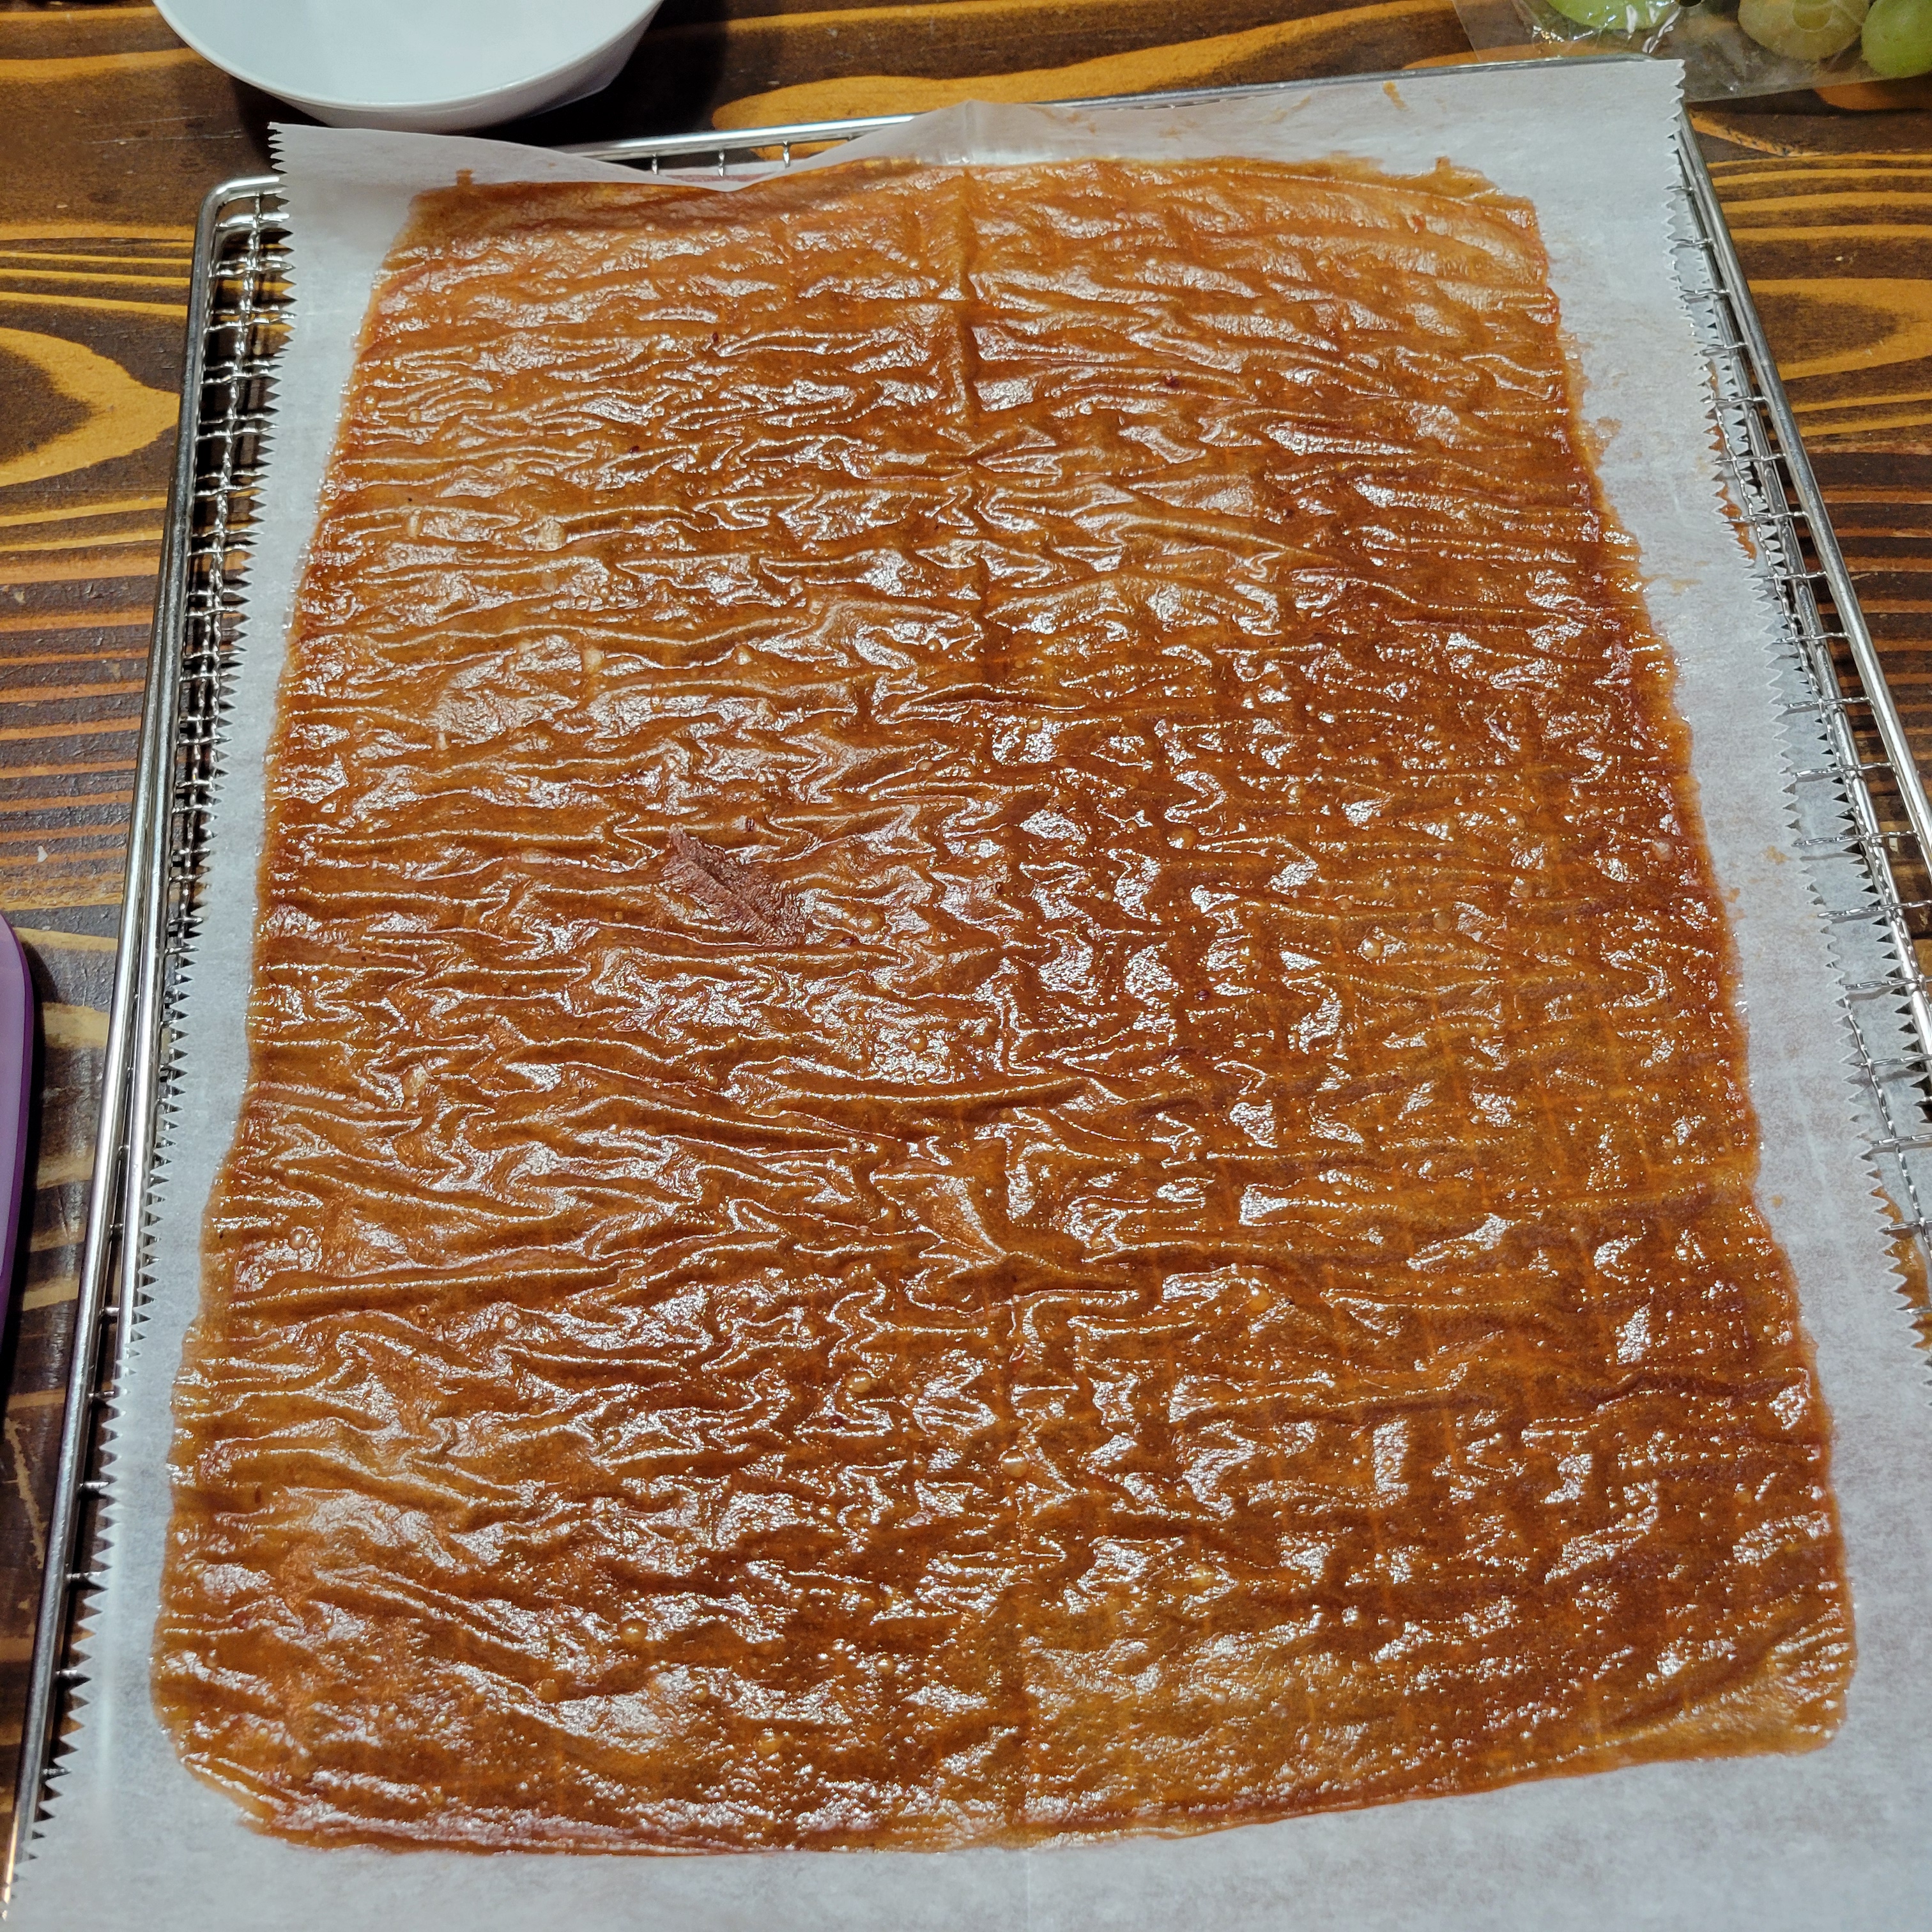
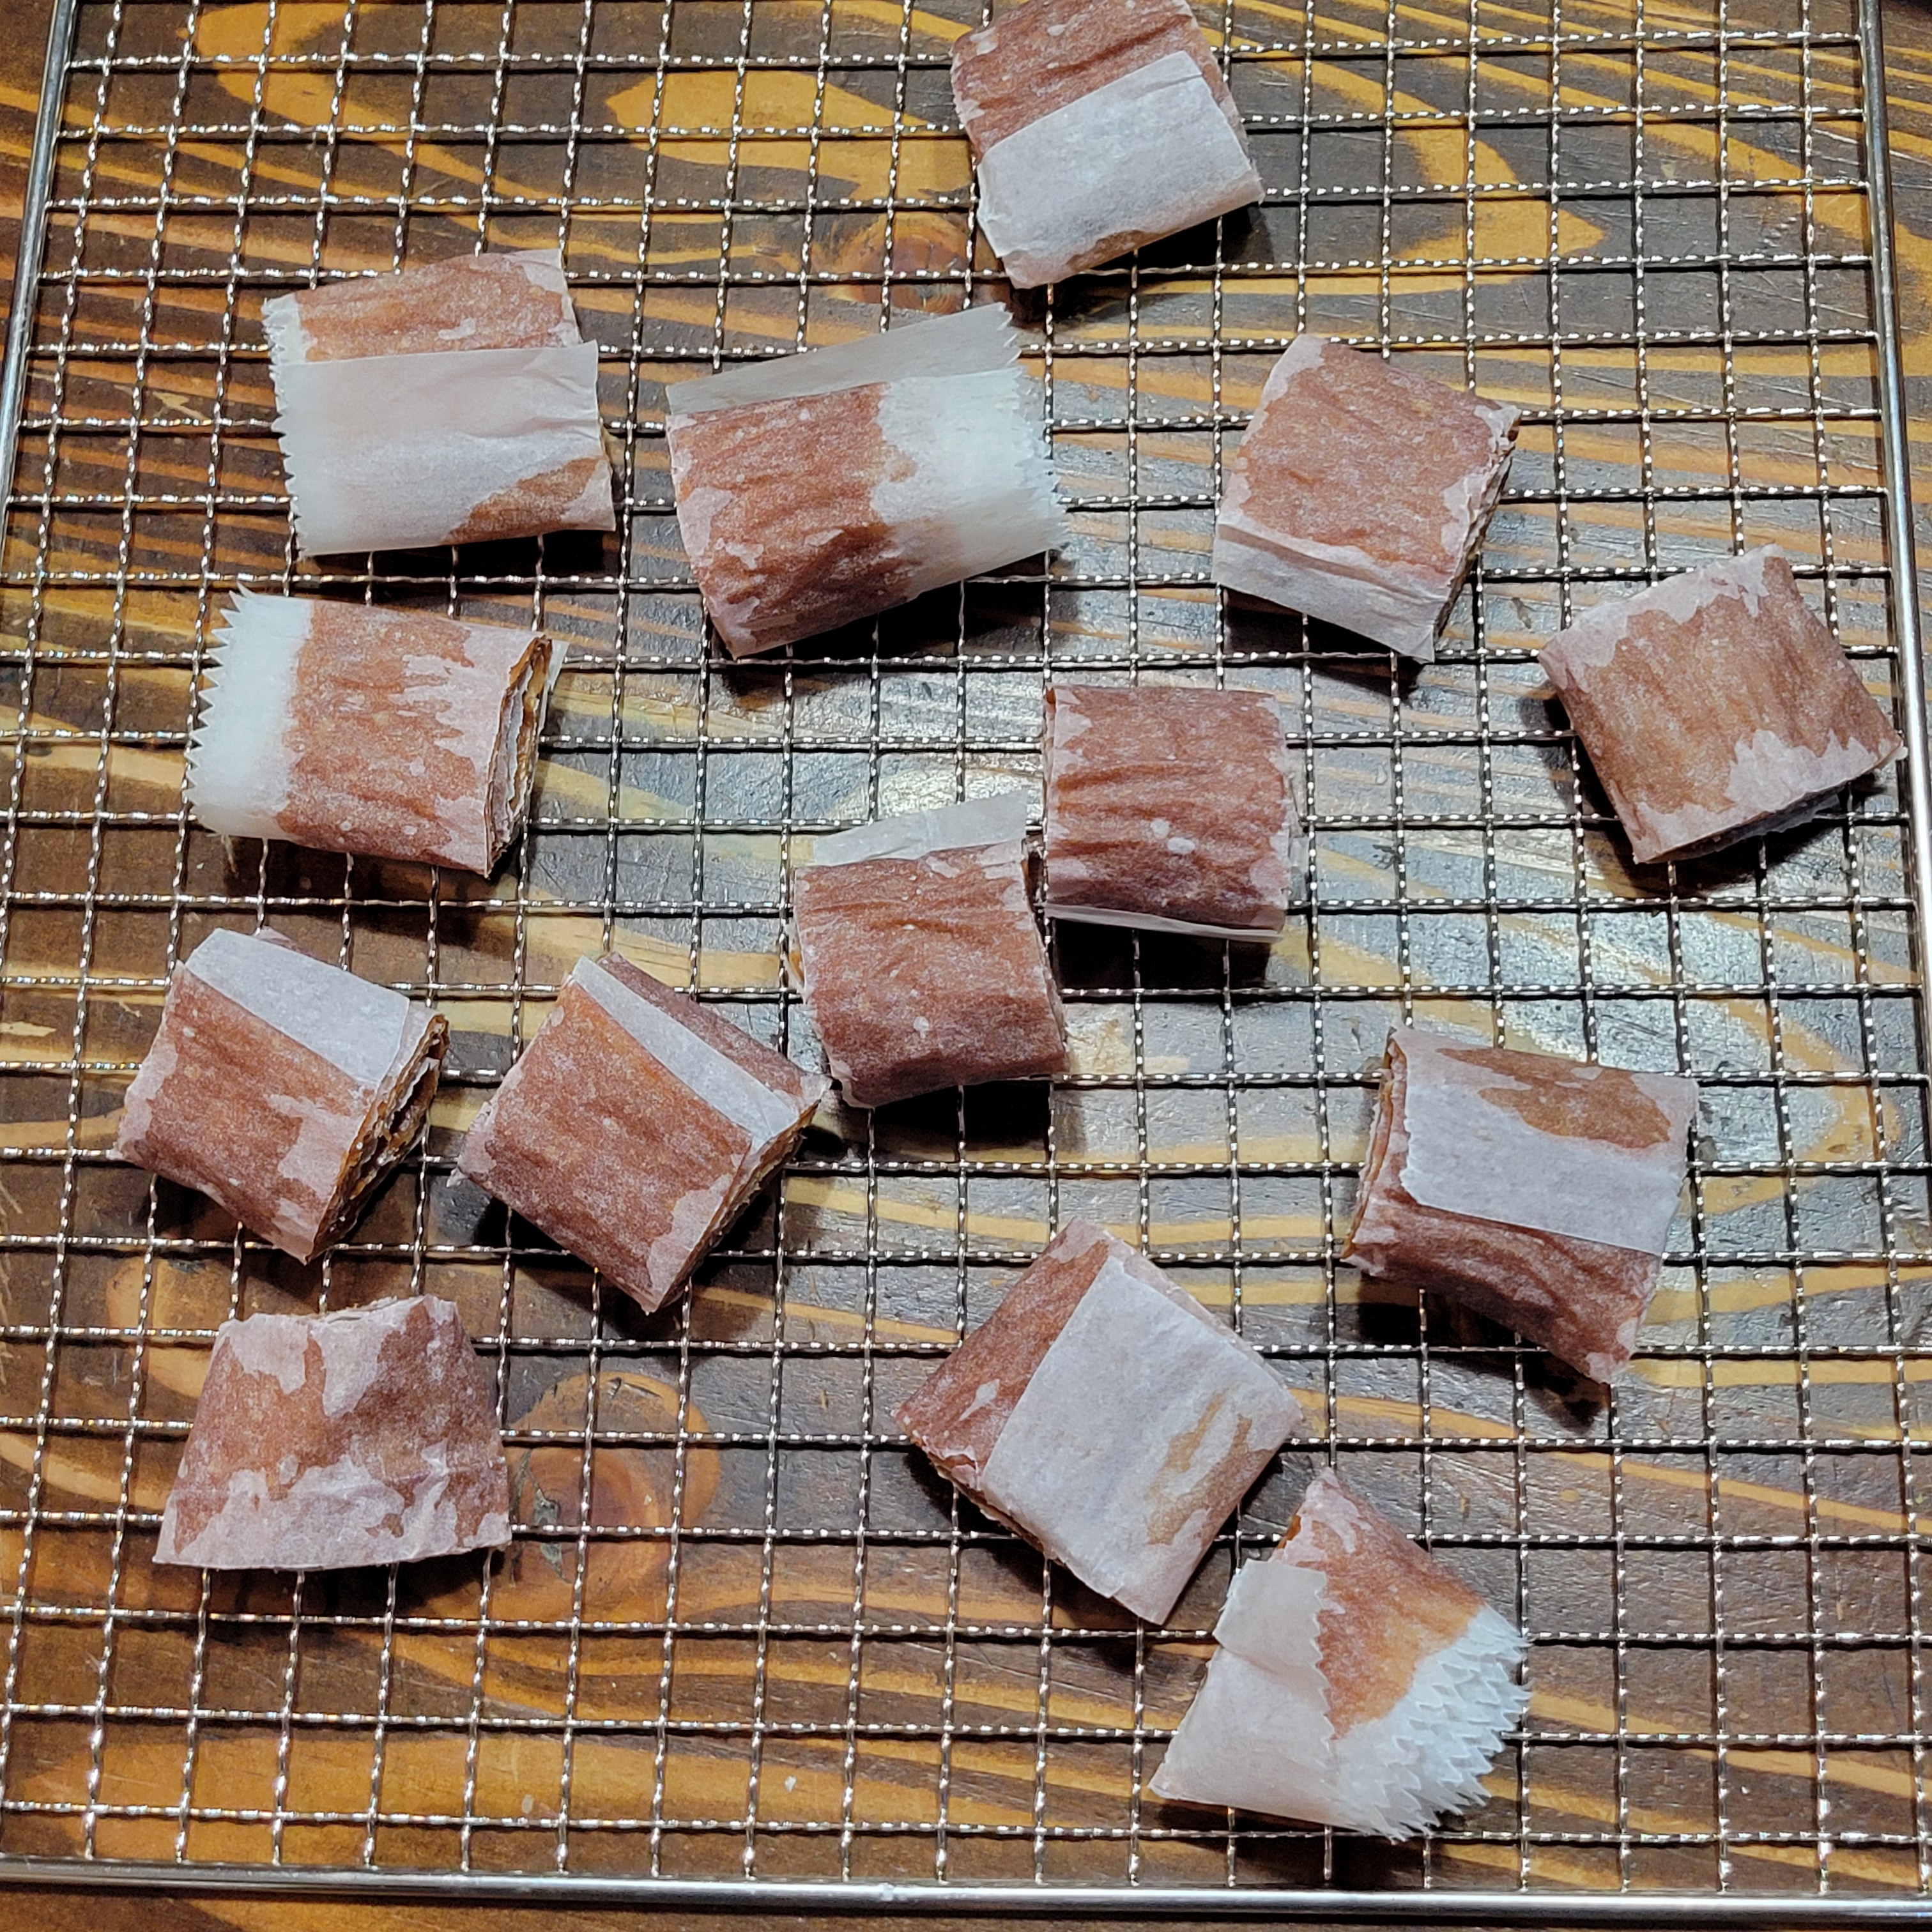
When I pulled it out of the dehydrator, it was the perfect texture! We have made fruit leather before, but it always seemed to dry out too much. With the addition of the SCOBY, the texture was chewy but not dry. Amazing! However the real test is Miss Eva; will she approve? It was a resounding, yummy! I actually had to limit how many rolls she could have at once. Guess we found a winner!
You and I can feel good about this snack for so many reasons, including:
- It is a healthy alternative to store bought, sugar filled fruit roll ups.
- No dyes or preservatives!
- It is made with real, whole fruit.
- It has probiotics, which is amazing for gut health.
- It uses the SCOBY, rather than letting it go to waste.
- It is sustainable…the kombucha is constantly making new SCOBY!
- It lasts indefinitely when stored properly.
- It is delicious!

So, friends, here is the recipe! Again, this is the basic recipe so feel free to dress it up or down as you see fit! Experiment with different fruit and spice combinations or even add veggies like beets, carrots, or spinach to it to bump up the vitamins! The sky is the limit!
Kombucha SCOBY Fruit Leather:
Equipment Needed:
- Medium Sauce Pan
- Blender
- Dehydrator (or can use oven)
- Parchment or Wax Paper
- Silicone Dehydrator Sheets
- Cookie Sheets (if using oven to dehydrate)
- Off-set Spatula
Ingredients:
- 2 cups diced fruit (fresh or frozen)
- ¼ cup sugar
- 2 cups pureed SCOBY
- 1-2 tsp. spices or herbs (basil, cinnamon, cloves, nutmeg, thyme, etc.) OPTIONAL
Instructions:
- Combine the fruit and sugar in a medium sauce pan.
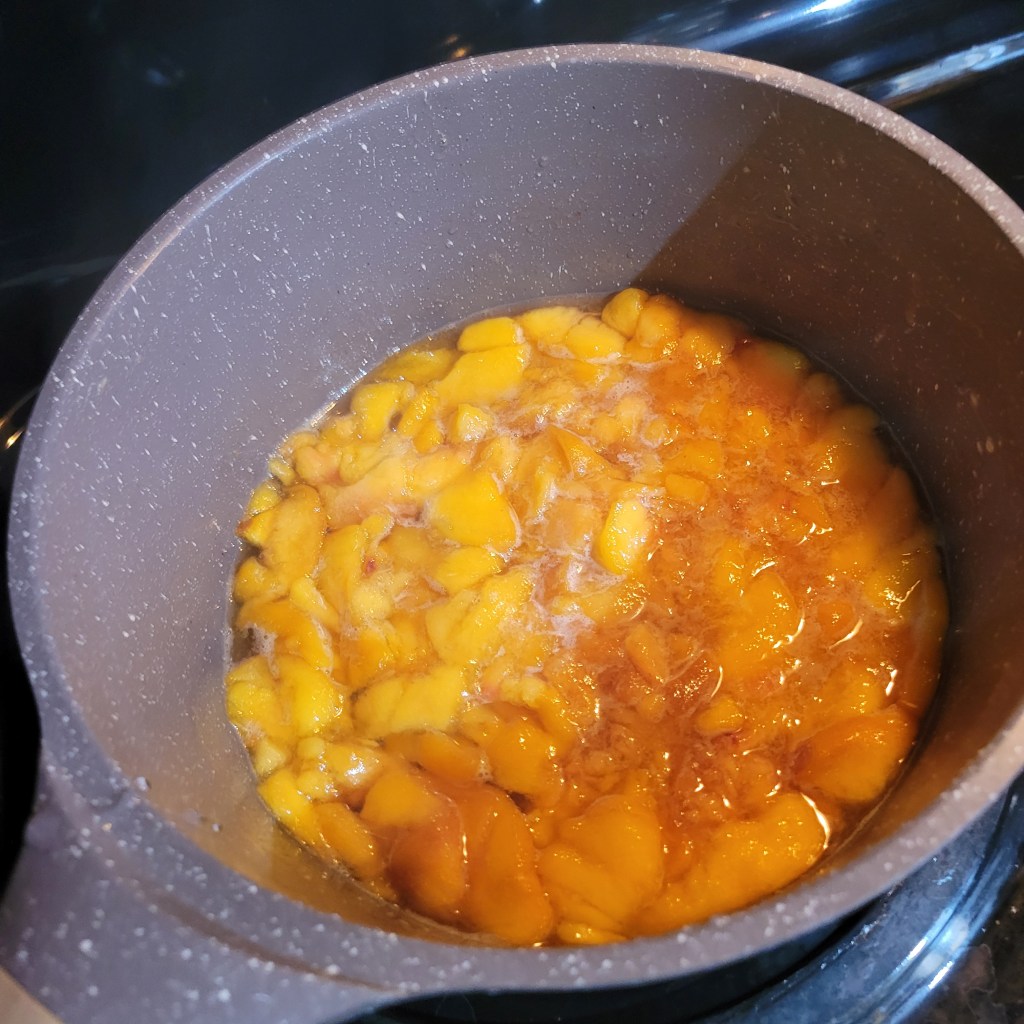
2. Cook over medium heat, stirring frequently, until the fruit and the sugar are thoroughly broken down and combined. About 10 minutes.
3. Once cooled, add the fruit mixture and SCOBY puree to a blender, along with the spices if using. Pulse until the mixture has the texture of applesauce and all ingredients are combined.
4. Spread the mixture onto parchment paper, wax paper, or silicone dehydrator sheets using an off-set spatula, until about ¼ inch thick. Try to make it as even as possible.
5. Dehydrate for 12 to 36 hours on lowest dehydrator setting (95-110° F). If you’re dehydrating in an oven, set it to the lowest temperature and prop the door open.
6. Once the mixture is dried and no longer sticky, either remove from wax or parchment paper or silicone mat, cut into strips and roll OR leave on wax or parchment paper, roll and then cut into smaller rolls.
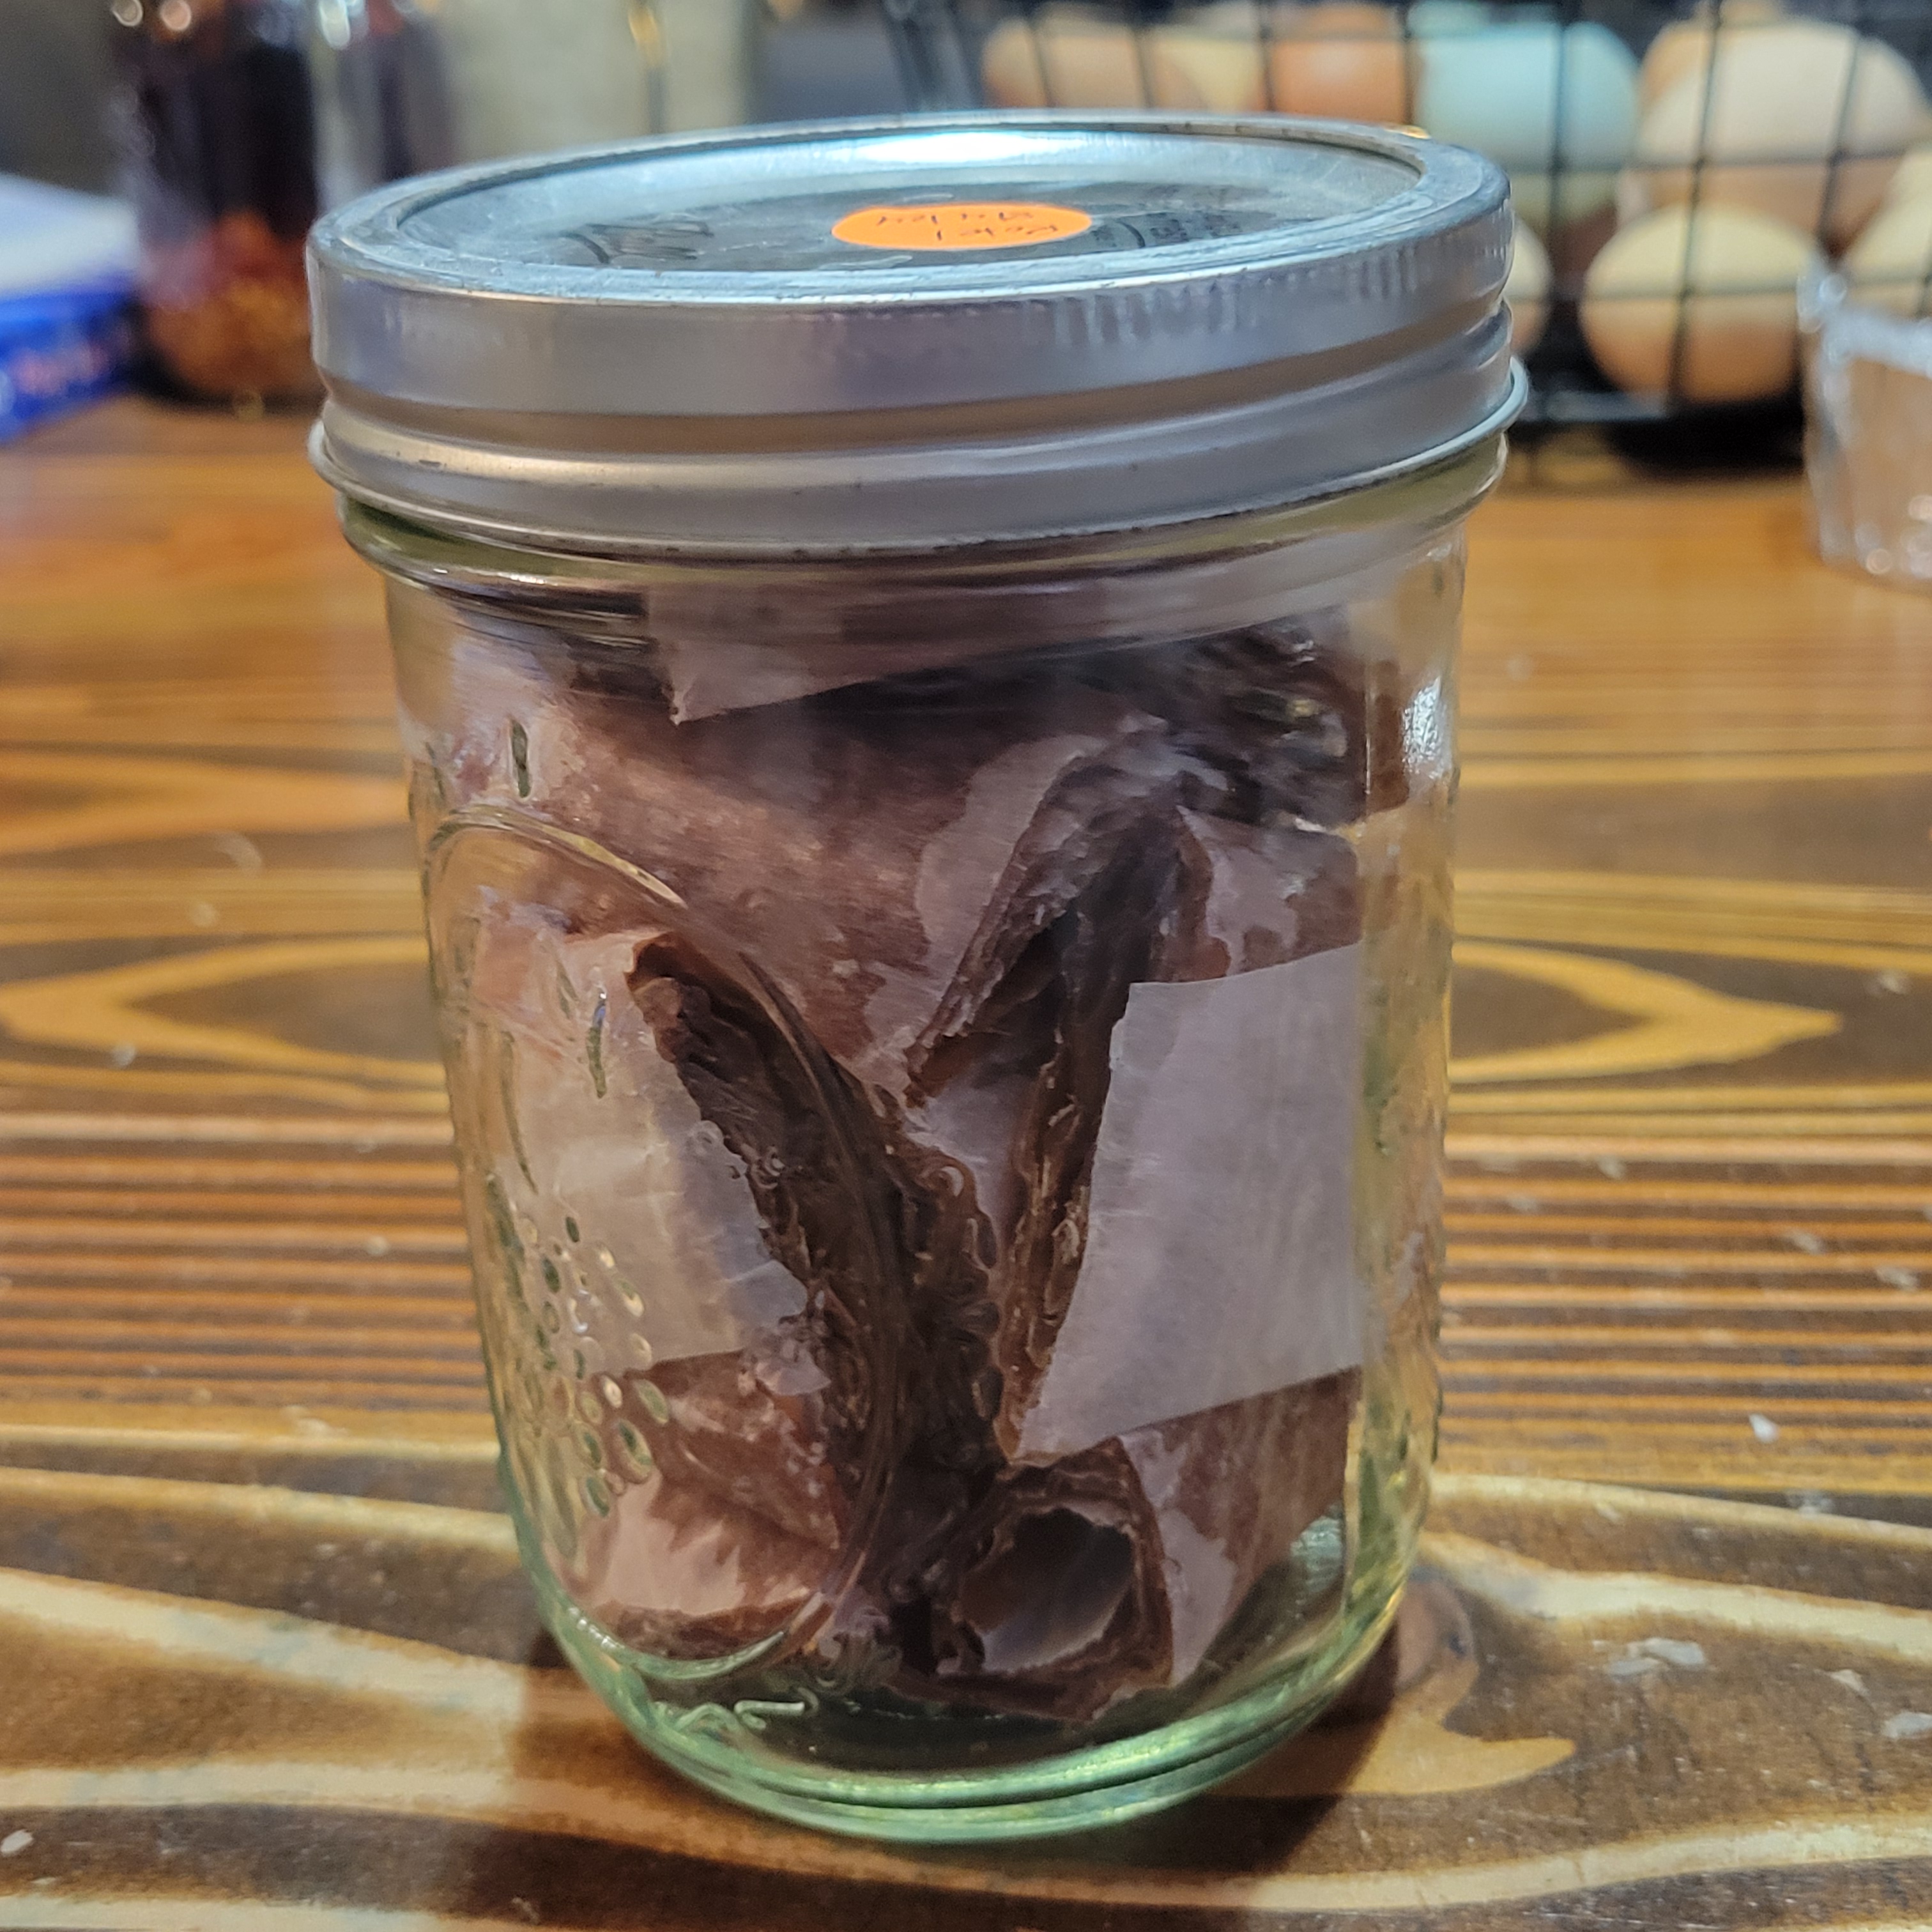
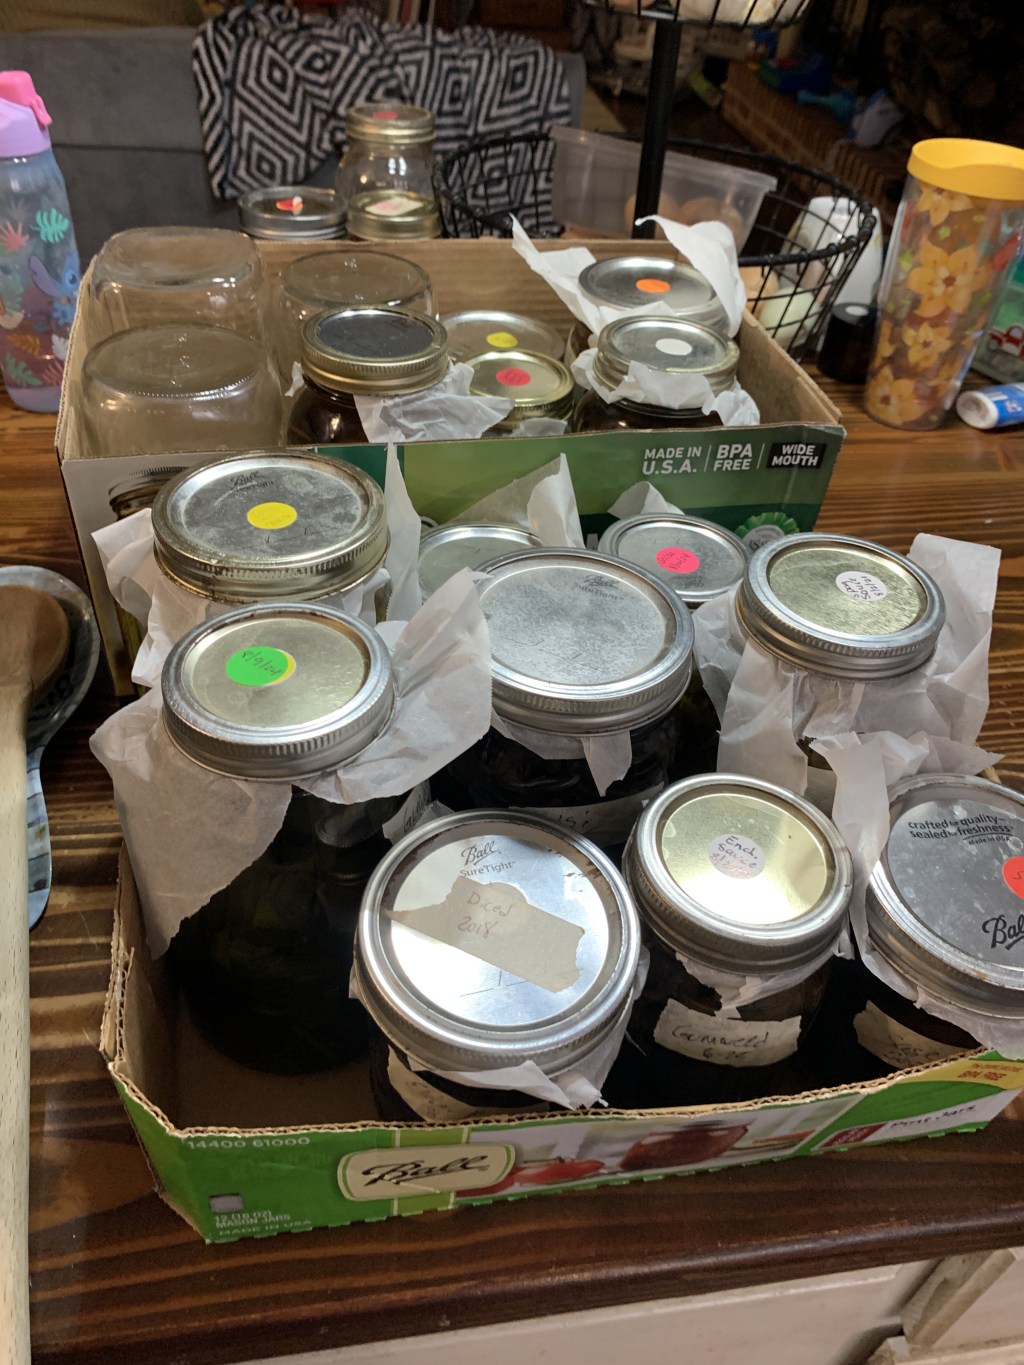
7. Store in an airtight container at room temperature. They will keep indefinitely, but can dry out if not properly stored.
8. ENJOY!
Well, there you have it! A delicious, healthy, no waste treat for the entire family! Let me know if you’ve tried this recipe and how you liked it!
Also, please stop by our facebook page and give us a “like” there. We post some additional content there, and we’re always happy to respond and answer any questions you may have! You can also find me on GAB, https://gab.com/jungerer!


Leave a comment