
Before the sun peeks over the horizon and the day’s chores kick in, there’s a certain magic that happens in our homestead kitchen. Today, it’s all about butter! We love the feeling of creating something delicious and useful from scratch, especially when it comes to a staple like butter. Those grocery budgets can get a little tight sometimes, so whipping up a batch of homemade butter is a fantastic way to stretch our dollars and enjoy some seriously amazing flavor. Let me tell you, there’s nothing quite like the taste of fresh-churned butter – it puts store-bought stuff to shame!
Now, making butter might seem intimidating, but trust me, it’s fun, easy, and oh-so-rewarding. Plus, it’s a great activity to get the whole family involved (just be prepared for a little splashing!). So, grab a cup of coffee, put on your favorite tunes, and let’s get churning!
Here’s the how-to on our homemade butter magic:
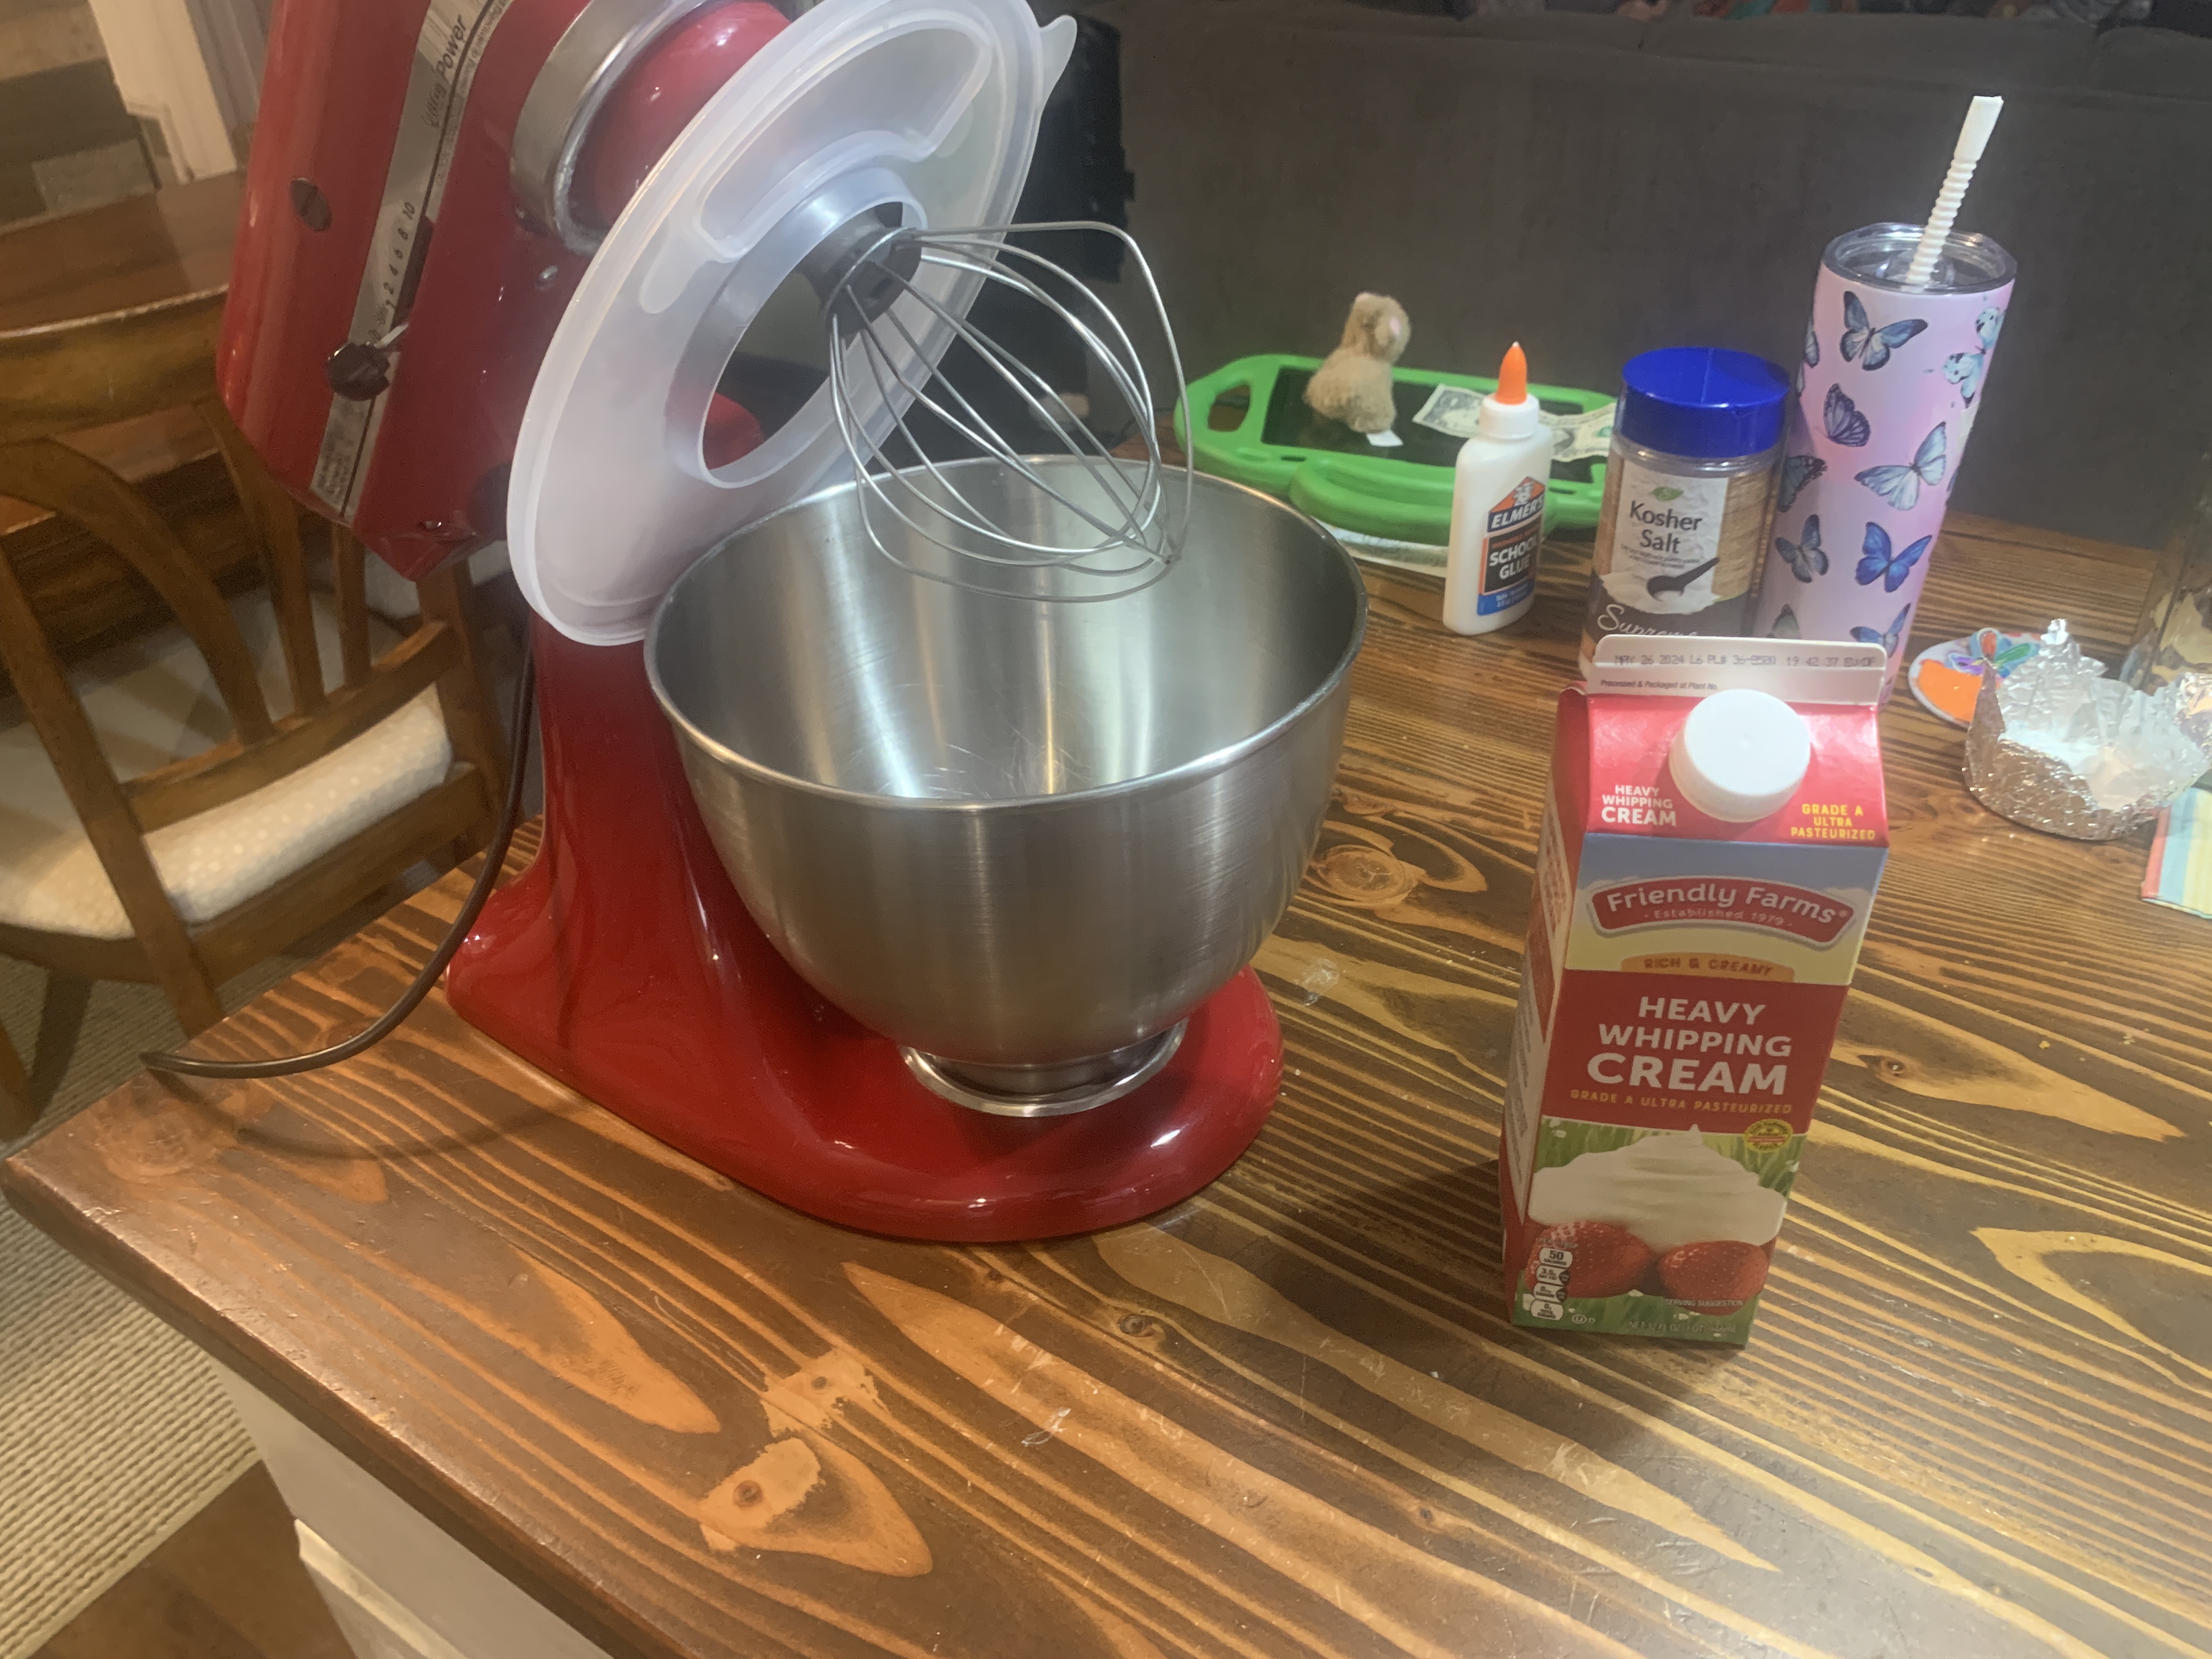
- Warm Up the Cream: Our day starts by pulling out a carton (or three!) of heavy whipping cream and letting it sit on the counter for 30-45 minutes. Warmer cream whips faster, so this little pre-heating step helps the process go smoothly.
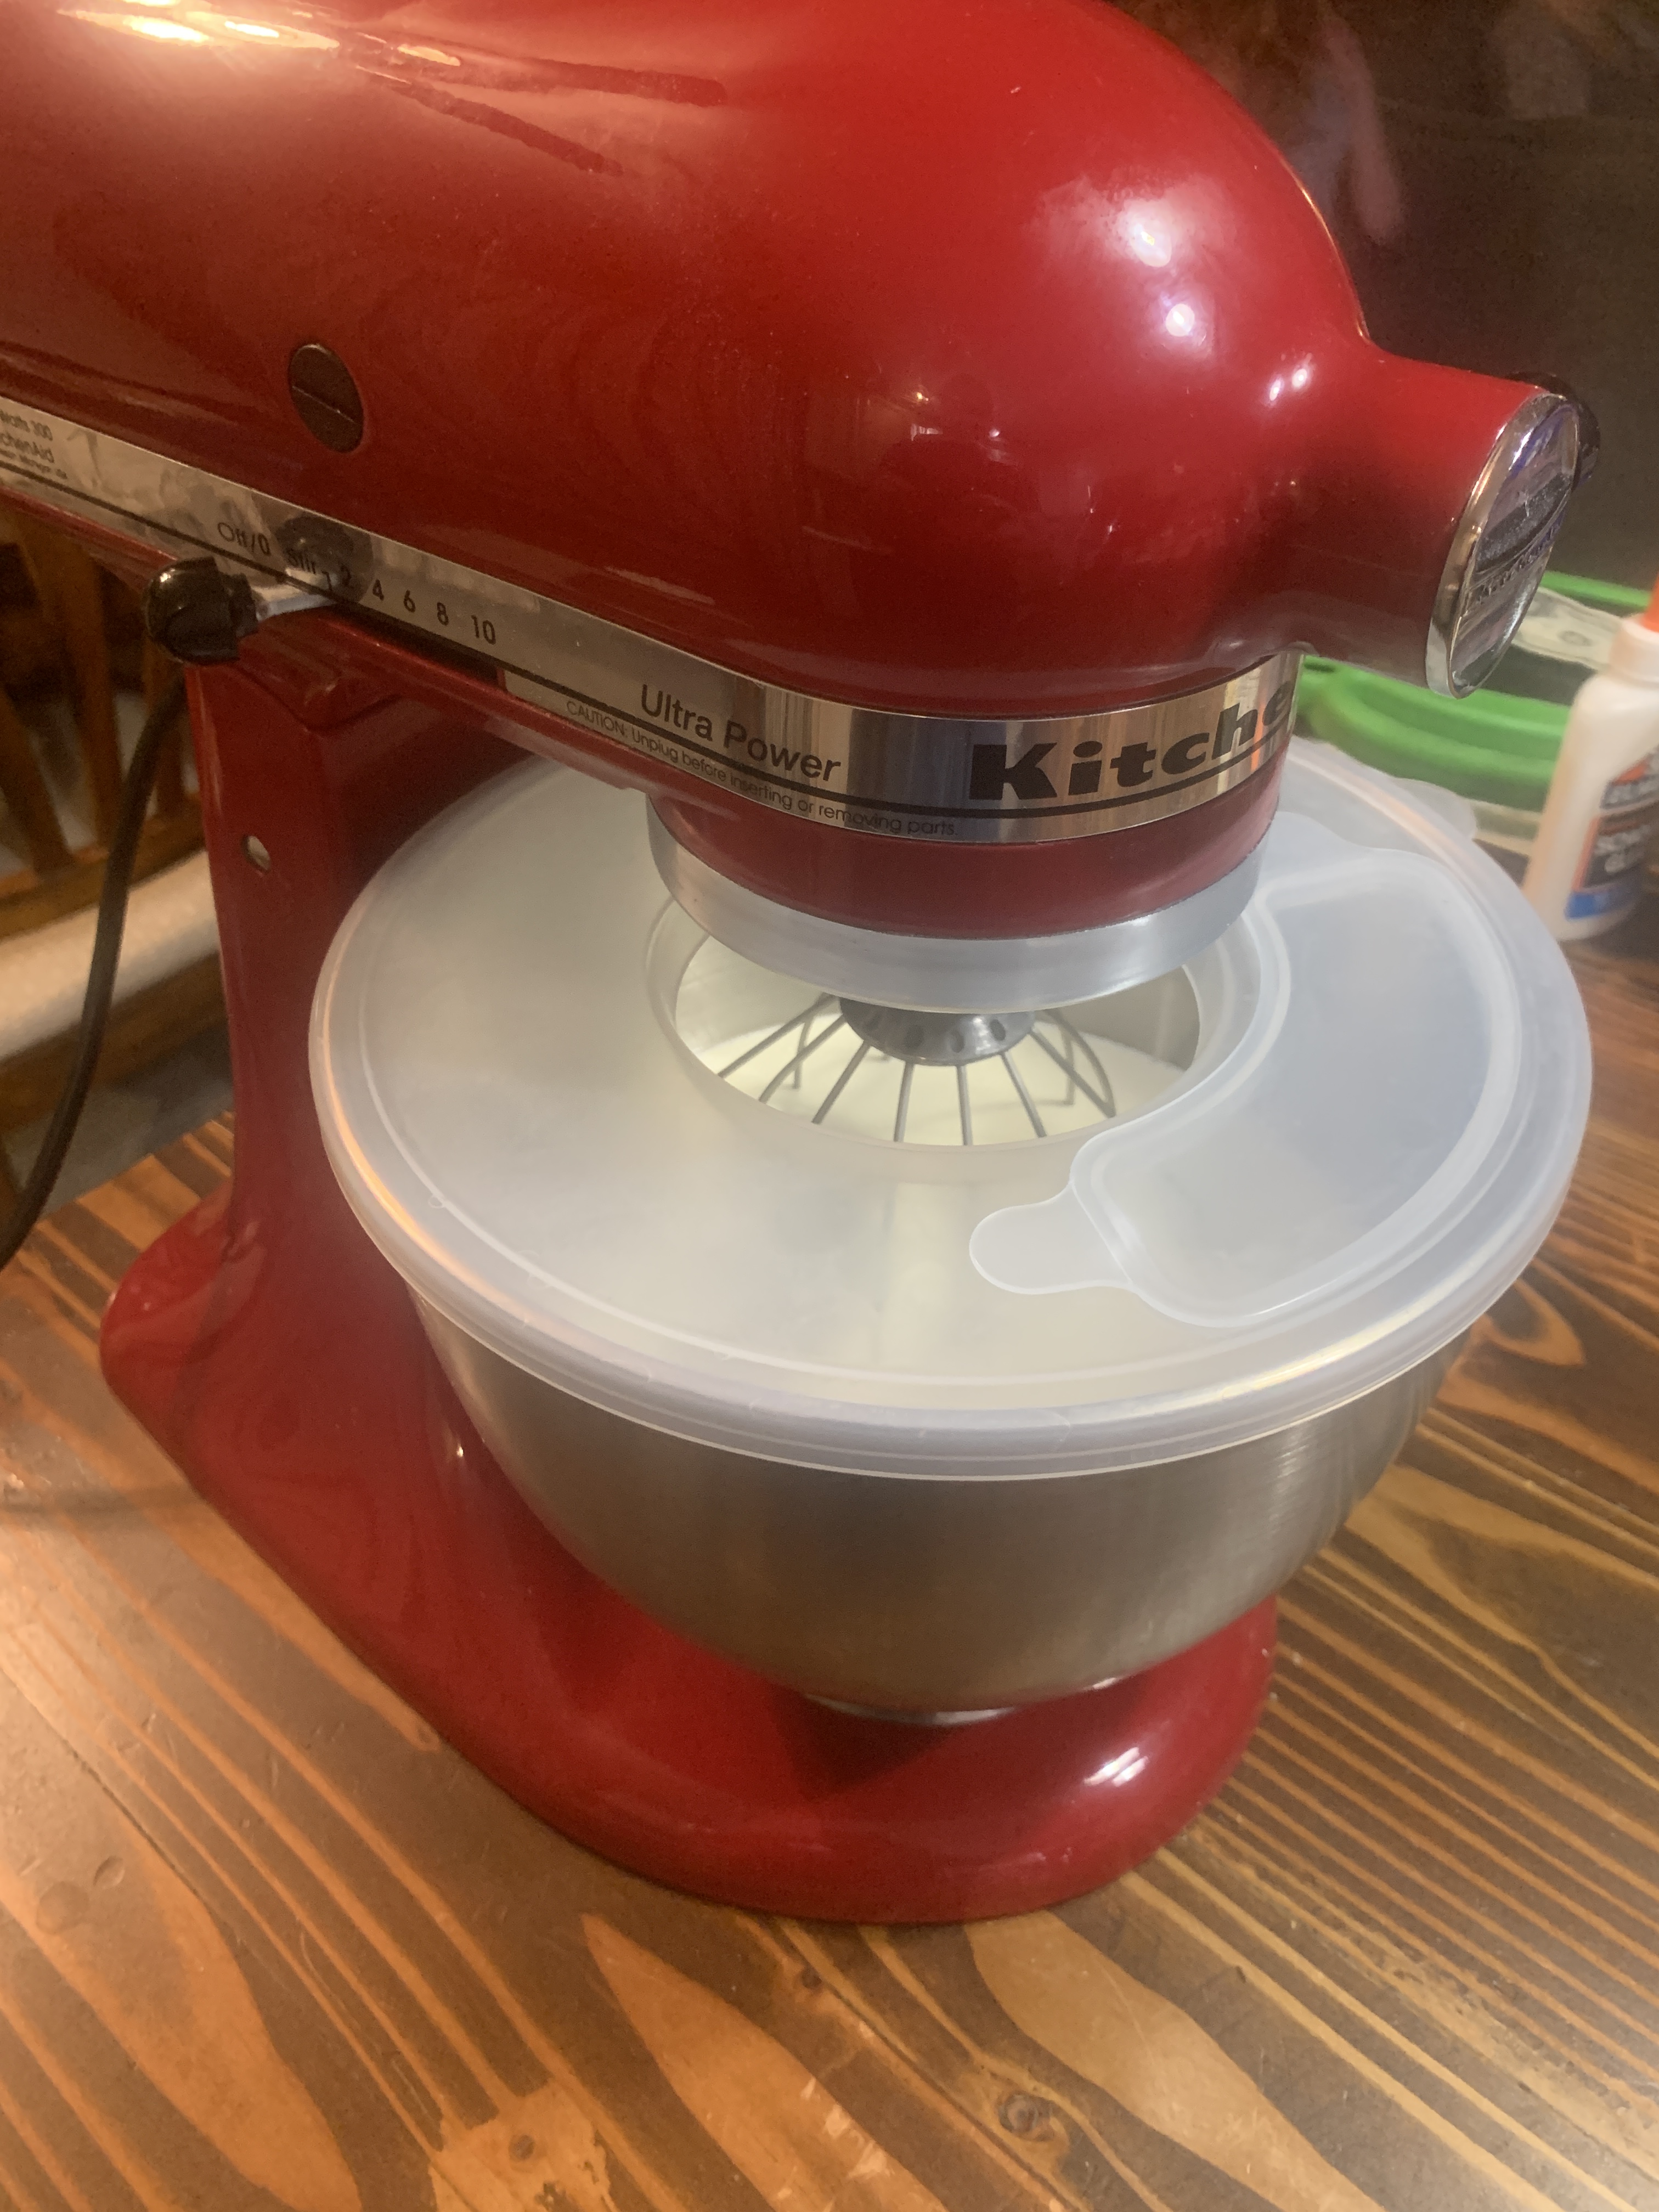
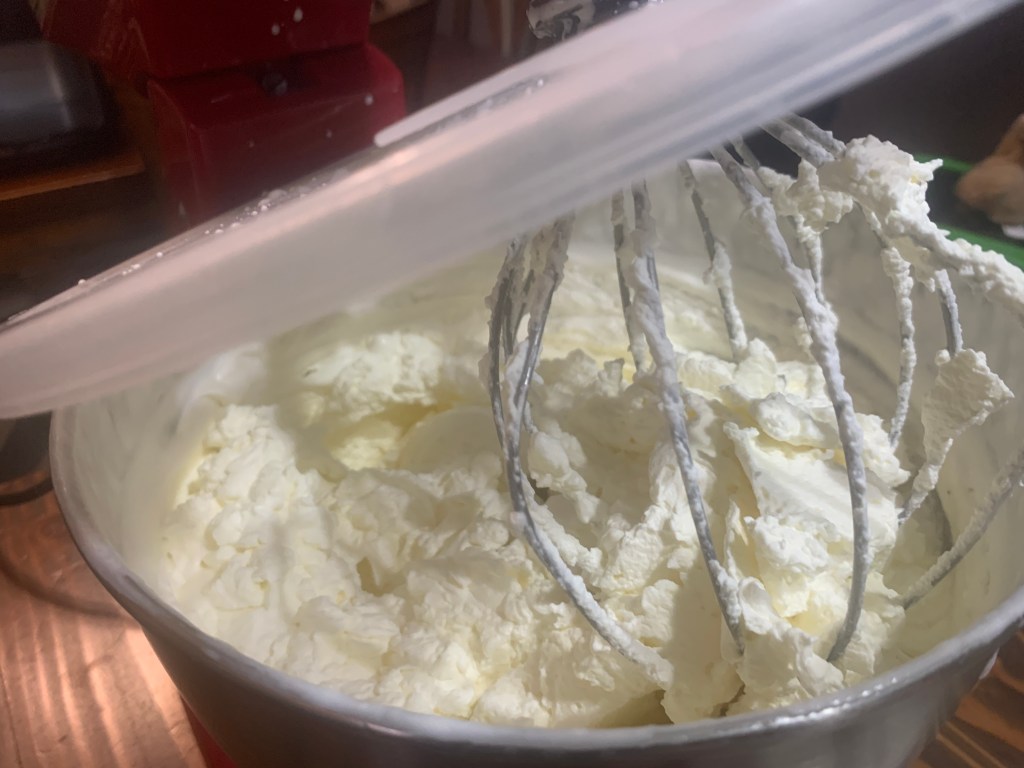
- Whip It Good! Here’s where the fun begins! We use a stand mixer with a splash guard (because things can get a little splatter-happy), but a good old-fashioned hand mixer will work too. Pour the cream into the mixer bowl and crank it up to high. While the cream whips into a frenzy, fill a mason jar with ice water and set it aside – you’ll need this later.

3. From Cream to Dream: As you keep whipping, watch in amazement as the cream transforms! At first, it’ll be light and fluffy, just like whipped cream. But keep going, and you’ll see it thicken up and become more clumpy. This is where the magic happens – the butterfat is separating from the buttermilk! We usually let it mix for another 5 minutes at this stage.
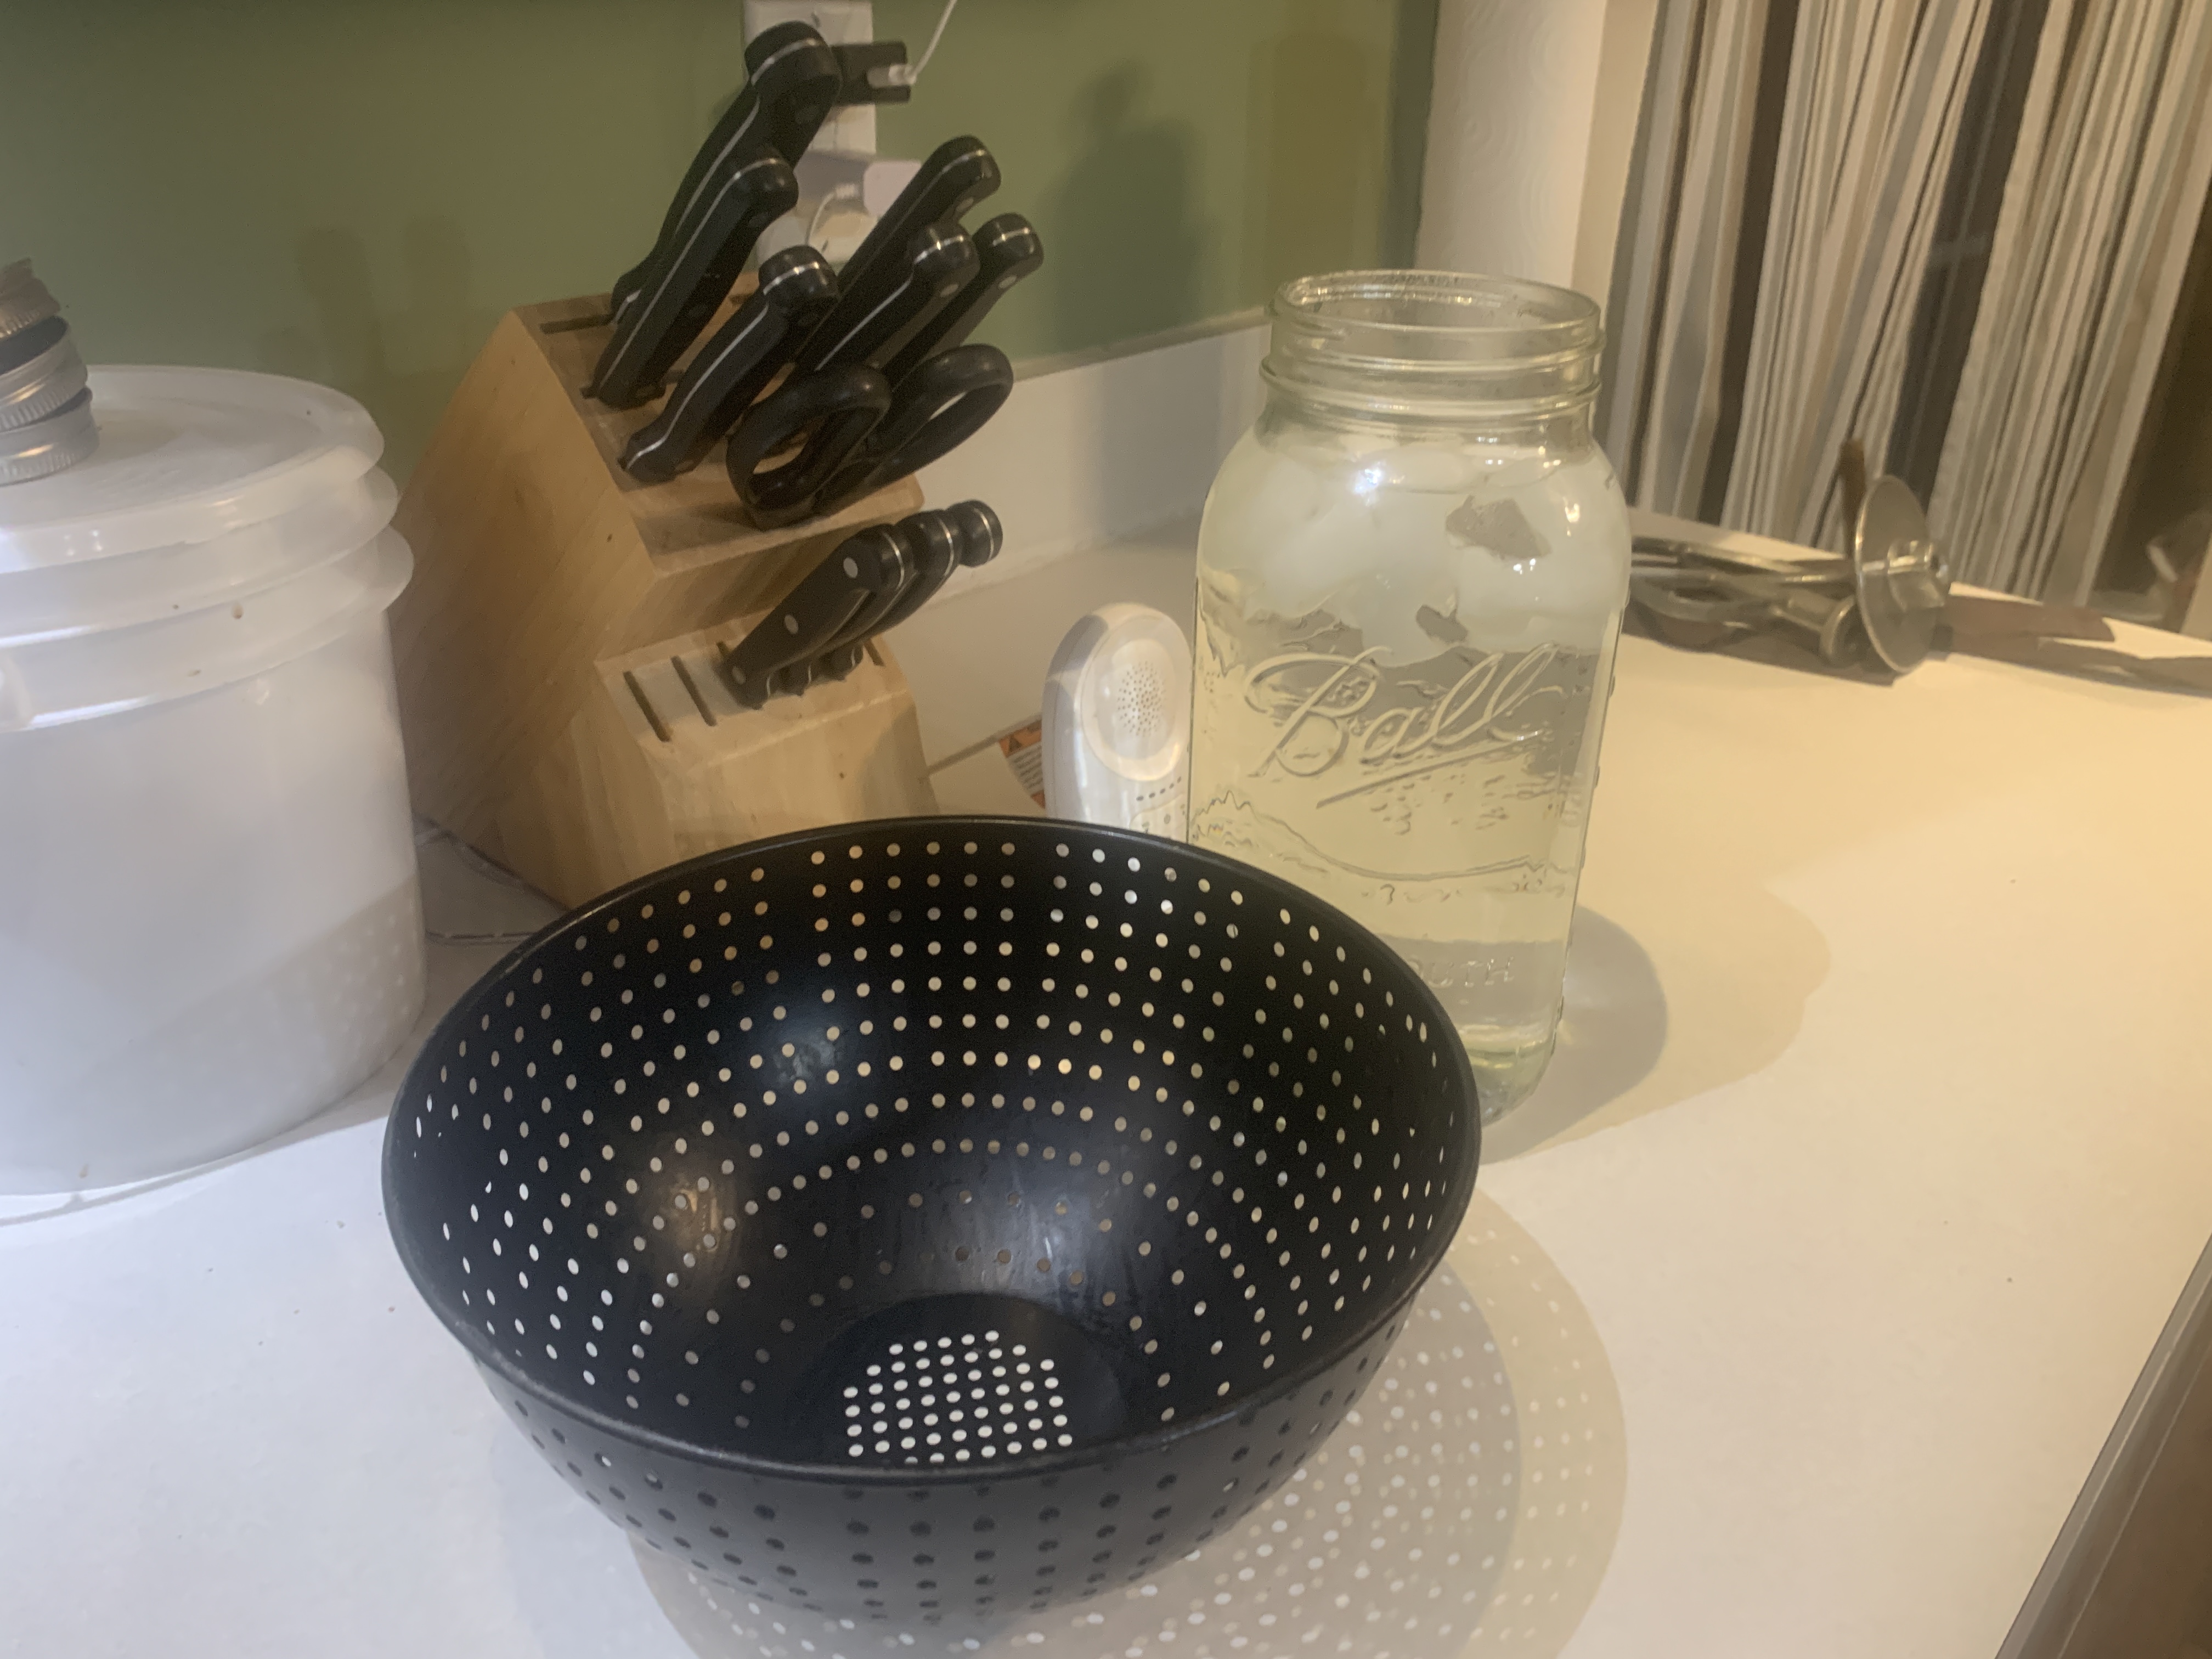
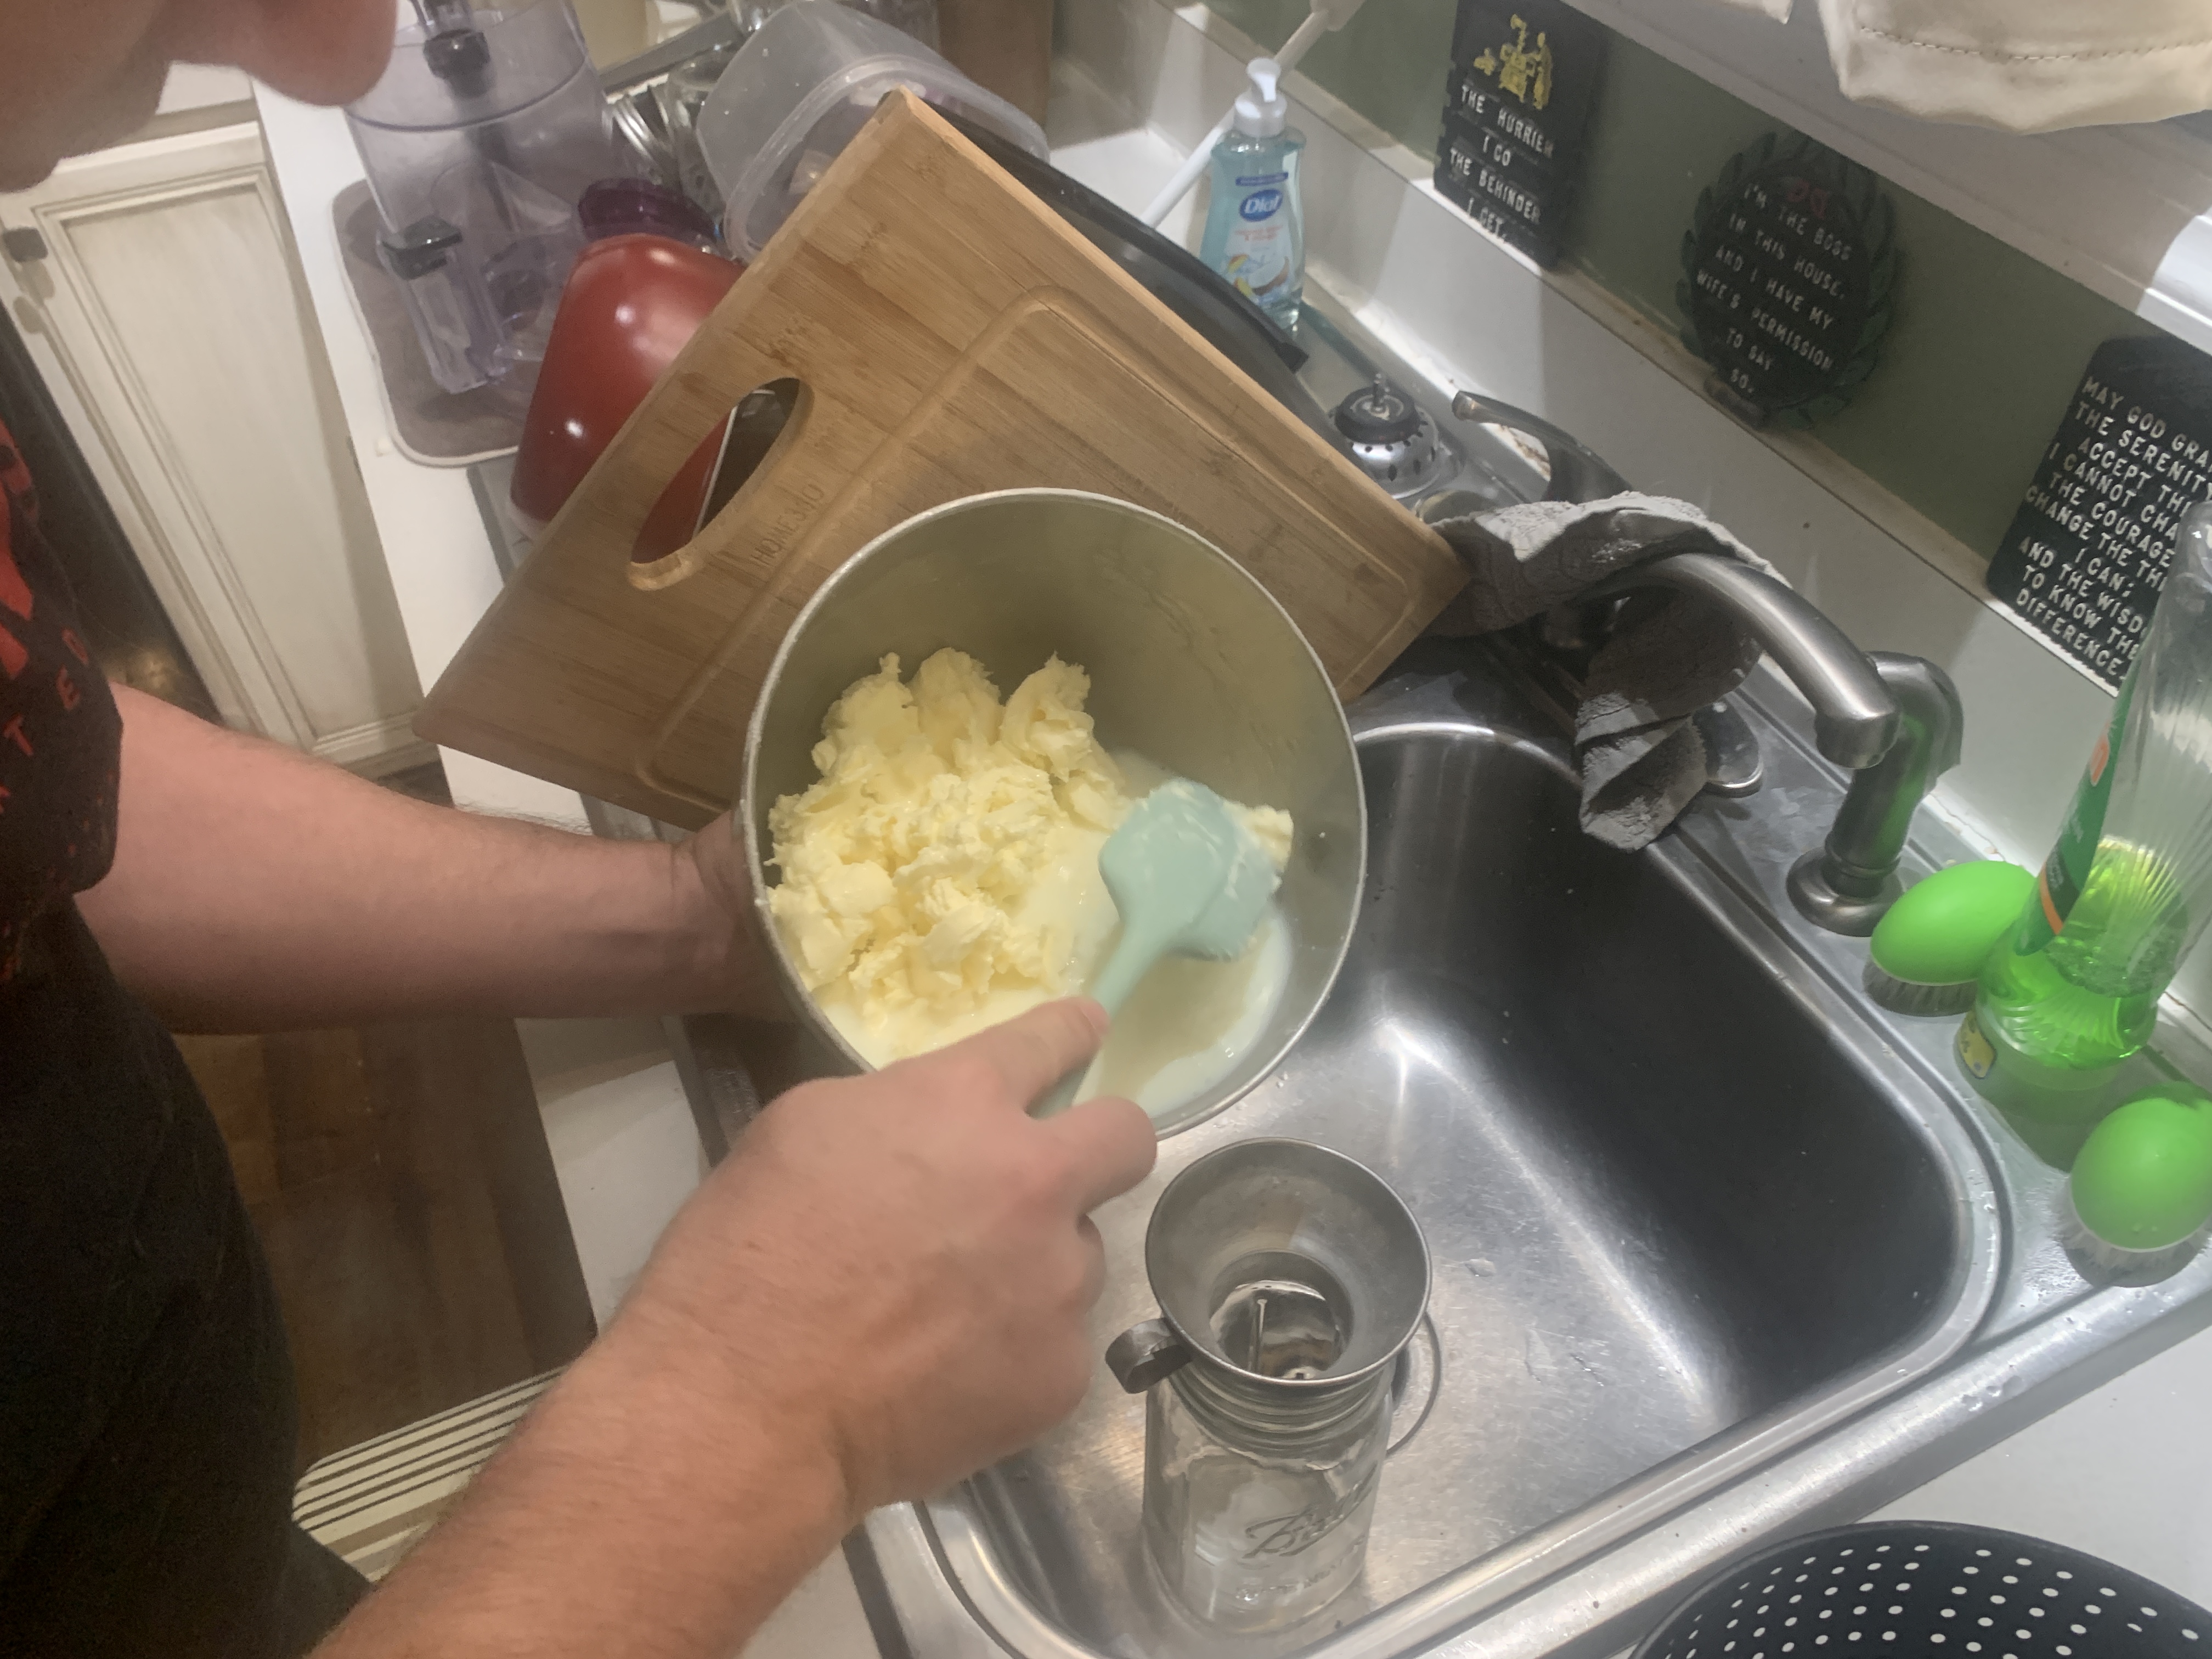
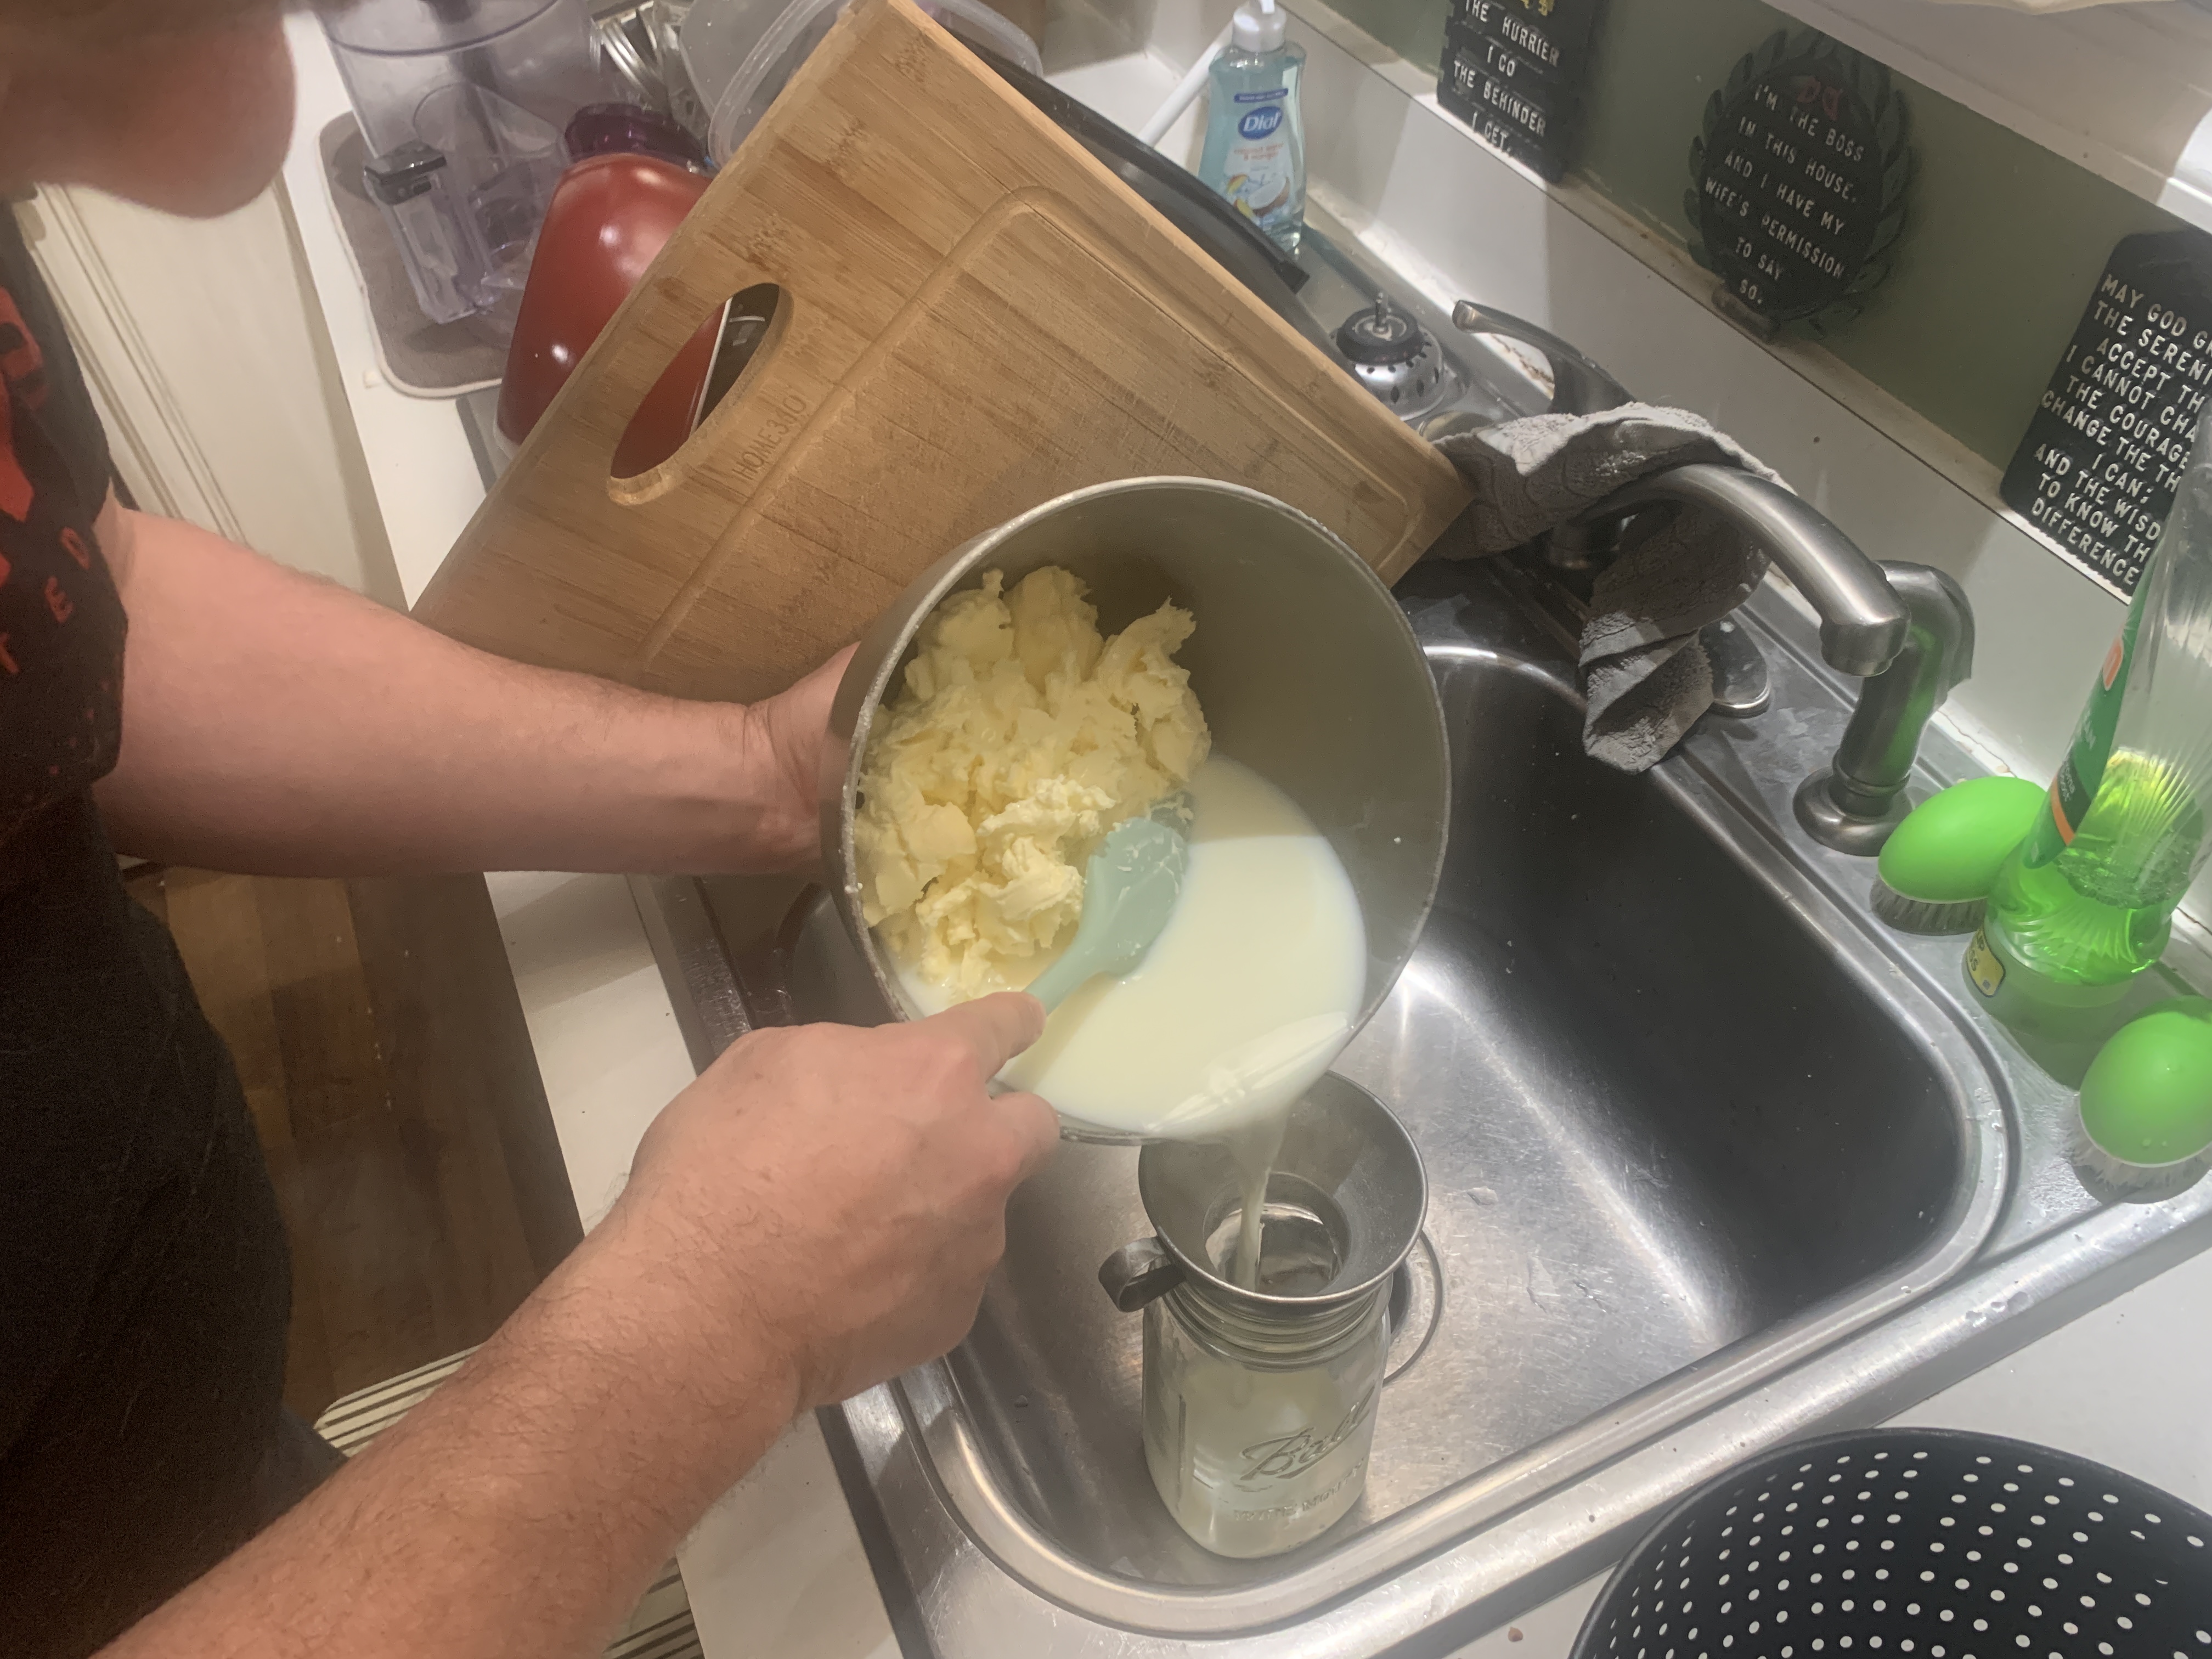
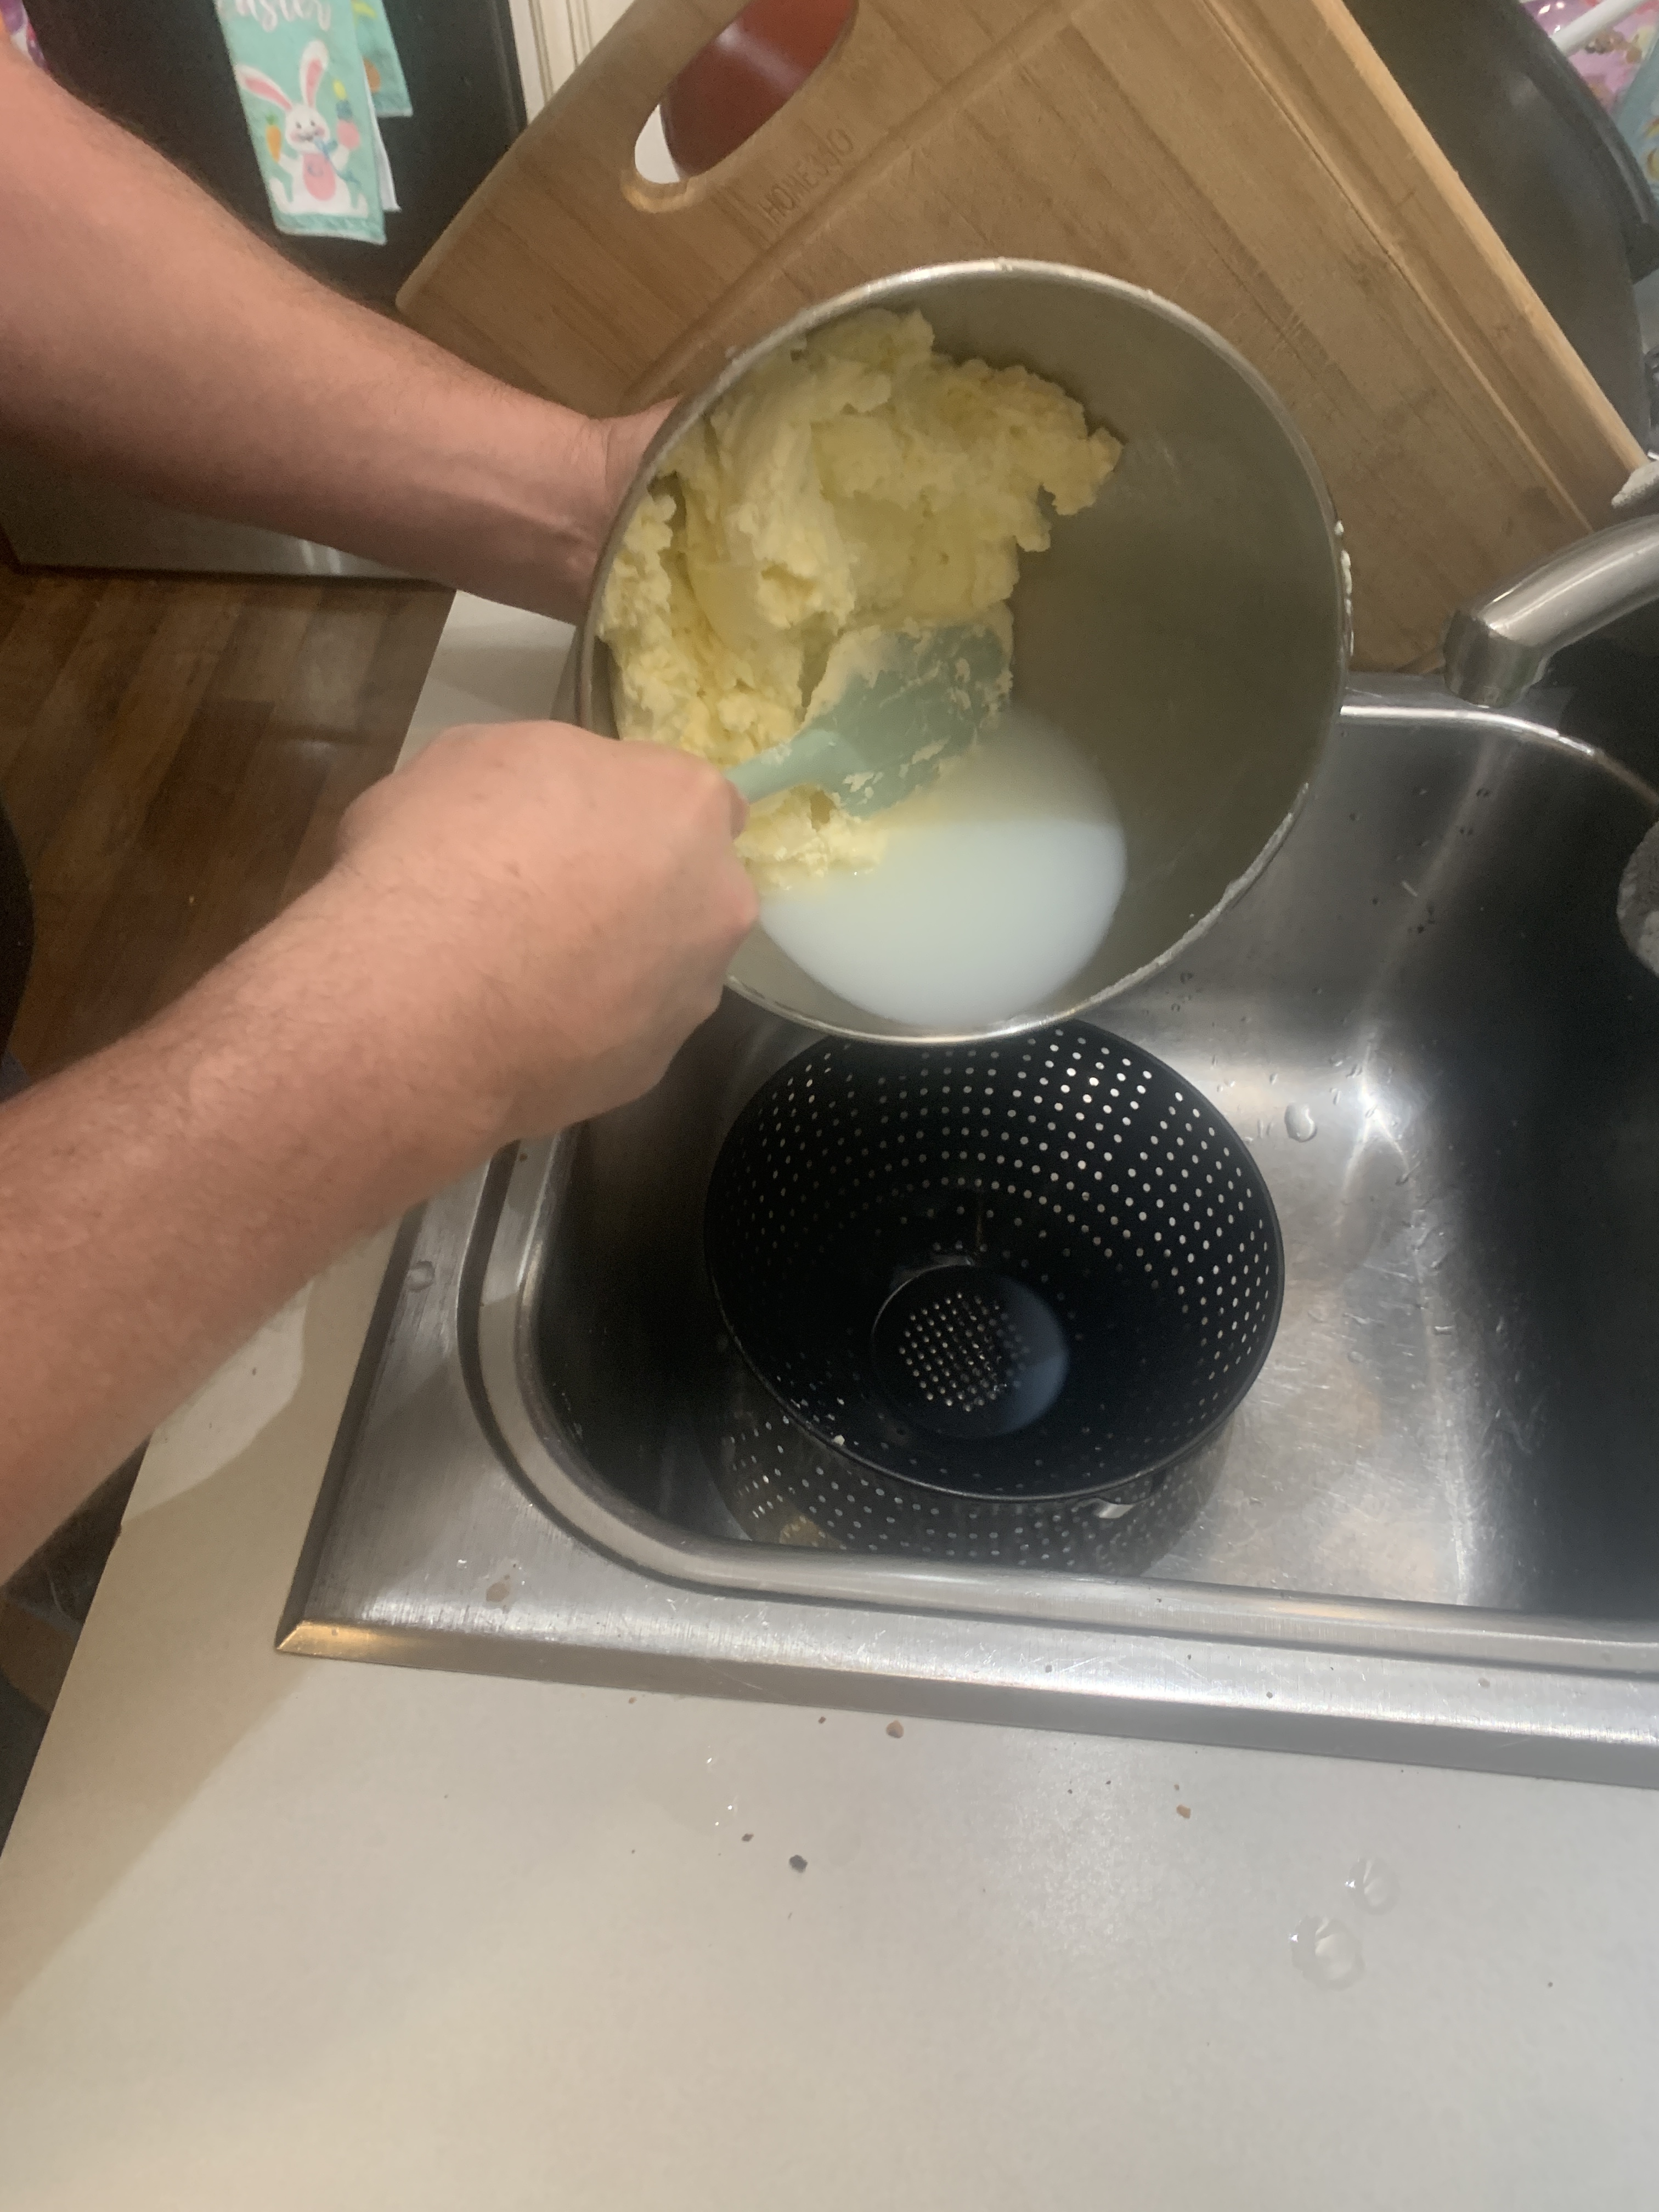
4. Golden Goodness: Now comes the moment of truth! You’ll know your butter is almost ready when it has a distinct butter-like texture and starts to clump together. Once you reach this point, stop the mixer and carefully strain the liquid (the buttermilk) into a clean jar. Don’t toss that buttermilk out – it’s a fantastic bonus you can use in pancakes, waffles, or even buttermilk fried chicken!

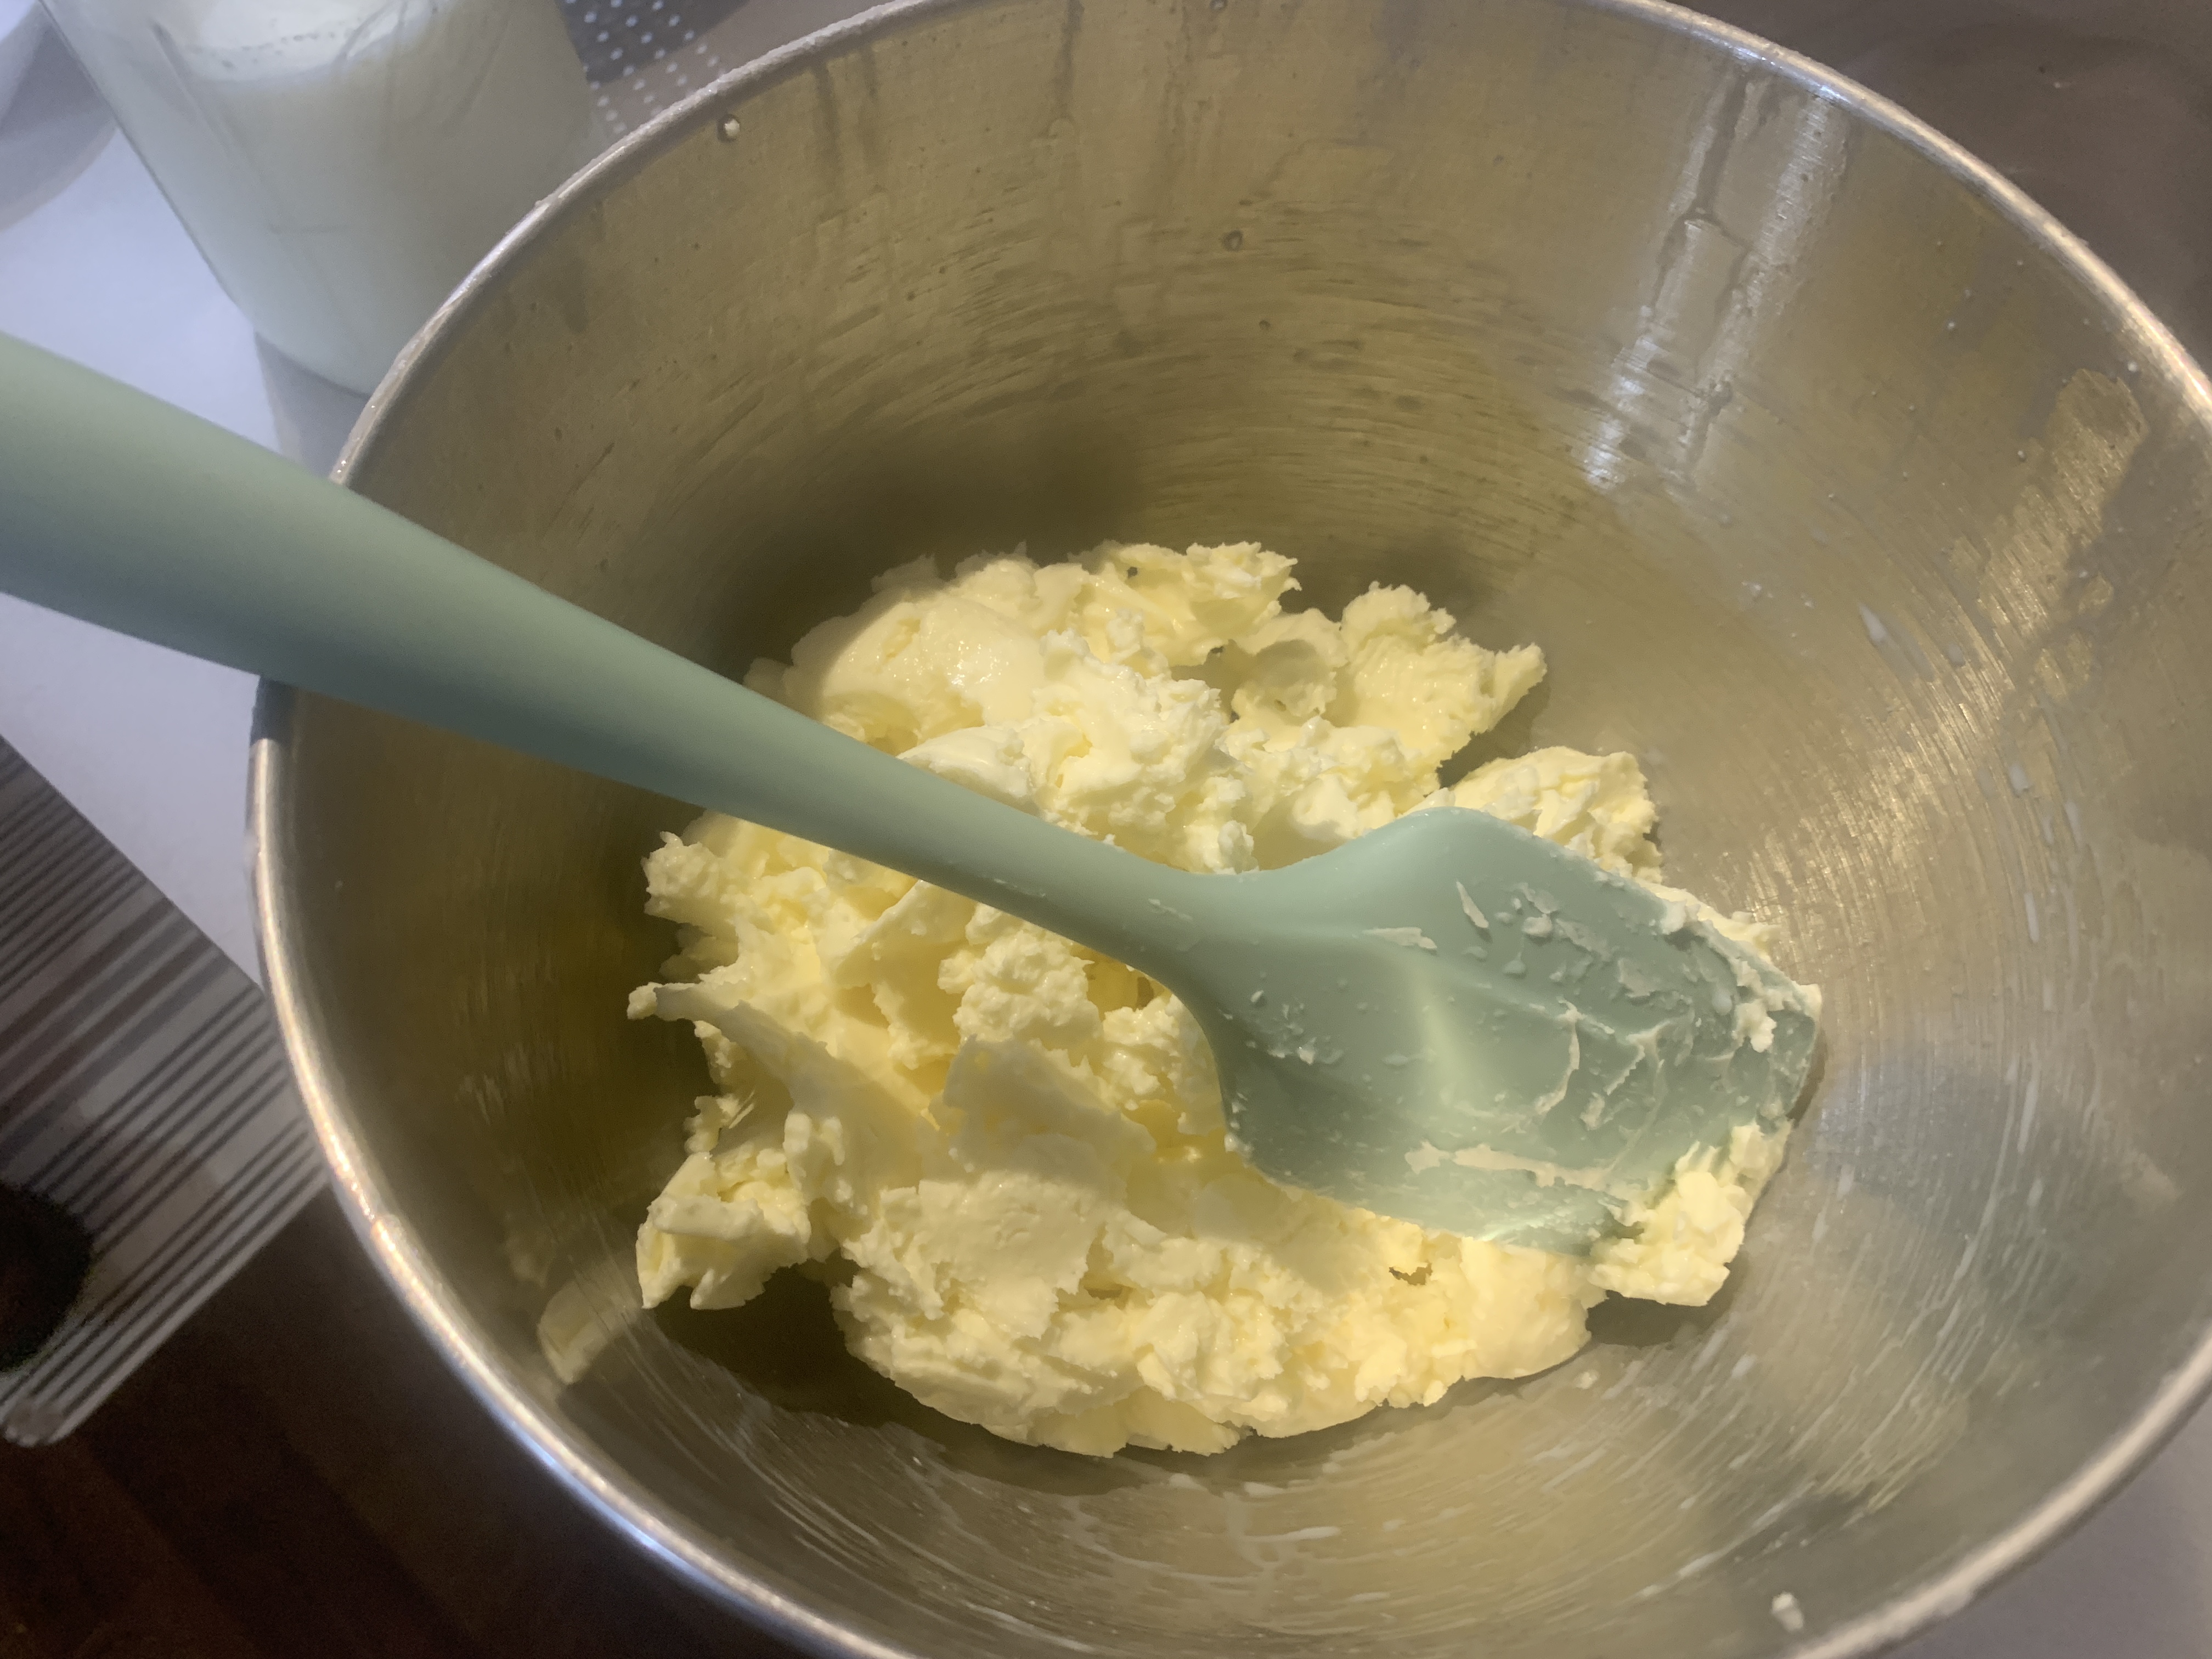
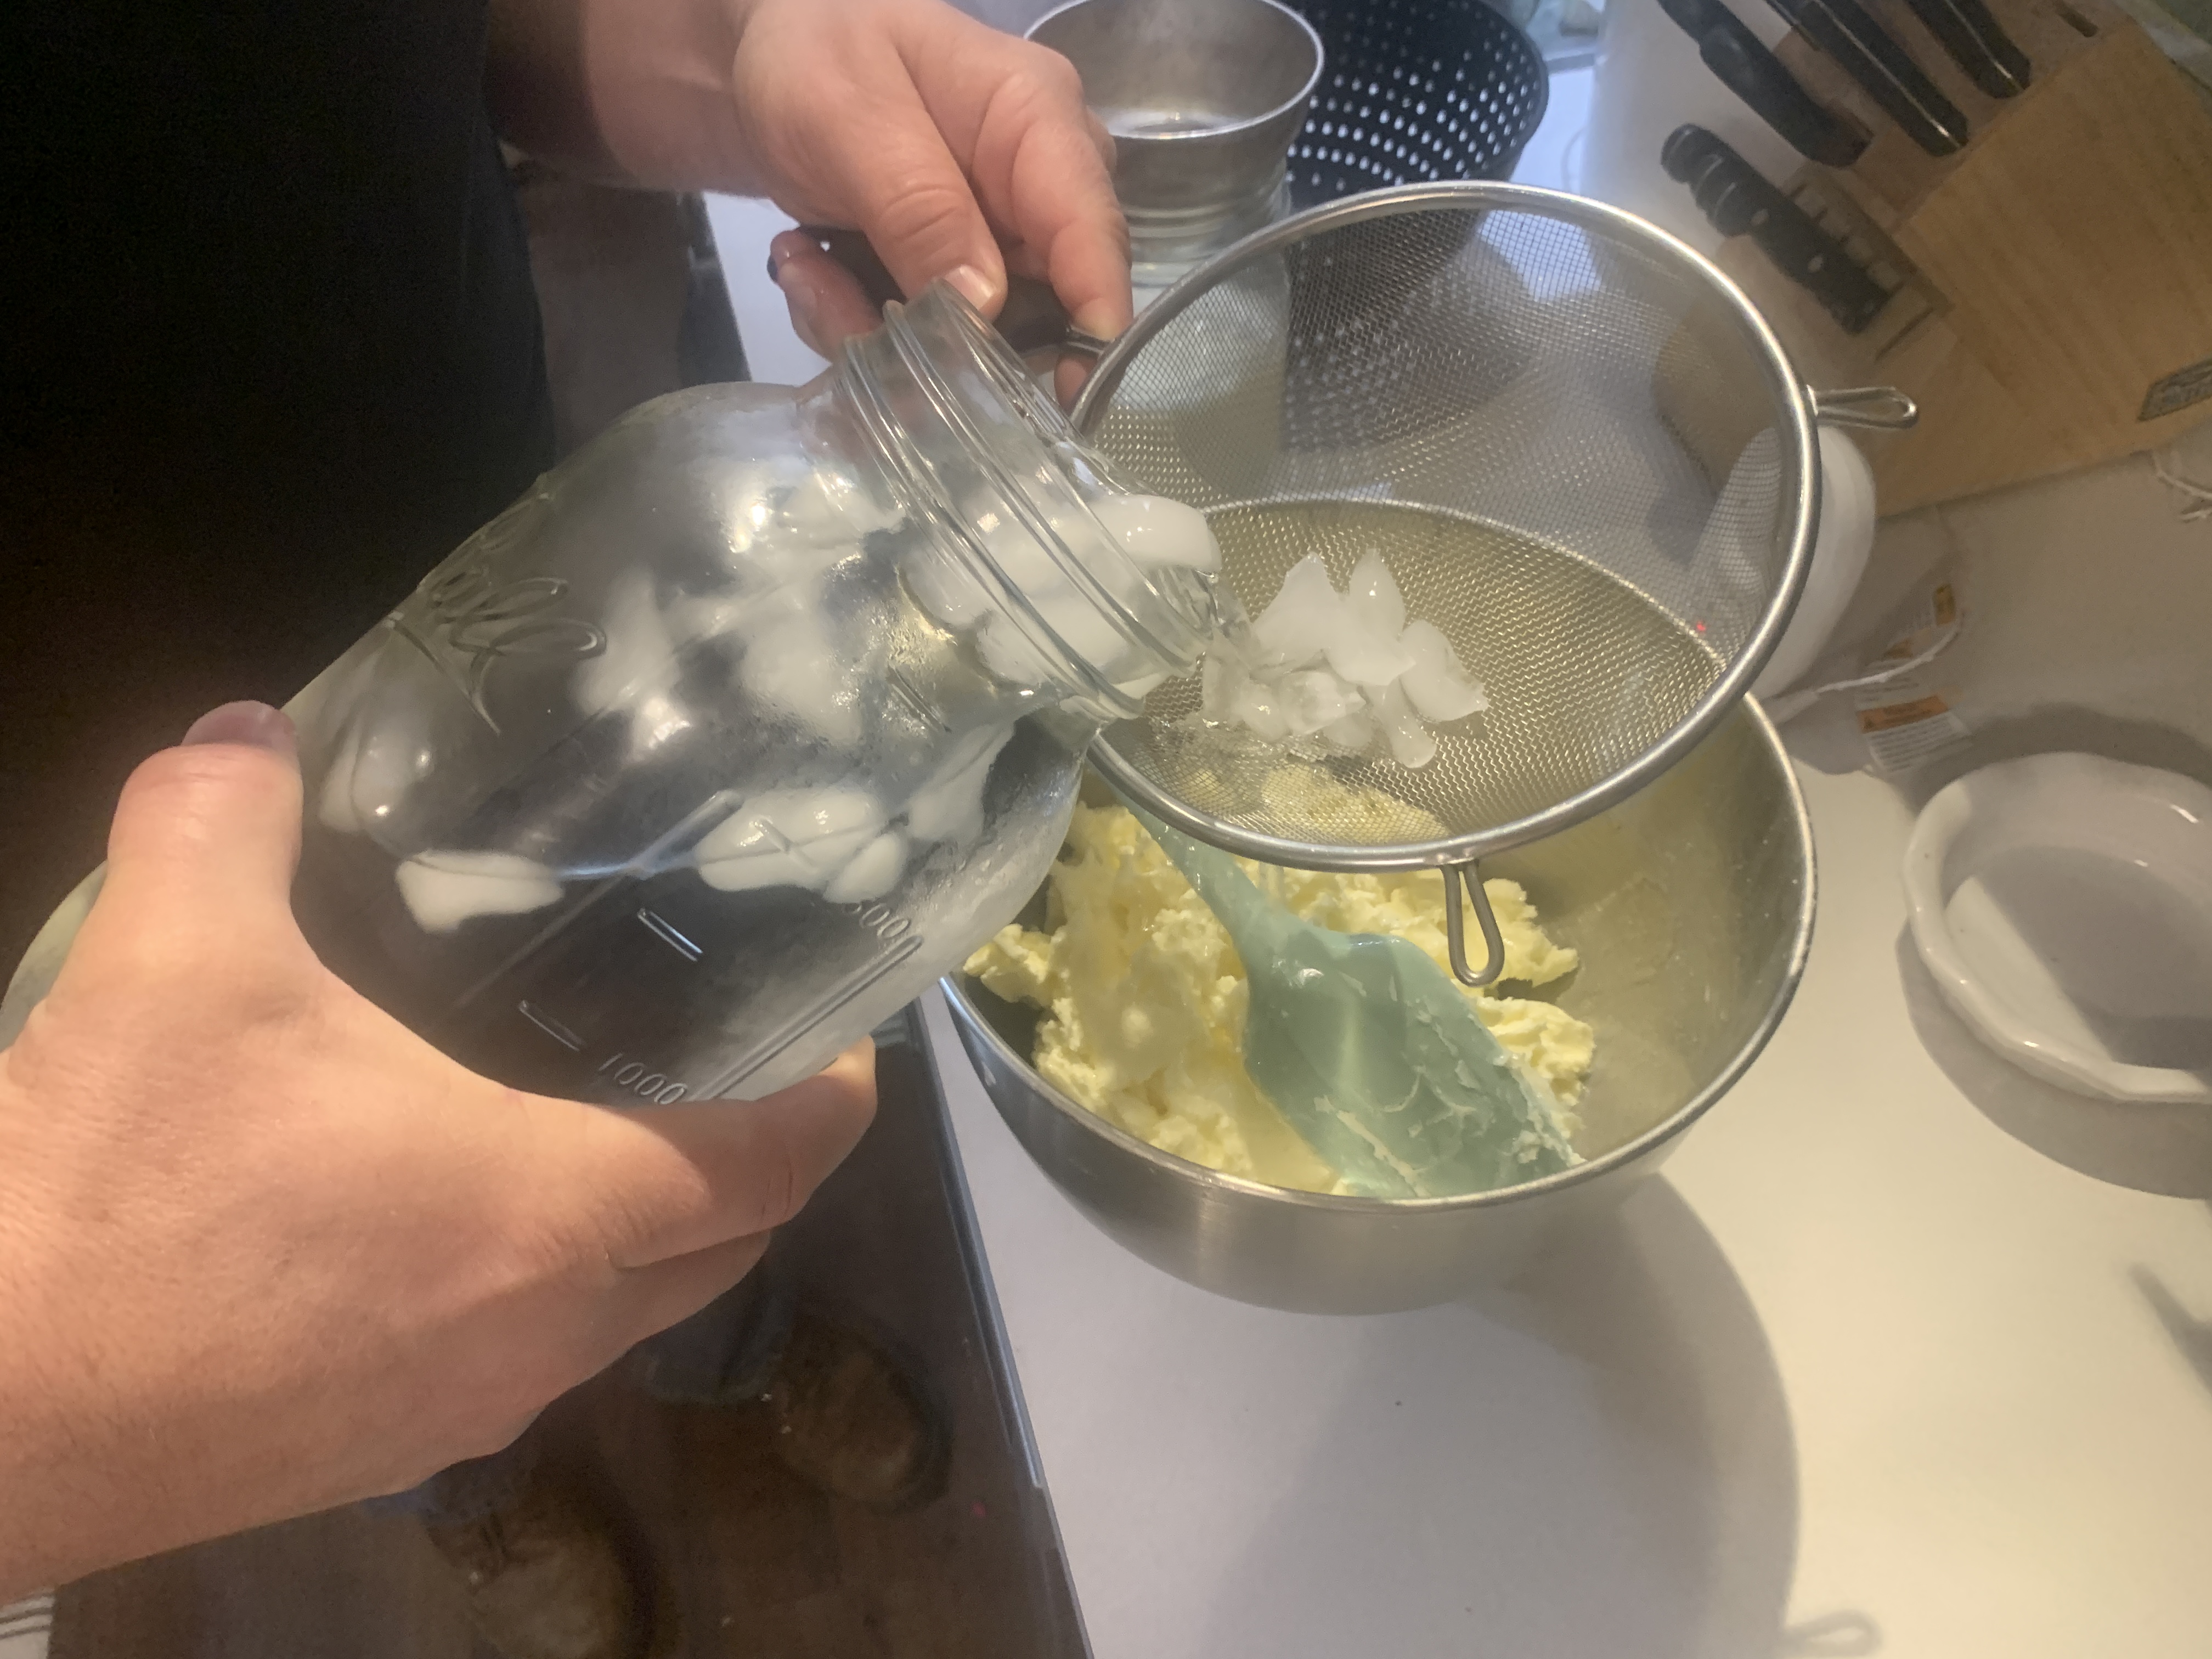
5. Washing Away the Whey: Here’s where we wash the butter to remove any leftover buttermilk. Add about a cup to a cup and a half of your ice water to the mixer bowl with the butter chunks. Mix it on high again for about 5 minutes – this is like giving your butter a cold shower! Strain off the cloudy liquid and discard it.
6. Repeat for Perfection: We like to repeat this washing step one more time to ensure our butter is super clean and has a beautiful golden color. Add another round of ice water, mix it up, and then strain off the discarded liquid.

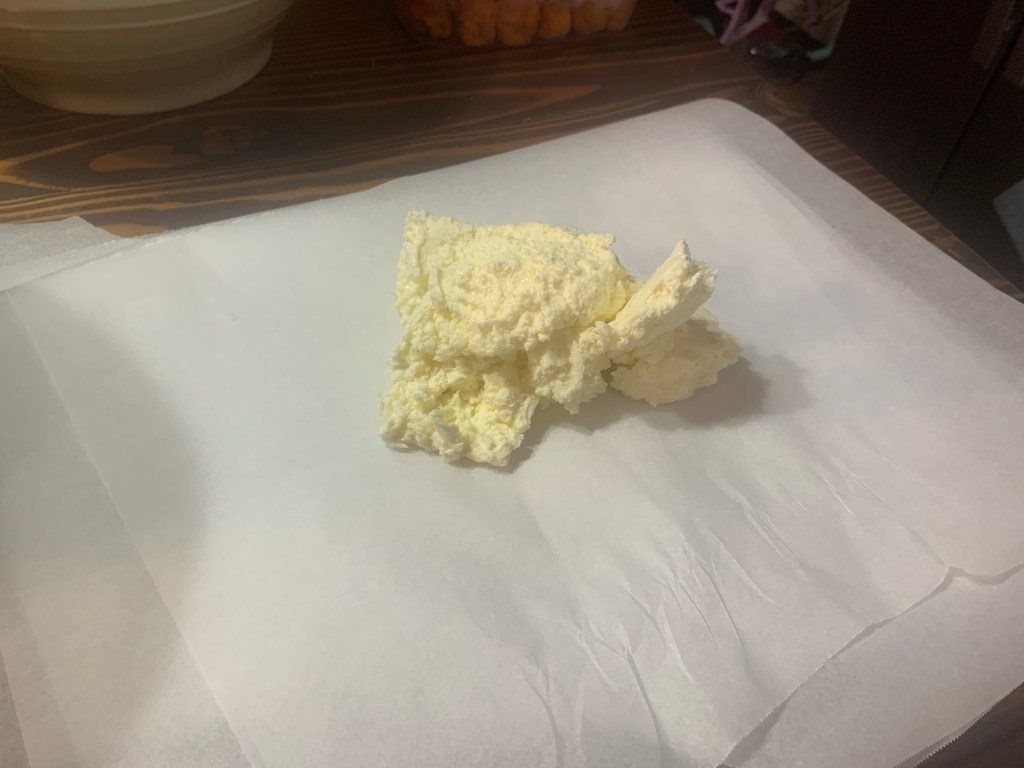
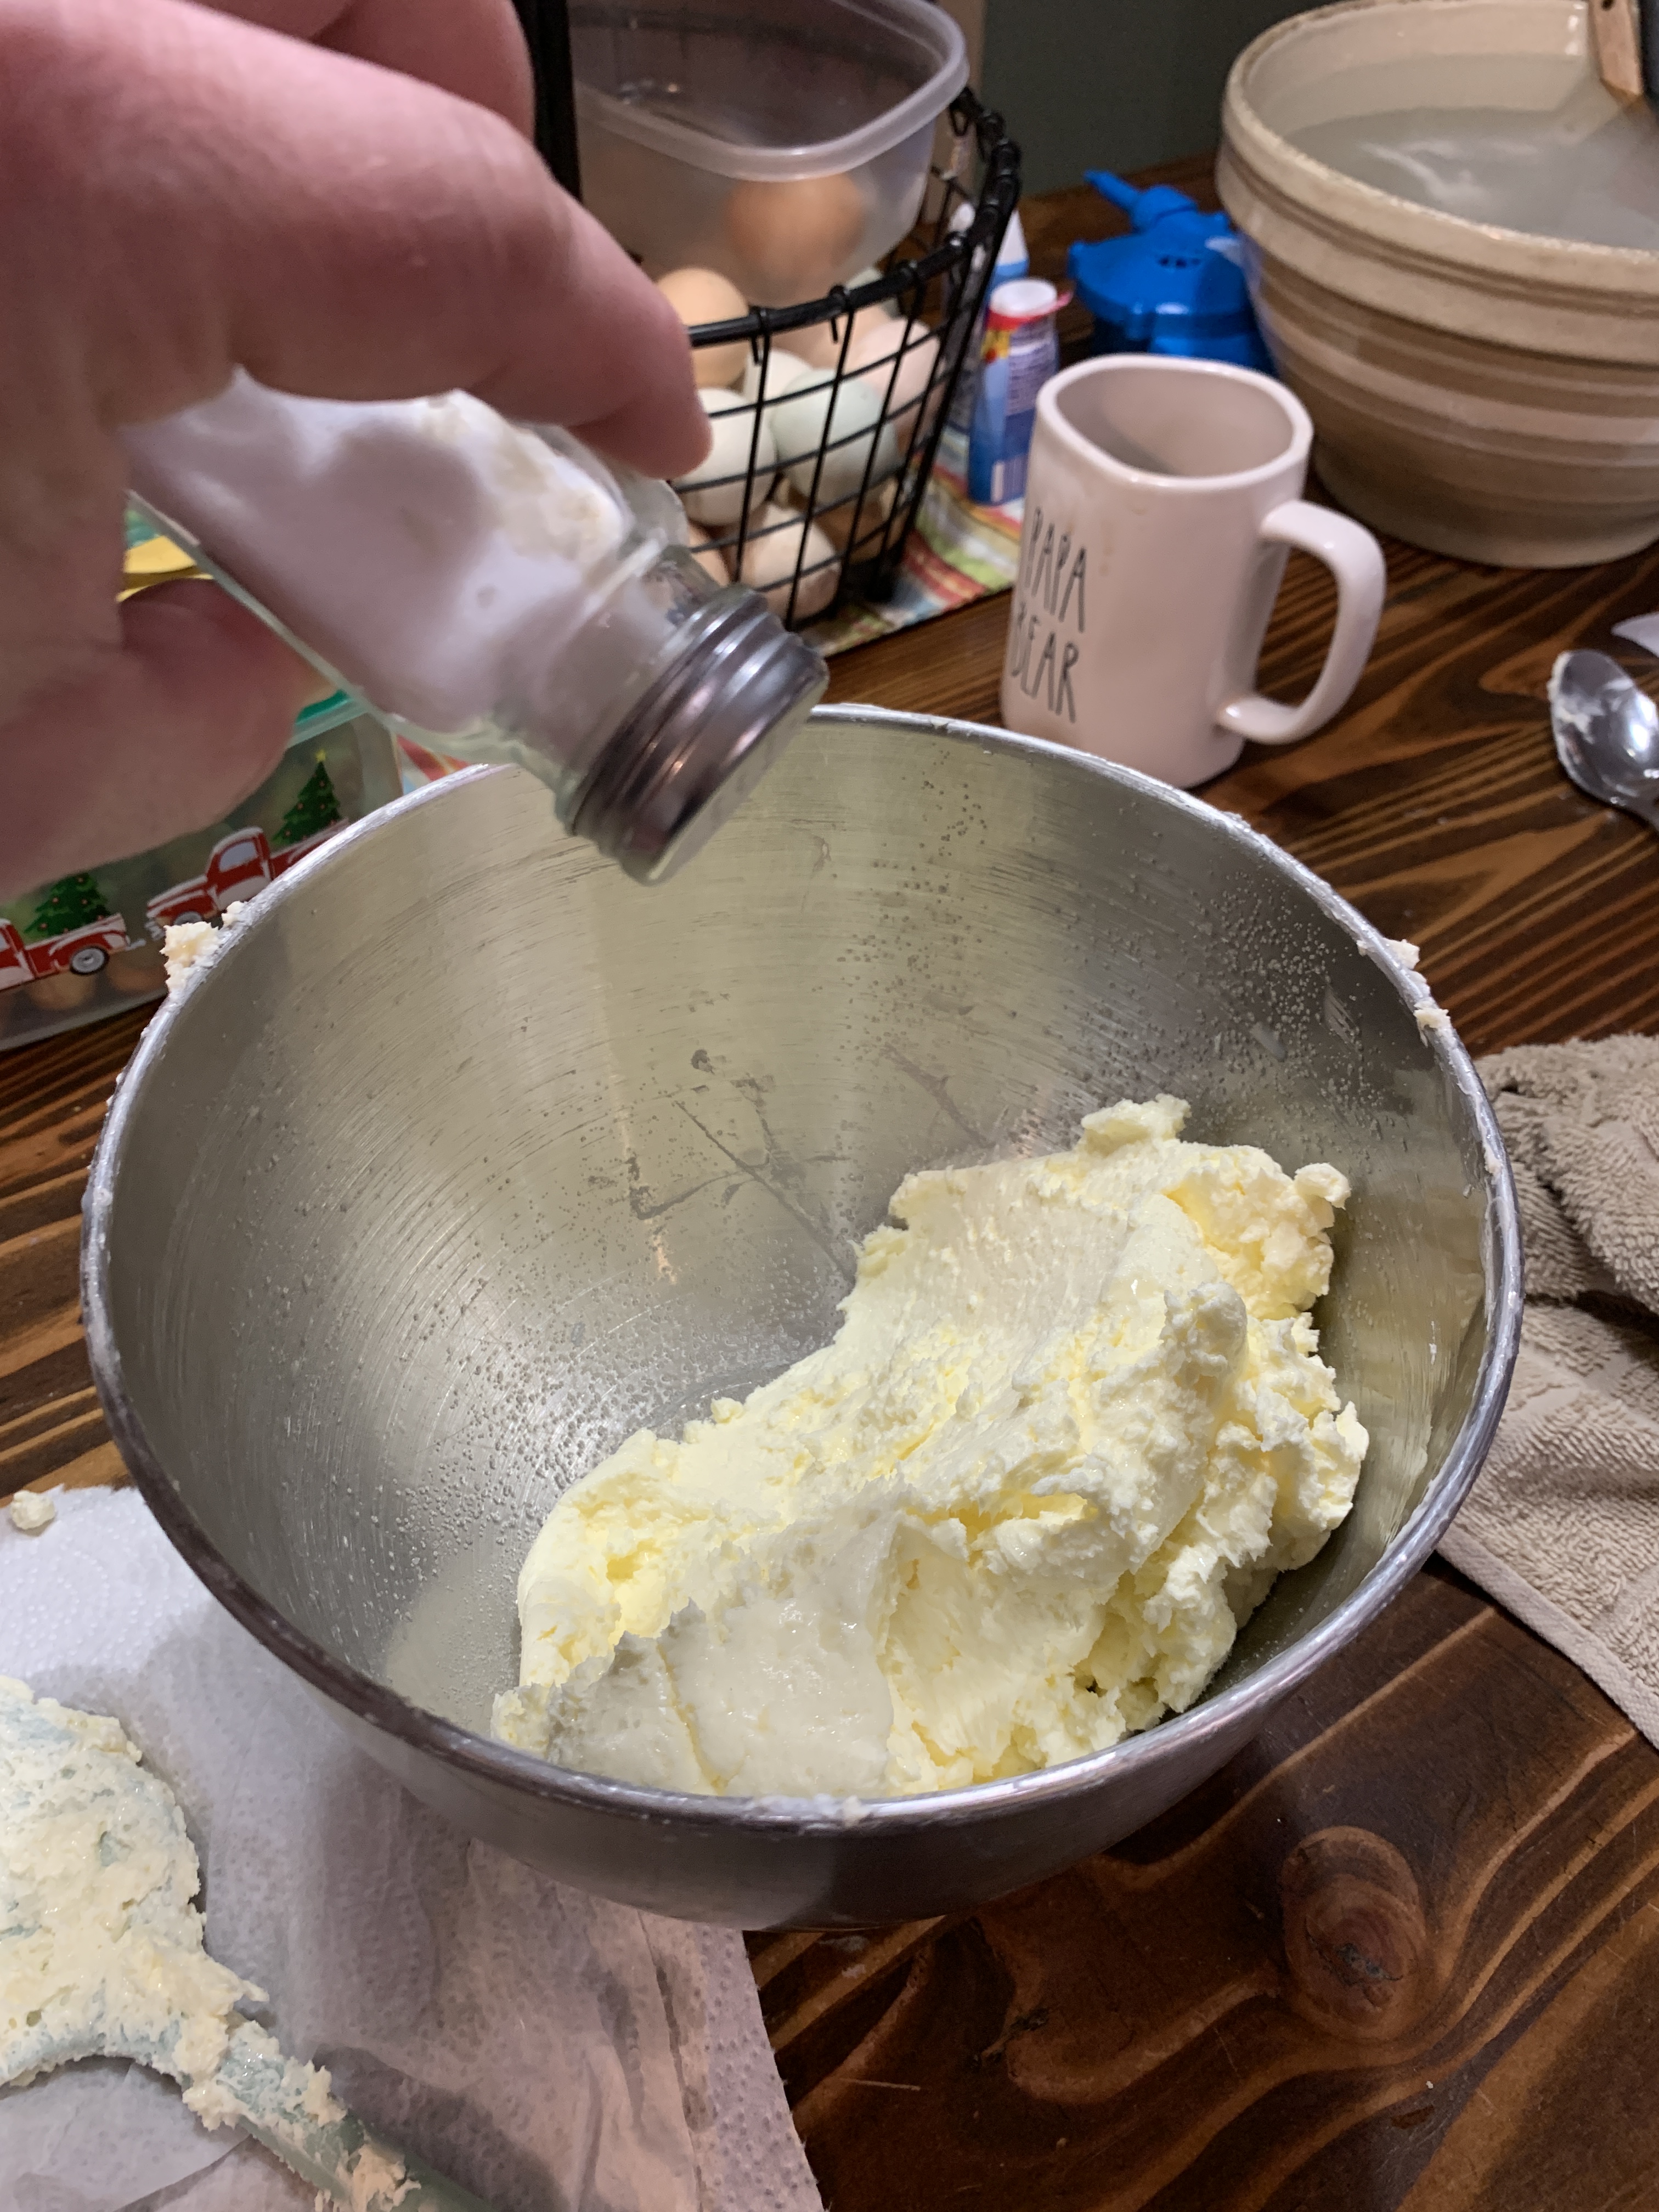
7. Salting and Shaping: The final step! Put your beautiful butter back in the mixer on low speed and add a sprinkle of salt to taste. Mix for a minute or so to distribute the salt evenly. Now comes the fun part of shaping your butter. We like to divide it up onto parchment paper and pat it into manageable slabs for easy use.
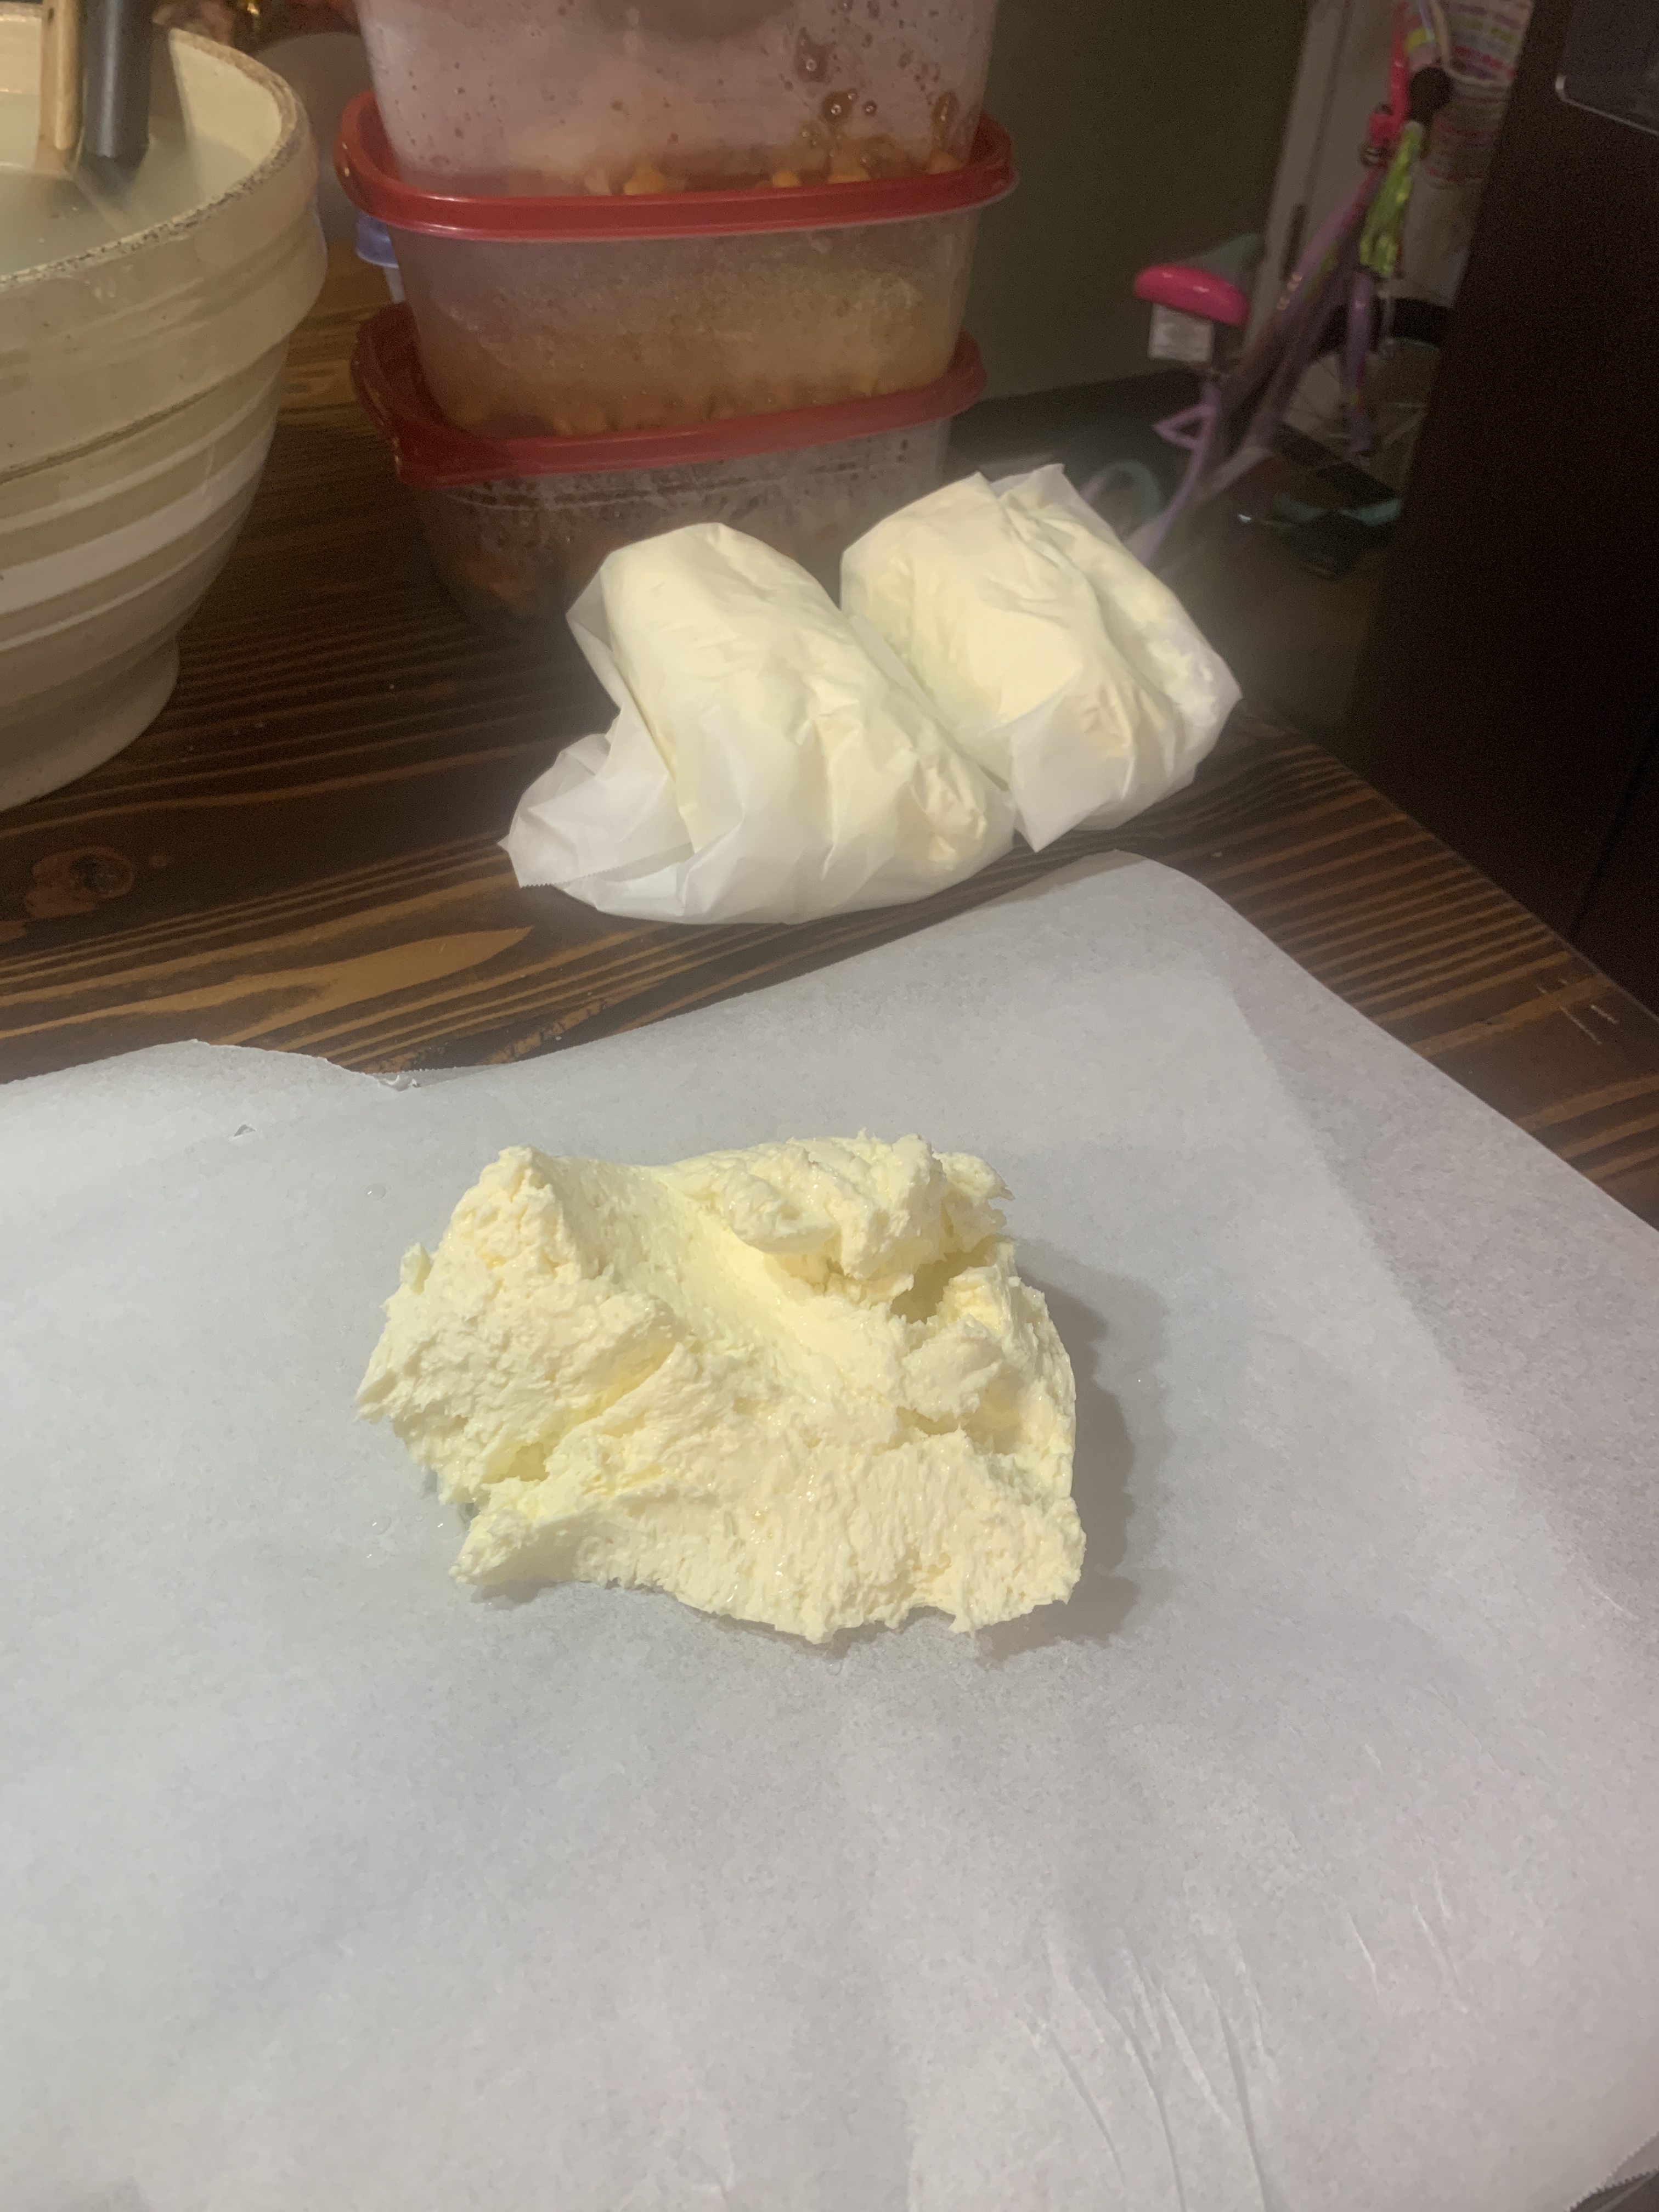

8. Fresh Butter Bliss: Wrap your homemade butter creations tightly in the parchment paper and store them in the freezer until you’re ready to spread that sunshine on your toast, melt it over popcorn, or use it in your favorite baking recipe.
Honestly, the feeling of accomplishment after making your own butter is pretty darn satisfying. Not only did you create something delicious from scratch, but you also saved some money and learned a valuable skill. So next time you’re looking for a fun kitchen project, give homemade butter a try! You might just be surprised at how easy and rewarding it is. Now, who’s ready for some toast with a generous slather of homemade butter? It’s the best kind of breakfast, hands down!


Leave a comment